# Policy: Global Deny File Access
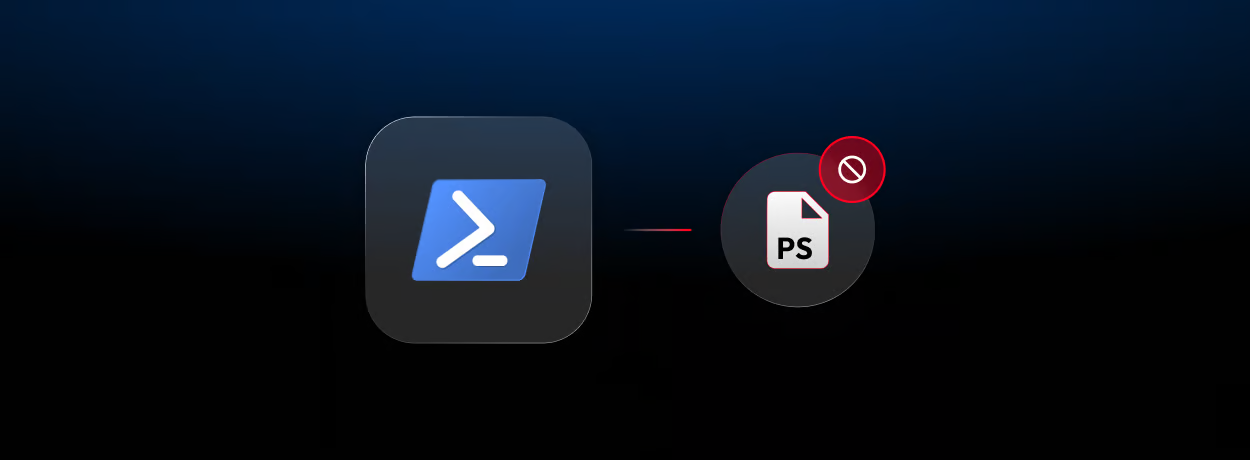
This example shows a **File Access Policy** used as to **Deny users from running specific applications**. When enabled, it applies to all applications which are defined in an **Application Collection**, which is added as a filter to your File Access Policy. When a user attempt to launch one of the applications in the specified Application Collection, point across all endpoints. After this **Global Deny File Access Policy** is in place, additional policies can be layered to allow specific users, teams, or scenarios to run an otherwise denied application with approval or justification.
***
### What this Policy Does
When a user on any **in-scope endpoint** tries to run an application that matches this policy:
1. The request is evaluated by the **File Access** policy engine.
2. Because the policy targets a defined set of applications (not a wildcard), it matches only execution attempts for those specifically identified executables on those endpoints.
3. The policy applies a **Deny** control, immediately blocking the action from proceeding.
### Why it Behaves this Way
This policy is intentionally written as a "targeted match" policy, then applies a hard block:
* **Enforced**: The policy is active and will apply controls (not just log).
* **Deny control on success**: When the policy matches, it immediately blocks the execution and notifies the user.
* **All users**: A wildcard user filter makes it apply to any user account on in-scope machines.
* **Specific applications**: Application Collections are used to define application filters which will only apply to the applications within the selected Application Collection(s) being evaluated by this File Access policy.
* **Built-in checks**: Standard checks (user, machine, file, date/time/day, certificate) are present. If those constraints aren't narrowed (for example, no date/time/day/cert restrictions are provided), the policy behaves as a persistent block for the targeted applications on the targeted endpoints.
### What the User Experiences
* Any attempt to launch an application that is specifically defined within the selected Application Collection(s) on the targeted endpoints will be **immediately blocked**.
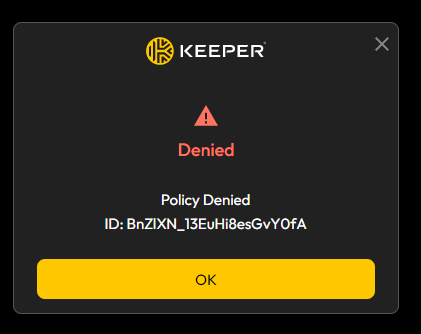
* The policy includes a user-facing notification message that clearly explains that the application which they attempted to run was **Denied**. Because acknowledgement is required, the user will see a notification prompt they must dismiss — so the block is both enforced and explicitly communicated.
***
### Important Notes and Common Adjustments
* **Expand the application list** as needed:
* Add additional App IDs to cover variants of the same tool (e.g., different install paths or versions of the same executable)
* Use certificate constraints to target only untrusted or unsigned builds of an application, avoiding blocking legitimate signed versions
* **Narrow the user scope** if needed:
* Restrict the user filter to specific users or groups if only certain roles should be blocked (e.g., standard users but not IT admins)
* **Add time/day/date restrictions** for temporary or business-hours-only enforcement windows
* **Layer with an Allow or Approval policy** for users or groups who have a legitimate need — a higher-priority Allow or Approval policy targeting those users will take precedence over this global deny
***
## How Build a Global Deny File Access Policy
{% stepper %}
{% step %}
#### Create Policy
From the **Policies** tab of the Admin Console's Endpoint Privilege Manager page, click the **Create Policy** button.
This will open the **Create Policy Form** in a modal window.
{% endstep %}
{% step %}
#### Policy Name
Enter a descriptive name for your new **Global Deny File Access Policy**.
{% endstep %}
{% step %}
#### Policy Type
Select **File Access** from the **Policy Type** select list.
{% endstep %}
{% step %}
#### Status
Select the status that you would like your new **Global Deny File Access Policy** to be in upon submission of the completed **Create Policy** form.
{% endstep %}
{% step %}
#### Controls
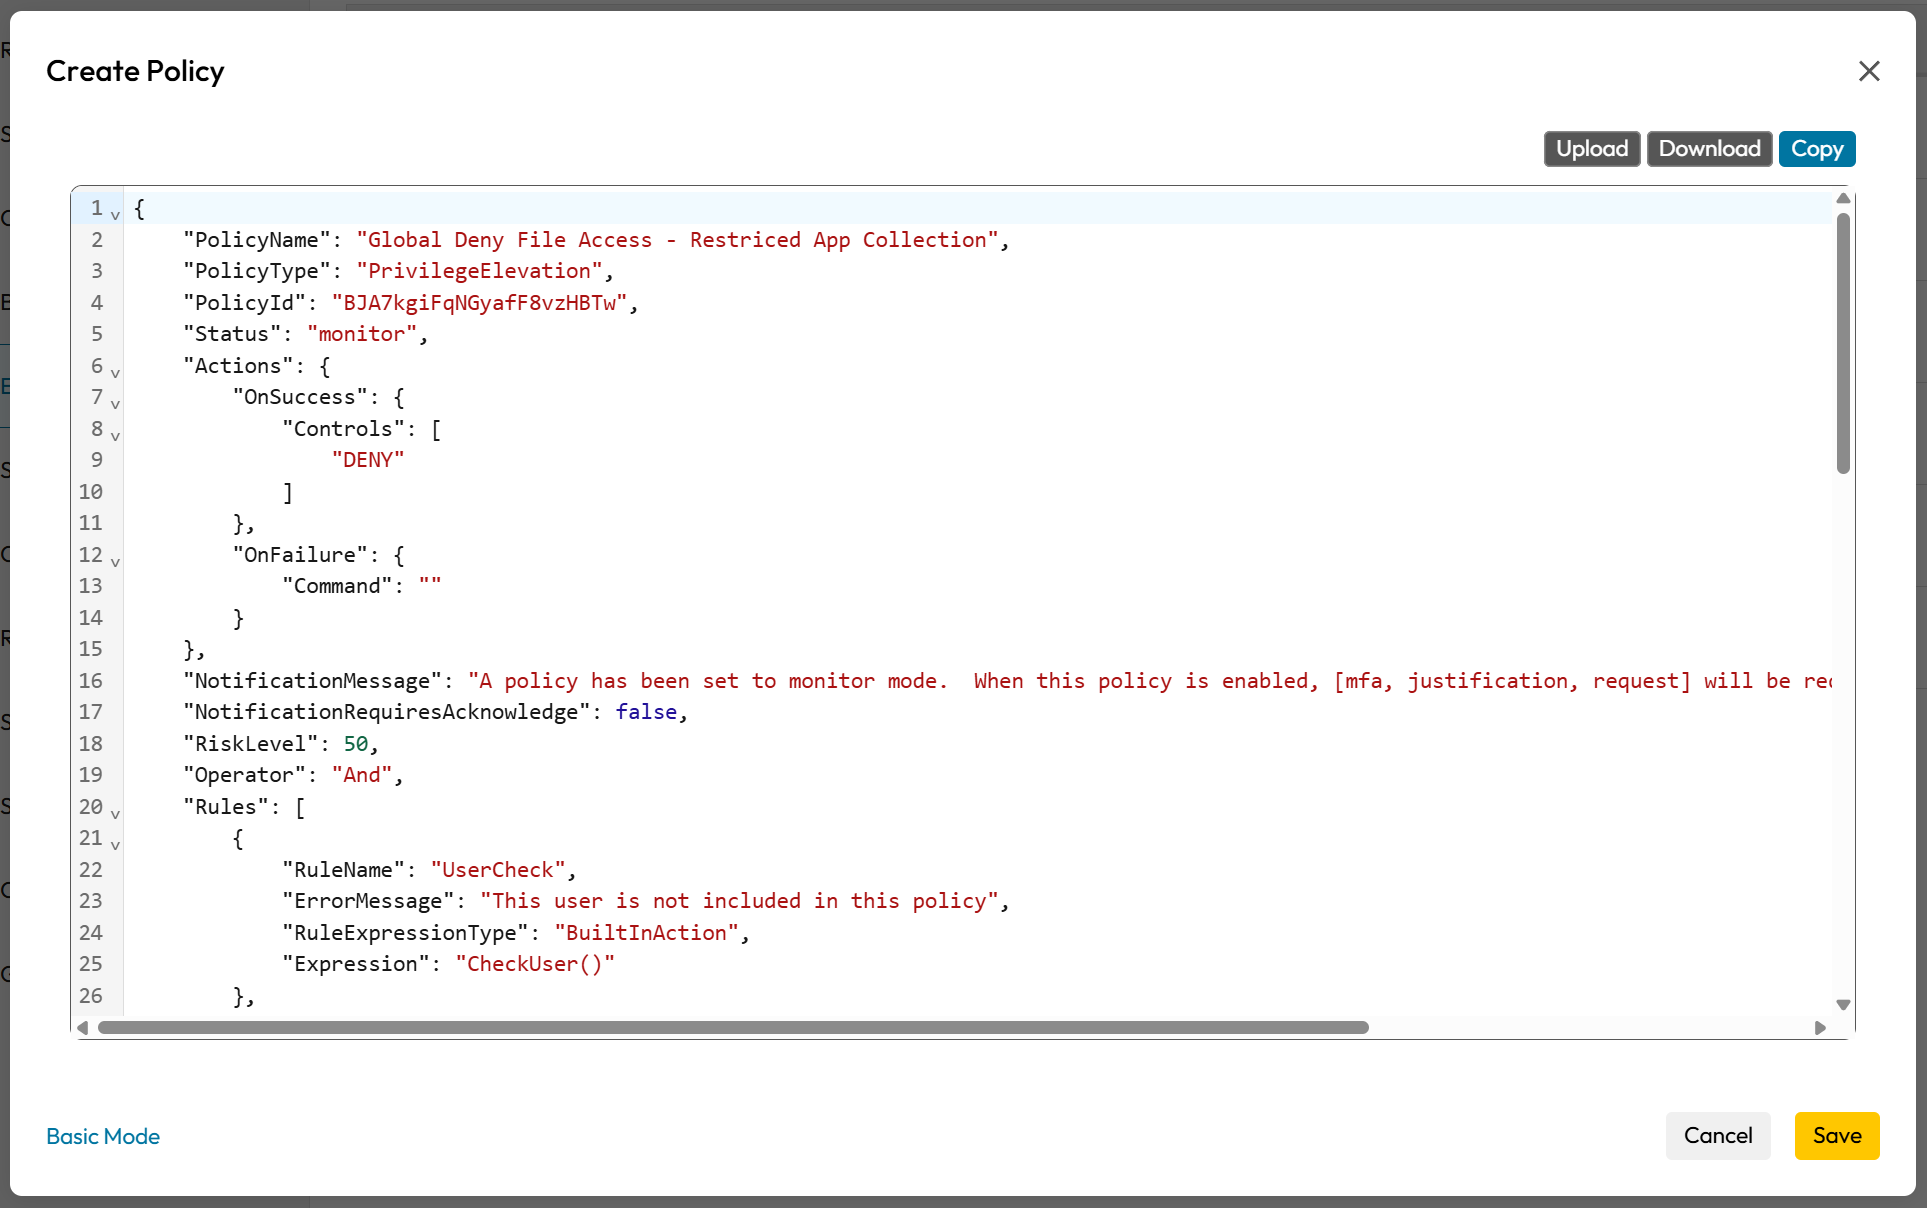
**Approve Controls** & **Deny Controls** are specified within the JSON form which is accessible by clicking on the **Advanced Mode** link, located in the bottom left corner of the Create Policy. This will toggle the Advanced form, which will allow you to view and edit the JSON structure of your new **Global Deny File Access Policy.**
You will need to **specify Deny as a Control** for your **Global Deny File Access Policy**, as neither Approve Controls & Deny Controls are available controls within the Create Policy's Controls sub-form, as shown below:
```
"Controls": [
"DENY"
]
```
{% endstep %}
{% step %}
#### User Groups
Click the **Add Group** link in the Create Policy form. This will open the **Add Group** sub-form.
Check the **Select all users** checkbox in the **Add Group** sub-form then click off of the sub-form to close it. **All Users and Groups** will now appear under **User Groups** as applied to your **Global Deny File Access Policy.**
{% endstep %}
{% step %}
#### Machine Collections
Click the **Add Collection** link in the Create Policy form. This will open the **Add Collection** sub-form.
Check the **Select all machines** checkbox in the **Add Collection** sub-form then click off of the sub-form to close it. **All Machines** will now appear under **machine Collections** as applied to your **Global Deny File Access Policy.**
{% endstep %}
{% step %}
#### Applications
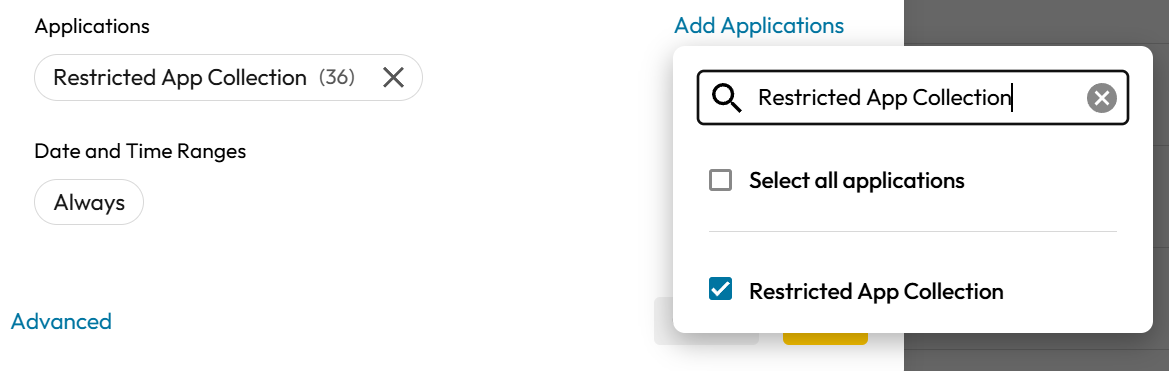
Click the **Add Applications** link in the Create Policy form. This will open the **Add Applications** sub-form.
Search for and select the **specific applications** you want to deny. Do **not** use the **Select all applications** checkbox — this policy is intentionally scoped to a defined list of blocked applications, not all applications. Check the checkbox(s) of each application you want to deny.
The **Applications** that you selected will now appear under **Applications** as applied to your **Global Deny File Access Policy.**
{% endstep %}
{% step %}
#### Date & Time
For a **Global Deny File Access Policy,** it is recommended that the **Date and Time Ranges** be set to **Always**, ensuring the block is continuously enforced with no time-based gaps.
{% endstep %}
{% step %}
#### Save Your New Global Deny File Access Policy
Once the form has been sufficiently filled in per the previous steps, the **Save** button will be changed from an inactive to an active state. Click on the **Save** button. The **Create Policy** modal form will be closed and your **Global Deny File Access Policy** will be saved.
{% endstep %}
{% endstepper %}
***
## Use-Case Definitions
This pattern — a **Global Deny File Access Policy** that blocks specific known-bad or unauthorized applications across all endpoints — serves a precise and important strategic purpose in endpoint privilege management. Here's a full breakdown of the use-cases and the reasoning behind it:
#### The Core Concept: "Explicit Block for Known-Bad or Unauthorized Applications"
Rather than relying solely on broad approval gates or user education to prevent the use of risky tools, this approach takes a **direct enforcement stance**: specific applications are explicitly blocked for all users across all in-scope endpoints. It is conceptually similar to a firewall rule that drops traffic from a known-malicious source — targeted, deterministic, and immediate.
### Primary Use-Cases
**1. Blocking Living-Off-the-Land (LOTL) Binaries**
Many advanced threats abuse legitimate system tools — such as scripting engines, command-line interpreters, or remote execution utilities — to carry out malicious activity. A Global Deny policy targeting these tools by their specific application identities prevents their execution by standard users across the fleet, closing a common attack vector without requiring per-incident response.
**2. Enforcing a Software Blocklist**
Organizations often maintain a list of prohibited applications (unauthorized remote access tools, peer-to-peer clients, unlicensed software, shadow IT applications). A Global Deny policy is the mechanism by which that blocklist is technically enforced at the endpoint — ensuring the prohibition is not merely policy on paper but an actively enforced control.
**3. Compliance and Regulatory Requirements**
Certain compliance frameworks (e.g., PCI-DSS, CMMC, NIST 800-171) require that organizations demonstrate technical controls preventing the use of specific categories of software on regulated endpoints. A Global Deny policy provides a documented, auditable enforcement record of those controls.
**4. Rapid Response to Threat Intelligence**
When a new vulnerability or active exploitation technique is identified against a specific binary or application, a Global Deny policy can be deployed immediately to all endpoints — providing a fast, broad defensive response while patches or permanent mitigations are prepared.
**5. Reducing the Attack Surface for Standard Users**
As part of a broader least-privilege initiative, certain administrative or high-risk tools (debugging utilities, package managers, scripting runtimes) may be appropriate for IT staff but should be inaccessible to standard users. A Global Deny policy enforces that separation across the entire endpoint fleet without requiring per-machine configuration.
**6. Incident Response / Breach Containment**
If a specific application or binary is known or suspected to be involved in an active compromise, a Global Deny policy can be pushed immediately to **prevent further execution of that tool** across all endpoints while the investigation and remediation proceed — limiting lateral movement or persistence mechanisms that rely on that application.
***
### Why File Access Policy (Not Privilege Elevation) for the use-cases?
This is a nuanced but important distinction. A **File Access policy** intercepts the *execution* of a file (the moment an application is launched), while a Privilege Elevation policy only intercepts attempts to run something with elevated privileges. By using File Access here, the deny control applies to **any launch attempt** — regardless of whether the user is trying to run the application with standard or elevated rights — giving complete coverage against the targeted executables.
#### The Layered Policy Strategy That Follows
Implement sophisticated policy combinations using layered policies — applying multiple policies to the same resources for defense-in-depth. Once the Global Deny baseline is in place, a controlled exception model can be layered above it:
| Priority | Policy | Scope |
| --------------- | ----------------------------------------------------------------- | ---------------------------------- |
| High | **Allow** — Specific users with legitimate need (e.g., IT admins) | Specific users/groups, denied apps |
| High | **Approval** — Temporary or justified access for edge cases | Specific users/groups, denied apps |
| Low (catch-all) | **Deny** — Blocked applications | All users, specific denied apps |
Users matched by a higher-priority Allow or Approval policy will be permitted or prompted accordingly. All other users attempting to launch the denied applications will be blocked by this global deny.
***
### Key Operational Consideration
Because this policy uses a **Deny** control with mandatory acknowledgement, users will see a block notification every time they attempt to launch a covered application. Deploying this policy first in **Monitor** mode to confirm the correct application IDs are targeted — before switching to Enforce — is strongly recommended, to avoid unintended disruption to legitimate workflows.