> For the complete documentation index, see [llms.txt](https://docs.keeper.io/llms.txt). Markdown versions of documentation pages are available by appending `.md` to page URLs; this page is available as [Markdown](https://docs.keeper.io/sso-connect-cloud/jp/device-approvals/automator/docker-compose.md).

# Docker Compose

<figure><img src="https://1914737032-files.gitbook.io/~/files/v0/b/gitbook-x-prod.appspot.com/o/spaces%2F-Mfd2v-YT48Ljtykb8qm%2Fuploads%2Fo58hCMn7giu4SBv6o4pd%2FDocker%20Compose.jpg?alt=media&#x26;token=78695959-8582-4ce5-8268-eaaf1e591c53" alt=""><figcaption></figcaption></figure>

本ページでは、DockerまたはDocker Composeを実行できるLinuxインスタンスにKeeperオートメーターを公開する手順を取り扱います。

{% hint style="info" %}
SSL証明書がすでに用意できていることをご確認ください。用意できていない場合は、[SSL証明書作成](/sso-connect-cloud/jp/device-approvals/automator/custom-ssl-certificate.md)のページの手順をご参照ください。
{% endhint %}

Docker Composeは標準のDockerと比べて、以下の利点があります。

* コンテナの更新間でデータが保持されます
* 将来の更新のインストールと保守が簡単です

#### 1. DockerとDocker Composeをインストール

DockerとDocker Composeのインストール手順はプラットフォームによって異なります。以下の公式ドキュメントをご参照ください。

<https://docs.docker.com/compose/install/>

Linux向けのクイックガイド:

* [LinuxへのDockerのインストール](/keeperpam/jp/privileged-access-manager/references/installing-docker-on-linux.md)

{% hint style="info" icon="pencil-line" %}
Linuxでは `docker compose` の代わりに `docker-compose` を使用できます。
{% endhint %}

インストール後、Dockerサービスが実行されていない場合は、Dockerサービスを開始する必要がある場合があります。

```
sudo service docker start
```

続いて、サービスが自動的に開始するように設定します。

```
sudo systemctl enable docker.service
```

root以外のユーザーにDockerの実行を許可するには (セキュリティ要件を満たしている場合)、以下のコマンドを実行します。

```
sudo chmod 666 /var/run/docker.sock
```

#### 2. docker-compose.ymlファイルを作成

以下のコードを `docker-compose.yml` ファイルとして、サーバー上で `docker compose` コマンドを実行する場所に保存します。

```yaml
name: keeper-automator
services:
  automator:
    container_name: "automator"
    environment:
      - AUTOMATOR_PORT=443
      - AUTOMATOR_HOST=localhost
      - SSL_MODE=certificate
    restart: on-failure
    image: "keeper/automator:latest"
    ports:
      - 8089:443
    volumes:
      - automatordata:/usr/mybin/config
volumes:
  automatordata:
```

#### 3. コンテナをインストールして起動

```
docker compose pull
docker compose up -d
```

#### 4. SSL証明書とパスワードファイルをコピー

[SSL証明書作成](/sso-connect-cloud/jp/device-approvals/automator/custom-ssl-certificate.md)のページで作成したSSL証明書とパスワードファイルをコピーします。

```
docker cp ssl-certificate.pfx automator:/usr/mybin/config/
docker cp ssl-certificate-password.txt automator:/usr/mybin/config/
```

#### 5. 新しい証明書でサービスを再起動

```
docker compose restart
```

#### 6. Keeperコマンダーをインストール

この時点でサービスは実行中ですが、Keeperとはまだ通信できない状態です。

ご利用のワークステーション、サーバー、コンピュータなどにKeeperコマンダーCLIをインストールします。初期設定にのみ使用します。バイナリインストーラーを含むインストール手順については[こちら](/keeperpam/jp/commander-cli/commander-installation-setup.md)のページをご参照ください。\
\
コマンダーをインストールした後、`keeper shell` と入力してセッションを開き、`login` コマンドを使用してログインできます。オートメーターを設定するには、Keeper管理者、またはSSOノードを管理できる管理者としてログインする必要があります。

```
$ keeper shell

My Vault> login admin@company.com
.
.
My Vault>
```

7. **コマンダーで初期化**

Keeperコマンダーにログインし、`automator create` で始まる一連のコマンドを使用してオートメーターを有効化します。

```
My Vault> automator create --name="My Automator" --node="Azure Cloud"
```

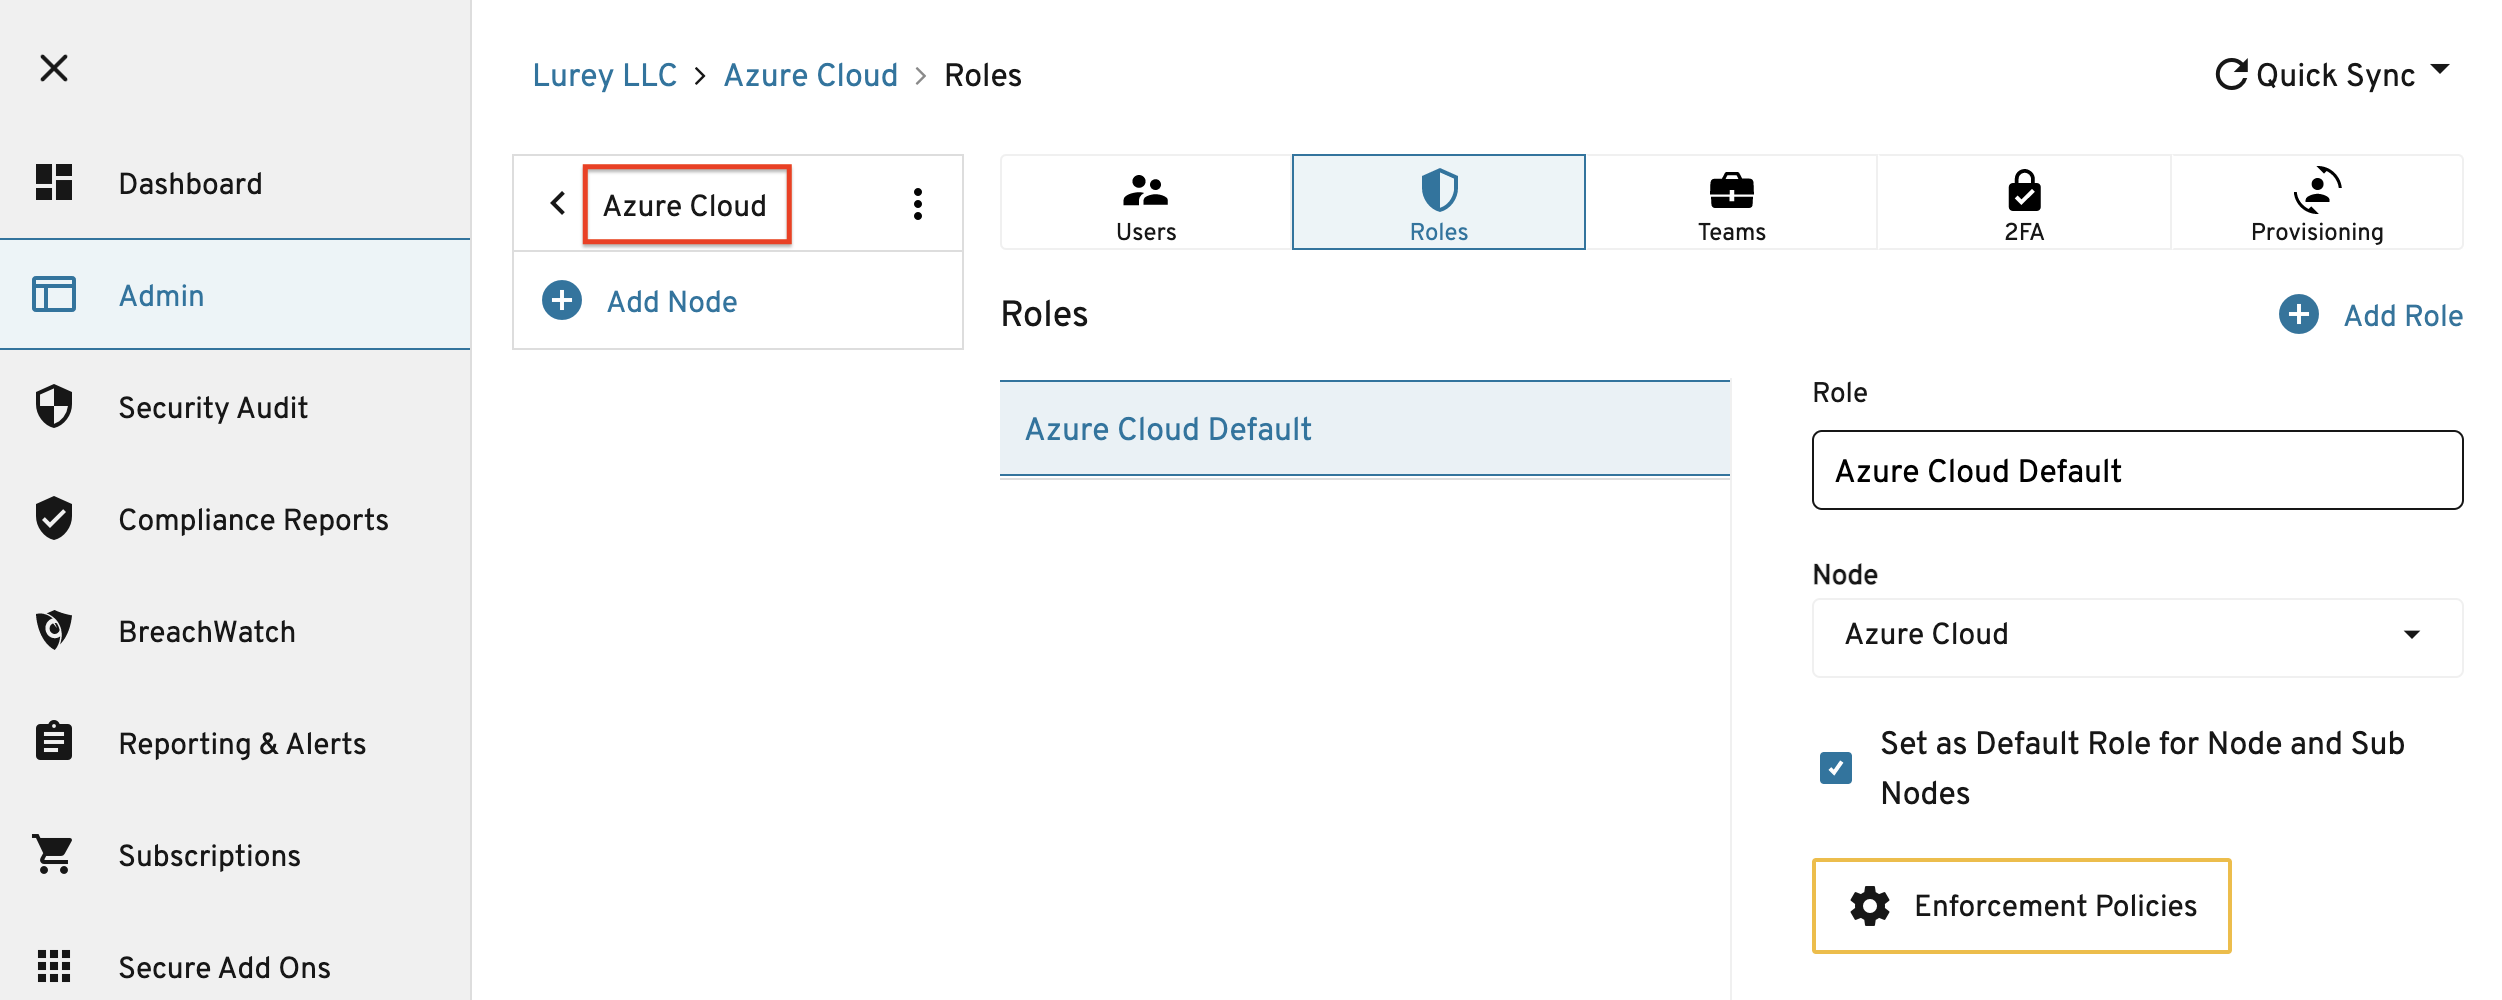
ノード名 (この場合は「Azure Cloud」) は、以下に示すように管理コンソールのUIに表示されます。

<figure><img src="https://1914737032-files.gitbook.io/~/files/v0/b/gitbook-x-prod.appspot.com/o/spaces%2F-Mfd2v-YT48Ljtykb8qm%2Fuploads%2FNdYz9XWKABSVqtIAV5Ff%2FScreen%20Shot%202021-09-10%20at%203.59.58%20PM.png?alt=media&#x26;token=3c897624-3ae2-465e-9749-c4357015dacc" alt=""><figcaption><p>オートメーターの作成</p></figcaption></figure>

コマンドの出力には、IDプロバイダから取得したメタデータを含むオートメーターの設定が表示されます。

```
                    Automator ID:1477468749950
                            Name:My Automator
                             URL:
                         Enabled:No
                     Initialized:No
                          Skills:Device Approval
```

URLはまだ設定されていません。選択したFQDNを使用してURLを編集します。

以下のように `automator edit` コマンドを実行します。これによりURLとスキルが設定されます (`team`、 `team_for_user`、`device`)。

{% code overflow="wrap" %}

```
automator edit --url https://<application URL> --skill=team --skill=team_for_user --skill=device "My Automator"
```

{% endcode %}

続いてキーを交換します。オートメーター公開キーで暗号化されたエンタープライズ秘密キーがオートメーターへ渡されます。

```
automator setup "My Automator"
```

新しい設定でオートメーターを初期化します。

```
automator init "My Automator"
```

オートメーターサービスを有効にします。

```
automator enable "My Automator"
```

この時点で設定は完了です。

自動ヘルスチェックには、以下のURLを使用できます。

**https\://\<server>/health**

以下は、curlコマンドの例です。

```
$ curl https://automator.lurey.com/health
OK
```

#### ログのモニタリング

Docker Composeコマンドを使用してオートメーターログをモニターできます。

```
docker compose logs -f
```

#### AD FSを使用した環境の場合

IDプロバイダとしてAD FSを使用してKeeperオートメーターを有効にする場合、以下の手順に従ってKeeper証明書を更新するまでログインできません。

* Keeper管理コンソールへログインします。
* **\[管理者]** > **SSOノード** > **\[プロビジョニング]** に移動し、クラウドSSOコネクト設定を確認します。
* **\[SP証明書をエクスポート]** をクリックします。
* AD FS管理コンソールで、KeeperクラウドSSO証明書利用者信頼プロパティを選択します。
* **\[暗号化]** タブで、古い証明書をこの新しい証明書に置き換えます。
* **\[署名]** タブで、新しいSP証明書をこの新しい証明書に置き換えます。

### ネットワークアクセスの制限

Keeperのサーバーおよび運用担当のワークステーションなど、必要な送信元だけがサービスに届くようネットワークアクセスを制限することを推奨します。許可するIPアドレスの一覧は、[イングレス要件](/sso-connect-cloud/jp/device-approvals/automator/ingress-requirements.md)をご参照ください。

### 更新

オートメーターの新しいバージョンが利用可能になったら、コンテナを更新するだけで済みます。

```
docker compose pull
docker compose up -d
```

## ユーザー体験のテスト

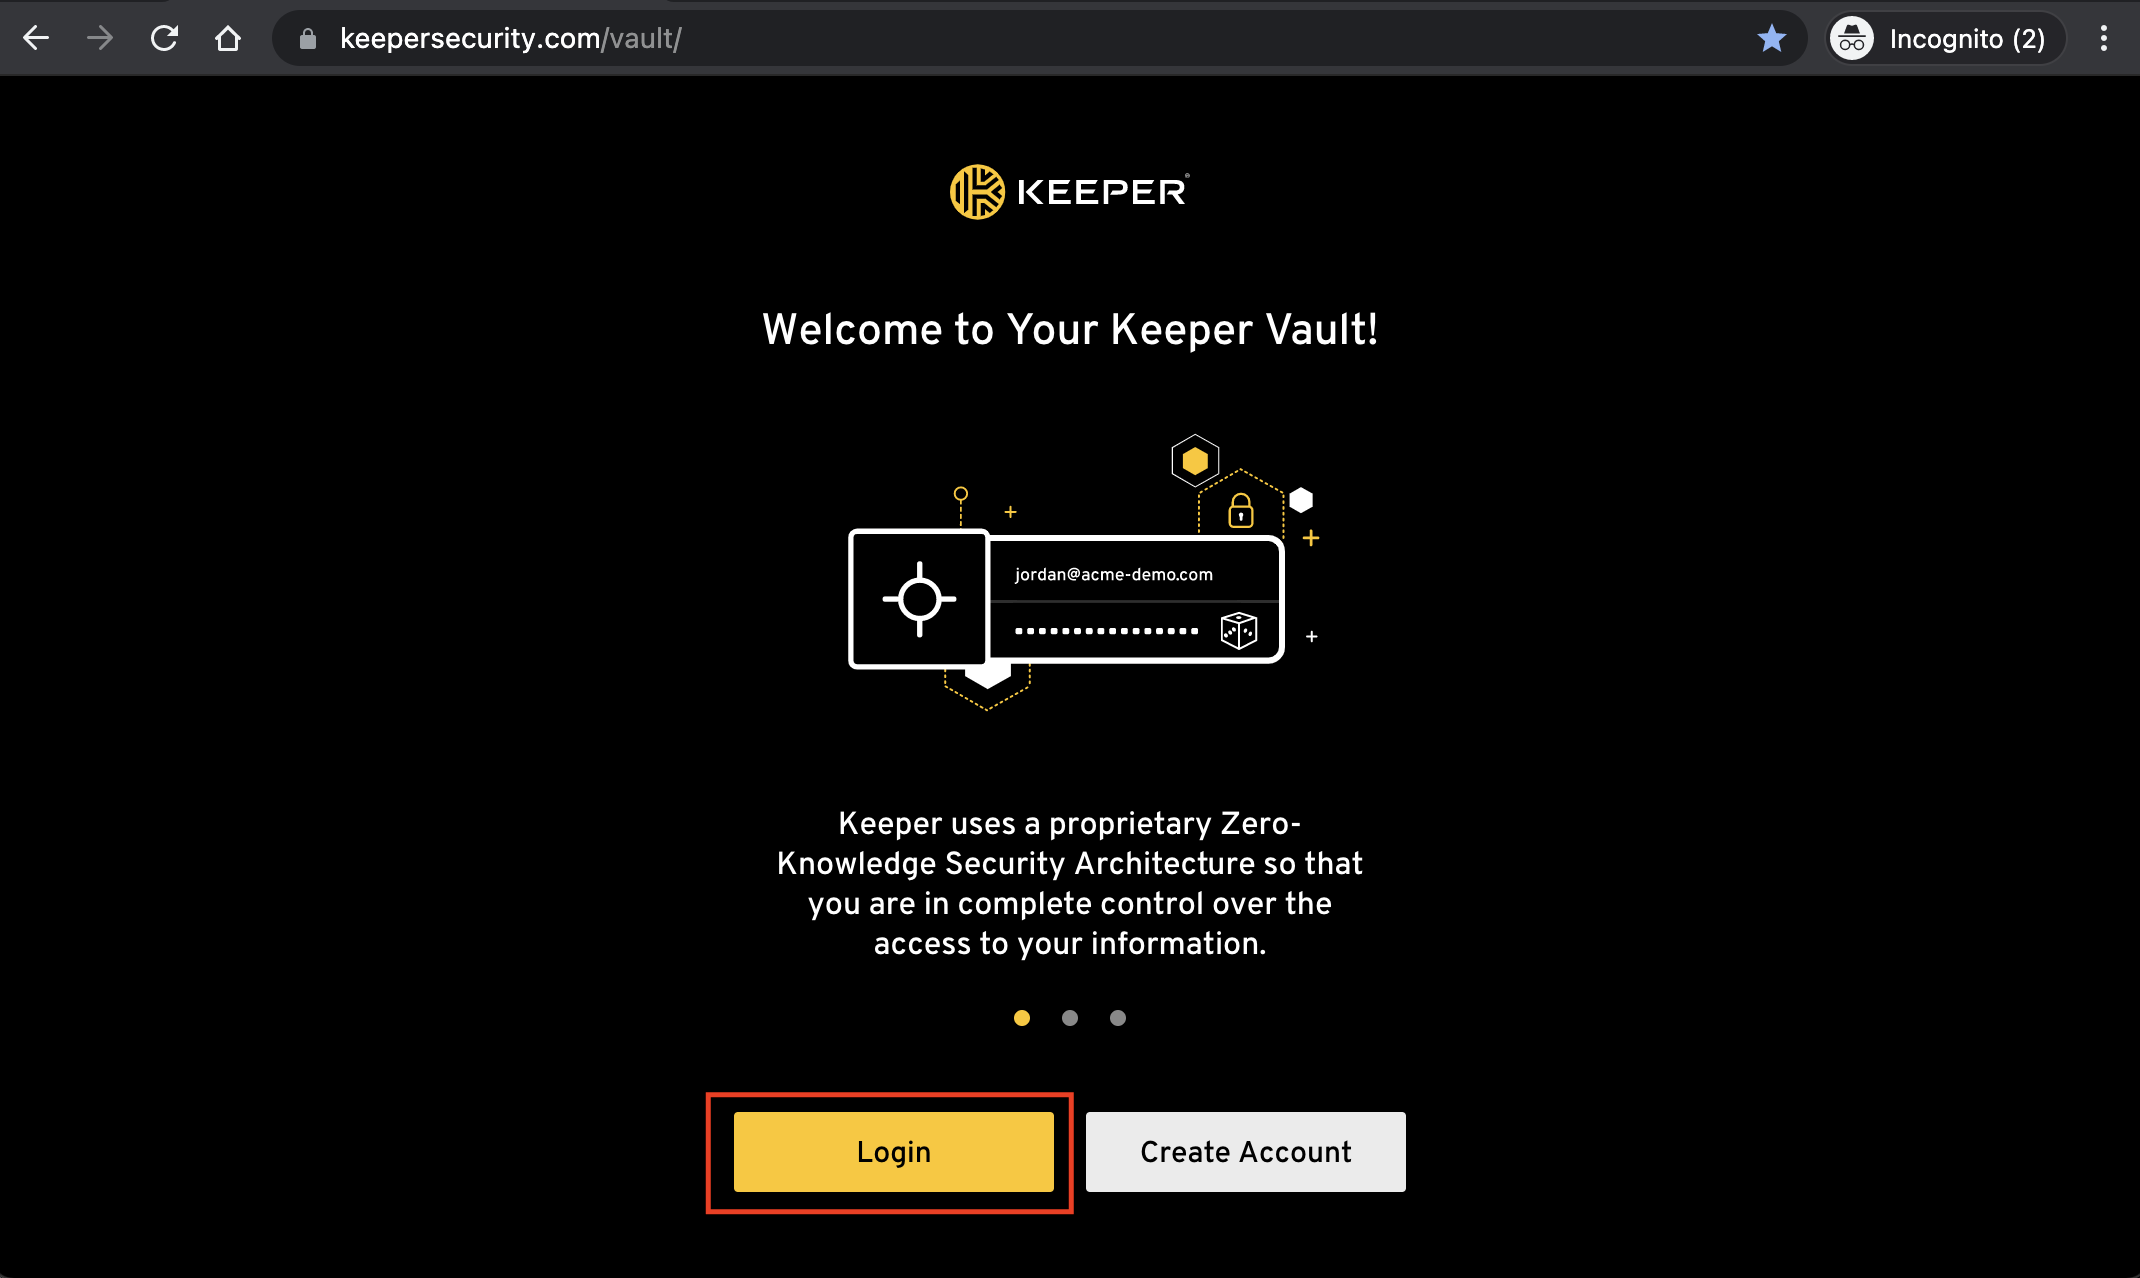
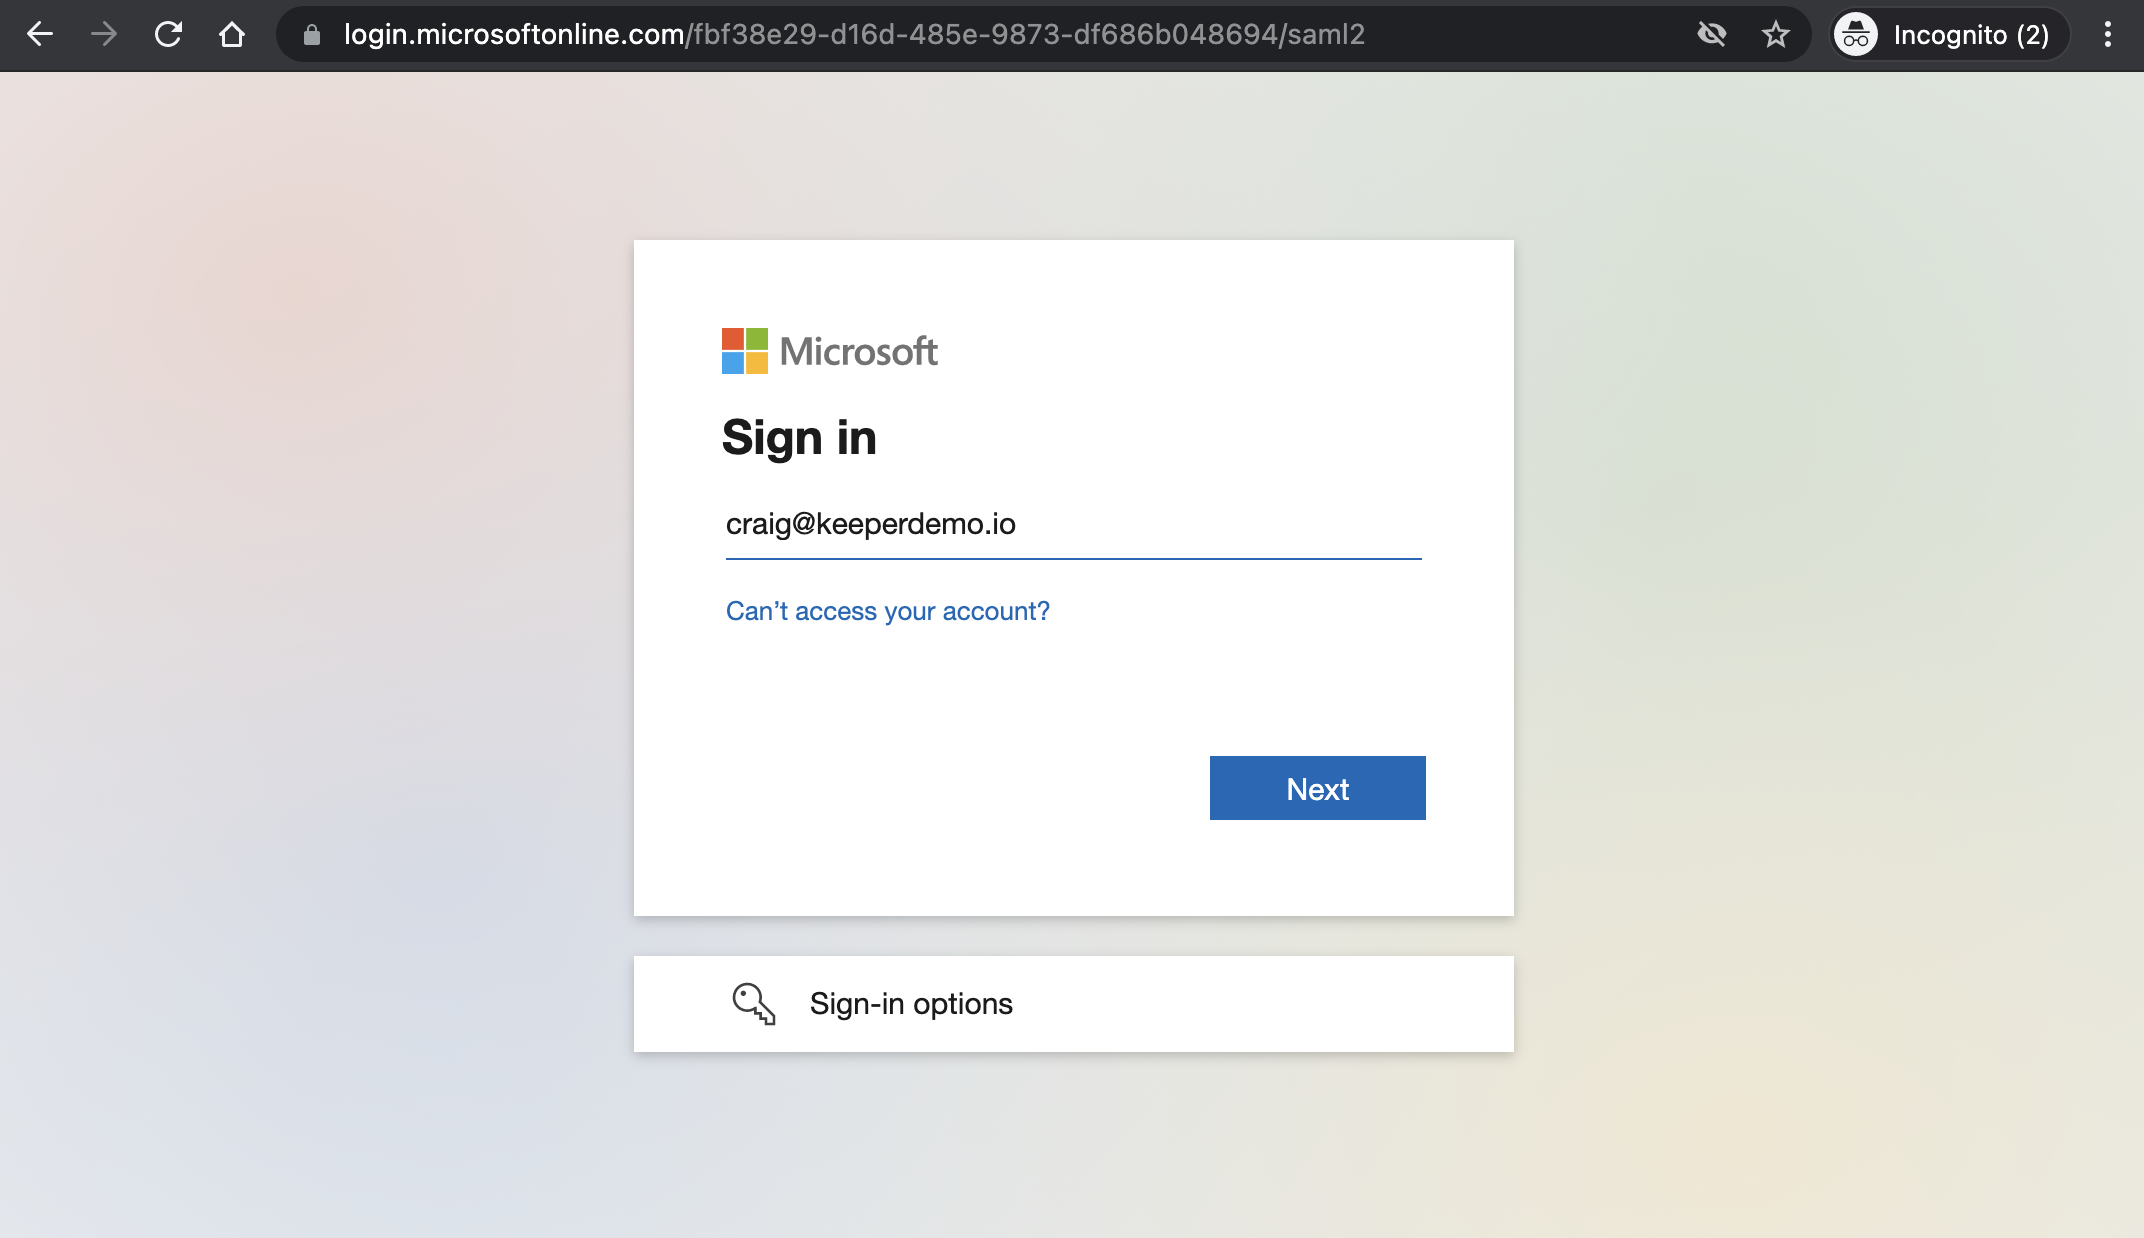
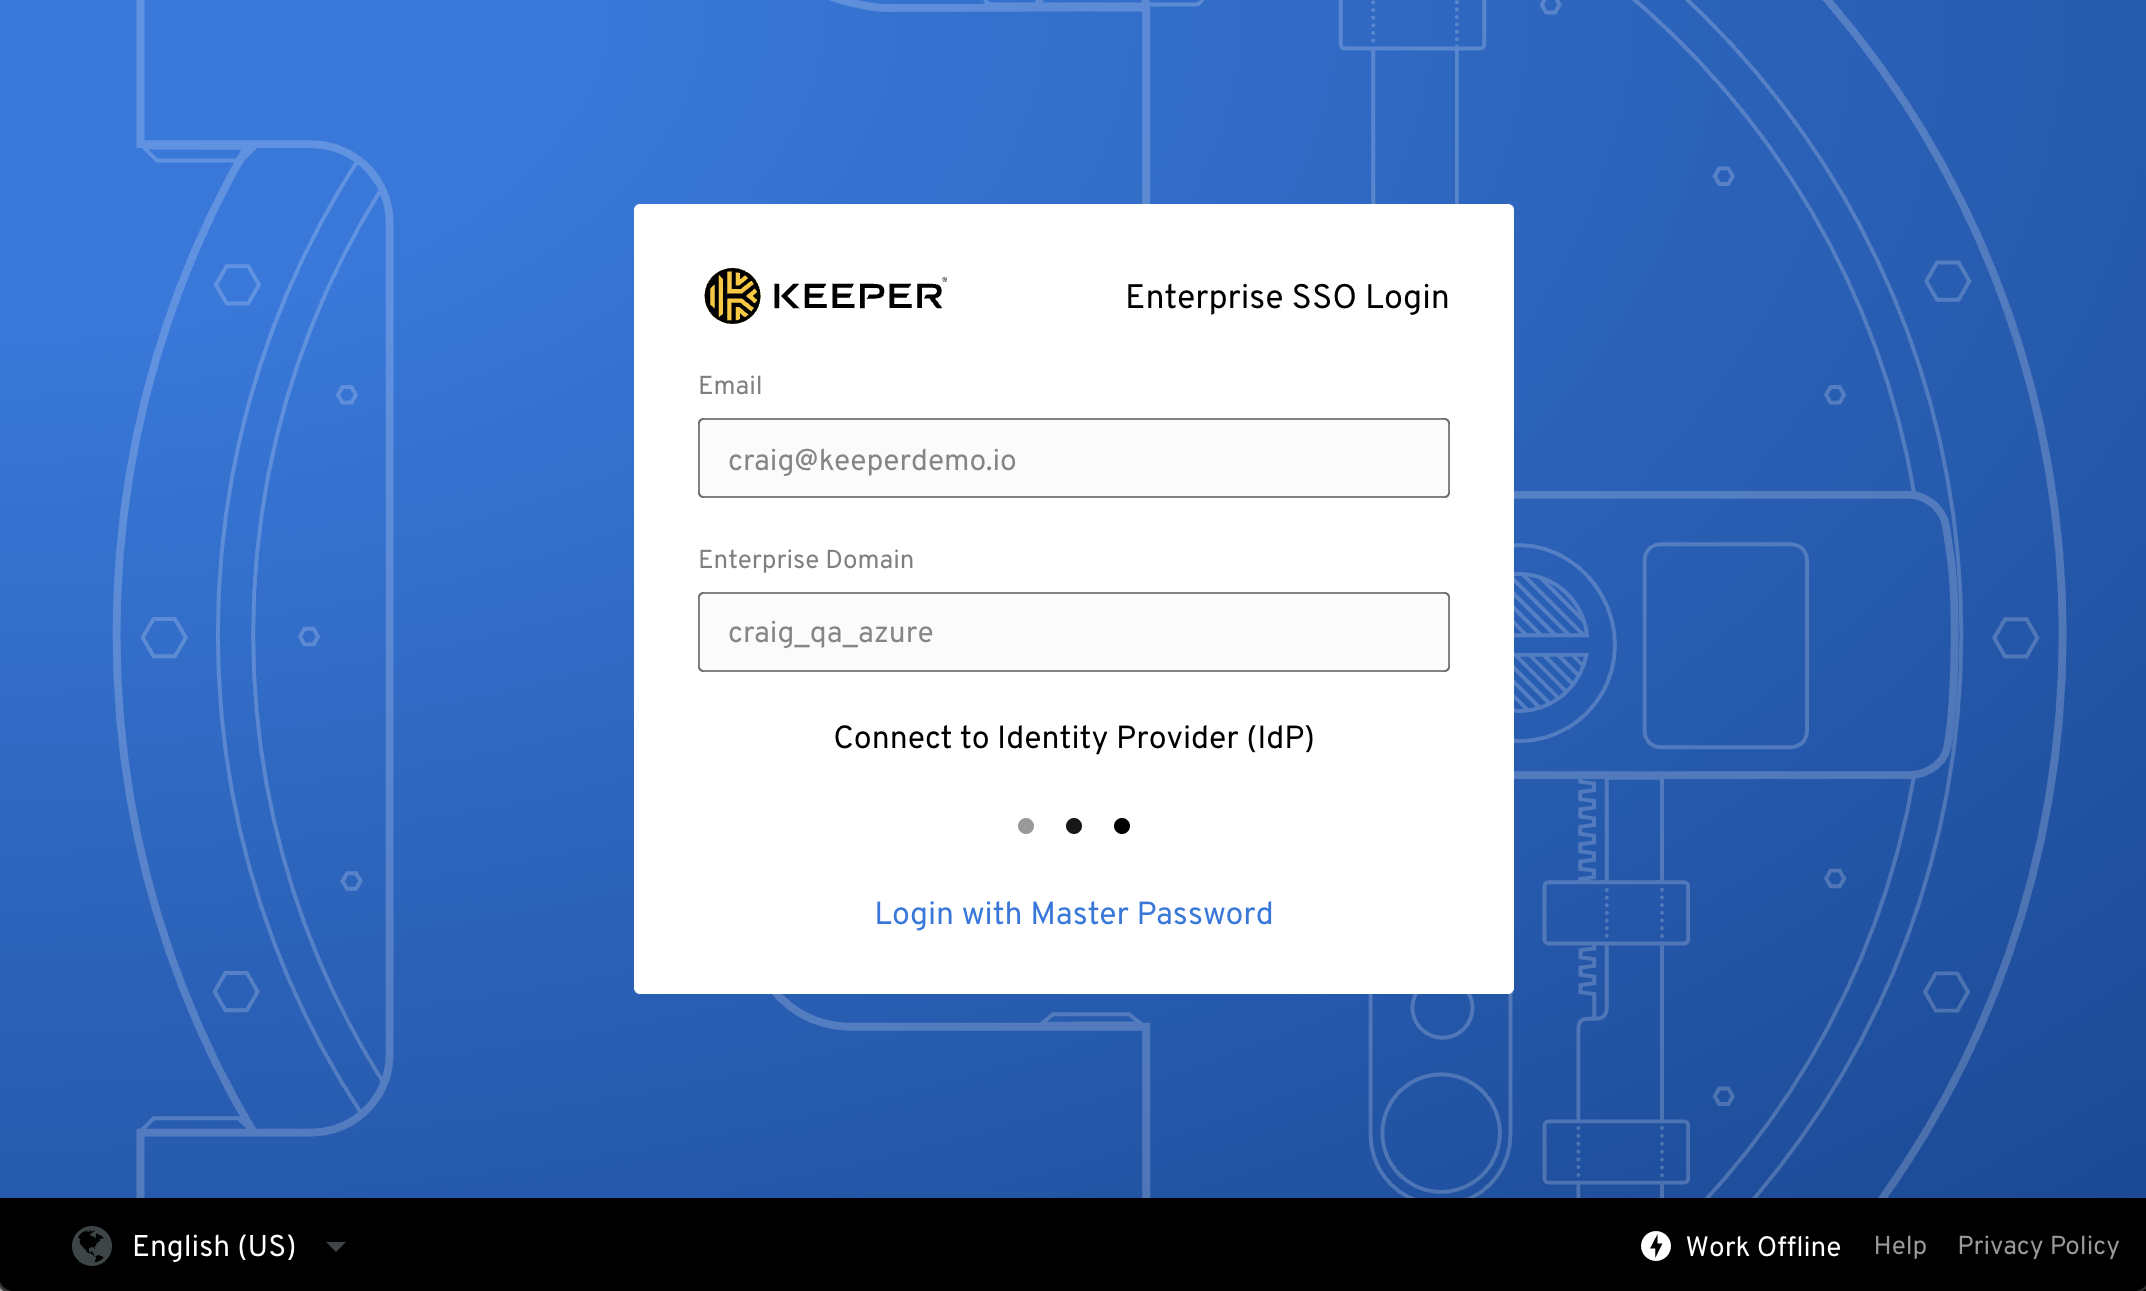
Keeperオートメーターをデプロイしたら、エンドユーザー体験をテストできます。ユーザーがSSOのIDプロバイダーで認証したあとは、承認を求めるプロンプトは表示されません。

最も簡単なテスト方法は、ブラウザのシークレットウィンドウからKeeperウェブボルトを開き、クラウドSSOコネクトでログインすることです。デバイス承認を求めるプロンプトは表示されません。

<figure><img src="https://1914737032-files.gitbook.io/~/files/v0/b/gitbook-x-prod.appspot.com/o/spaces%2F-Mfd2v-YT48Ljtykb8qm%2Fuploads%2FnAGBNvh99hgIOnNOuJdv%2FScreen%20Shot%202021-09-10%20at%205.17.42%20PM.png?alt=media&#x26;token=e8222ad6-49b4-4b22-9e5b-bde5fd35beb0" alt=""><figcaption></figcaption></figure>

<figure><img src="https://1914737032-files.gitbook.io/~/files/v0/b/gitbook-x-prod.appspot.com/o/spaces%2F-Mfd2v-YT48Ljtykb8qm%2Fuploads%2FbqTOKRYMbSo5HTGpHTQX%2FScreen%20Shot%202021-09-10%20at%205.18.15%20PM.png?alt=media&#x26;token=73817b67-9c8b-4e42-b585-3e73d0a6b437" alt=""><figcaption></figcaption></figure>

<figure><img src="https://1914737032-files.gitbook.io/~/files/v0/b/gitbook-x-prod.appspot.com/o/spaces%2F-Mfd2v-YT48Ljtykb8qm%2Fuploads%2F2ePvTbVgjp70enV5sTmc%2FScreen%20Shot%202021-09-10%20at%205.30.15%20PM.png?alt=media&#x26;token=ed4aff69-cdc9-494c-bcc3-29523f8cc65a" alt=""><figcaption></figcaption></figure>

<figure><img src="https://1914737032-files.gitbook.io/~/files/v0/b/gitbook-x-prod.appspot.com/o/spaces%2F-Mfd2v-YT48Ljtykb8qm%2Fuploads%2FhKfNZnzP0MelaFgtnj7s%2FScreen%20Shot%202021-09-10%20at%205.32.12%20PM.png?alt=media&#x26;token=7fb689ee-343e-4117-825b-beaeff2e9409" alt=""><figcaption></figcaption></figure>


---

# Agent Instructions
This documentation is published with GitBook. GitBook is the documentation platform designed so that both humans and AI agents can read, navigate, and reason over technical content effectively. Learn more at gitbook.com.

## Querying This Documentation
If you need additional information that is not directly available in this page, you can query the documentation dynamically by asking a question.

Perform an HTTP GET request on the current page URL with the `ask` query parameter, and the optional `goal` query parameter:

```
GET https://docs.keeper.io/sso-connect-cloud/jp/device-approvals/automator/docker-compose.md?ask=<question>&goal=<endgoal>
```

`ask` is the immediate question: it should be specific, self-contained, and written in natural language.
`goal` is optional and describes the broader end goal you are ultimately trying to accomplish on behalf of the user. GitBook uses it to tailor the answer towards what is most useful for that goal.

The response will contain a direct answer to the question and relevant excerpts and sources from the documentation.

Use this mechanism when the answer is not explicitly present in the current page, you need clarification or additional context, or you want to retrieve related documentation sections.