> For the complete documentation index, see [llms.txt](https://docs.keeper.io/llms.txt). Markdown versions of documentation pages are available by appending `.md` to page URLs; this page is available as [Markdown](https://docs.keeper.io/user-guides/es/import-records-1/import-from-msecure.md).
# Importar desde mSecure
Instrucciones para importar sus contraseñas de mSecure a Keeper
## Exportar
Para importar desde mSecure, primero debe exportar sus registros.
**Mac**
1. Inicie sesión en su cuenta de mSecure.
2. Haga clic en **File > Export CSV**.
.png?alt=media)
2. Acepte la advertencia haciendo clic en **OK**.
3. Seleccione **Export All Records**.
4. Ingrese un nombre para el archivo y haga clic en **Export**.
**Windows**
1. Inicie sesión en su cuenta de mSecure.
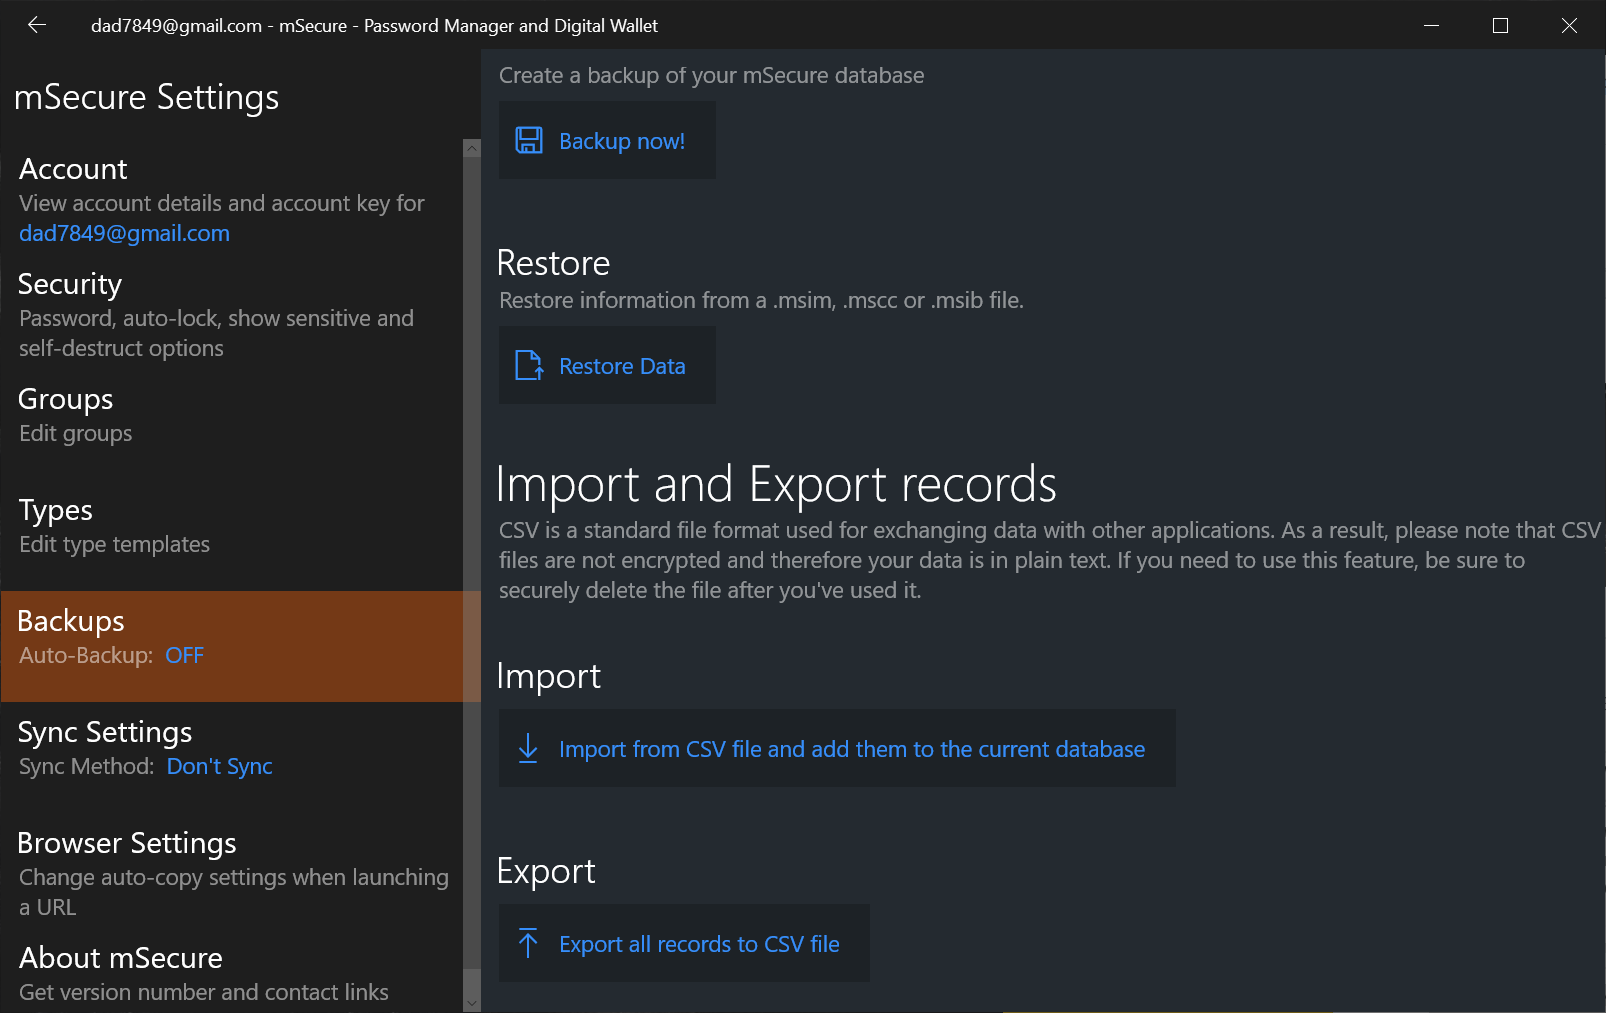
2. Haga clic en el icono **Settings**.
3. Haga clic en **Backups > Export**.
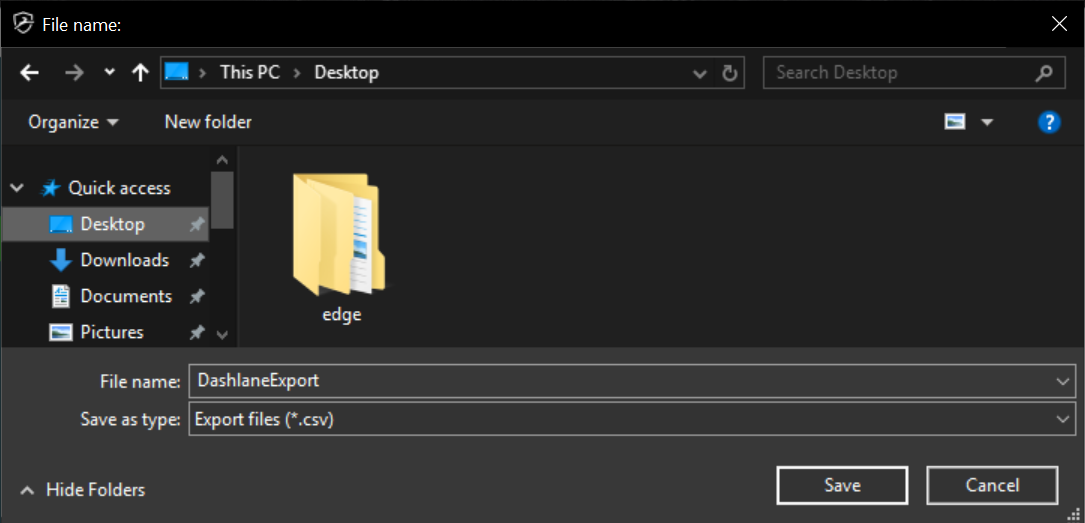
4. Ingrese un nombre para el archivo y haga clic en **Save**.
## Importar
1. Inicie sesión en la bóveda web o en la aplicación de escritorio de Keeper.
2. En el **menú desplegable de la cuenta**, haga clic en **Configuración**.
3. Haga clic en **Importar > Importar** (junto a "Usar otra fuente") y, en el menú desplegable, seleccione **mSecure**.
4. Arrastre y suelte el archivo exportado en la ventana "Soltar archivo aquí" de Keeper o busque el archivo en su computadora. Marque la casilla si su archivo incluye encabezados de columna; de lo contrario, la primera fila se tratará como datos.
5. Una vez importadas las credenciales, puede personalizar cómo desea que aparezca la información en su bóveda en la pantalla de asignación de campos. Verá nombres de campo estándar en la parte superior que se “asignan” a los datos de abajo para cada registro de Keeper.
Para ajustar estas asignaciones:
* Haga clic en cualquier campo para abrir un menú desplegable
* Seleccione el nombre de campo adecuado de la lista. Repita este proceso en cada columna según sea necesario
* Haga clic en **Siguiente** para finalizar sus selecciones.
6. A continuación, una pantalla de resumen mostrará una vista previa de su bóveda, con la estructura de carpetas de los registros importados. Aquí puede ajustar la estructura de carpetas y hacer clic en registros individuales para ver sus detalles antes de finalizar la importación. Haga clic en **Confirmar importación** para completar el proceso.
{% hint style="warning" %}
Elimine el archivo local de mSecure de su computadora.
{% endhint %}
---
# Agent Instructions
This documentation is published with GitBook. GitBook is the documentation platform designed so that both humans and AI agents can read, navigate, and reason over technical content effectively. Learn more at gitbook.com.
## Querying This Documentation
If you need additional information that is not directly available in this page, you can query the documentation by asking a question.
Perform an HTTP GET request on the following URL with the `ask` and `goal` query parameters:
```
GET https://docs.keeper.io/user-guides/es/import-records-1/import-from-msecure.md?ask=&goal=
```
`ask` is the immediate question: it should be specific, self-contained, and written in natural language.
`goal` is what the user is ultimately trying to achieve, the reason they need the answer. Sharing it helps GitBook give you a better, more relevant answer. A goal is most helpful when it describes the outcome the user wants rather than restating the question. For example, with `ask=how do I create an API token`, a goal like `automate deployments from our CI pipeline` lets GitBook tailor the answer to that use case.
The response will contain a direct answer to the question and relevant excerpts and sources from the documentation.
Use this mechanism when the answer is not explicitly present in the current page, you need clarification or additional context, or you want to retrieve related documentation sections.