# Custom SSL Certificate
### Overview
Keeper Automator encrypts the communication between the Keeper backend and the Automator service running in the customer's environment.
The service needs to be publicly resolvable from the Keeper Cloud. Ingress should be restricted to [specific Keeper IPs](/sso-connect-cloud/device-approvals/automator/ingress-requirements.md), and optionally extended to other networks in order to access the Automator's healthcheck endpoint.
If a custom certificate is not used, Keeper Automator will generate a self-signed certificate by default. This can allow Automator to start and run for testing scenarios, however valid SSL encryption will be required for production use.
There are multiple ways to manage SSL certification for your Automator deployment:
* Some Automator deployments are recommended as they will handle TLS termination for you (i.e. [Azure Container App](/sso-connect-cloud/device-approvals/automator/azure-container-app.md), [Azure App Services](/sso-connect-cloud/device-approvals/automator/azure-app-services.md), [Google Cloud](/sso-connect-cloud/device-approvals/automator/google-cloud-with-gcp-cloud-run.md)).
* Tunnel services like [Cloudflare Connectors](#using-cloudflare-connectors) can apply the TLS layer without a need for a certificate at the Automator level.
* You can obtain a quick, easy, and free SSL certificate at [ZeroSSL](https://zerossl.com/).
* Finally, you can follow instructions below for more control over each step of the process with OpenSSL.
### Generate and Prepare the SSL Certificate
Keeper Automator requires a valid signed SSL certificate that has been signed by a public certificate authority. The process of generating an SSL certificate varies depending on the provider, but the general flow is documented here.
**Follow these steps to create the two certificate files needed for automator to run, which must be named `ssl-certificate.pfx` and `ssl-certificate-password.txt`**
**(1)** Using the openssl command prompt, generate a private key
```
openssl genrsa -out automator.key
```
**(2)** Generate a CSR, making sure to use the hostname which you plan to use for Automator. In this case, we will be using `automator.lurey.com`. The important item here is that the Common Name matches exactly to the domain.
```
openssl req -new -key automator.key -out automator.csr
Country Name (2 letter code) [XX]:US
State or Province Name (full name) []:Illinois
Locality Name (eg, city) [Default City]:Chicago
Organization Name (eg, company) [Default Company Ltd]:Company, LLC
Organizational Unit Name (eg, section) []:Engineering
Common Name []:automator.yourcompany.com
Email Address []:webmaster@yourcompany.com
```
**(3)** Purchase an SSL certificate (or grab a free 90 day cert) and Submit the CSR to your SSL certificate provider.
{% hint style="warning" %}
Ensure that the SSL certificate created for your Automator instance is only used for this purpose. Do not use a wildcard certificate that is shared with other services.
{% endhint %}
If you don't have a provider already, you can use is: . The least expensive SSL cert for one domain is fine.
**Choose a URL** and create a certificate for a domain that is specific for Automator, e.g. automator.company.com.
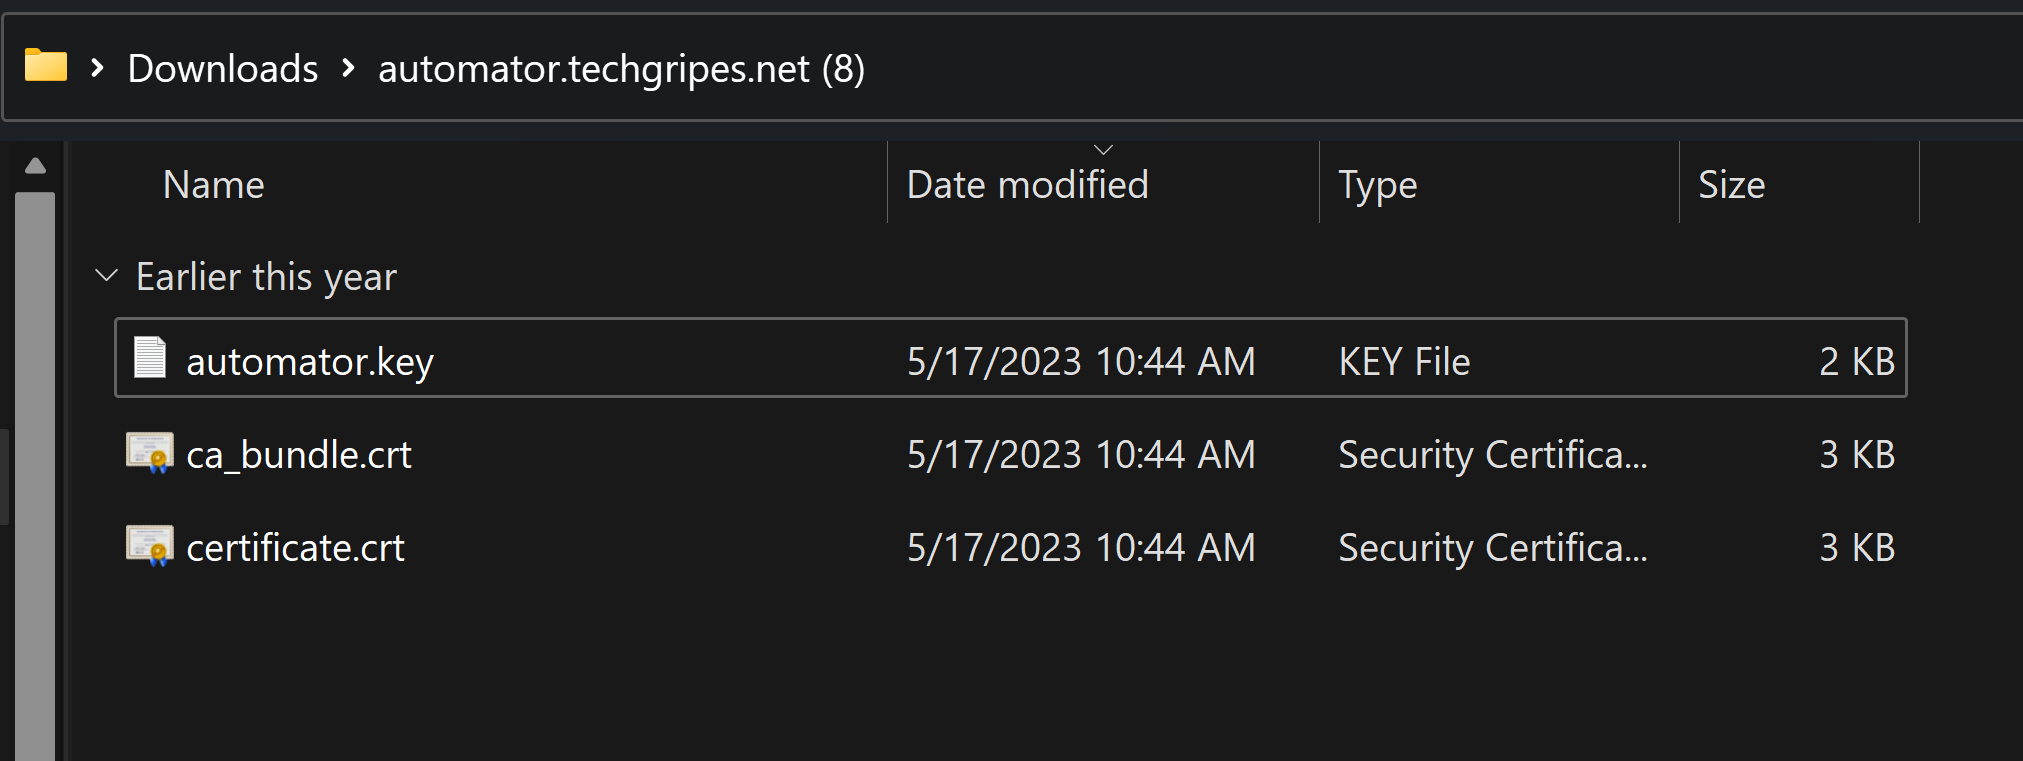
The SSL certificate provider will deliver you a zip file that contains a signed certificate (.crt file) and intermediate CA cert. The bundle may be in either .crt or .ca-bundle file extension type. Unzip this file into the same location as your .key file that you created earlier.
Extract the zip file to the same location as your .key file
**(4) After the certificate has been issued, it needs to be converted using OpenSSL to `.pfx` format including the full certificate chain (root, intermediate and CA cert).**
{% hint style="info" %}
On [Windows](#using-windows), make sure to launch the OpenSSL command prompt and navigate to the folder that has your files.
{% endhint %}
{% code overflow="wrap" %}
```
openssl pkcs12 -export -out ssl-certificate.pfx -inkey automator.key -in automator.yourcompany.com.crt -certfile automator.yourcompany.com.ca-bundle
```
{% endcode %}
Set your export password when prompted. Then create a new text file called ssl-certificate-password.txt and put the export password into that file and save it.
* `automator.key` is the private key generated in step 1.
* `automator.yourcompany.com.crt` is the signed certificate delivered in step 3.
* `automator.yourcompany.com.ca-bundle` is the CA bundle
* `ssl-certificate.pfx` is the output file used by Automator that has been encrypted with a password.
* `ssl-certificate-password.txt` contains the password used to encrypt the .pfx file.
We recommend to save all 5 files in your Keeper vault.
{% hint style="warning" %}
Ensure that your .pfx file contains your issued cert AND the full certificate chain from your provider. If you don't provide a full certificate chain, the communication will fail and Automator will be unable to connect to your URL.\
\
To check the .pfx, use openssl:\
\&#xNAN;**`openssl pkcs12 -in ssl-certificate.pfx -info`**\
\
If the .pfx is correct, you will see 3 certificates.
If you only see one certificate, or if you see four or five certificates, the .pfx is incorrect and you need to repeat the process.
{% endhint %}
**(5)** Save `ssl-certificate.pfx` and `ssl-certificate-password.txt` for the deployment steps later in this guide.
Please also ensure that you have backed up the files in your Keeper vault so that you can refer to these later when updating the service or re-keying the certificate.
**(6)** Review the annual certificate update process [documented below](#annual-renewal-process).
## Using Windows
### Generate and Prepare the SSL Certificate
Keeper Automator requires a valid signed SSL certificate that has been signed by a public certificate authority. We do not support self-signed certificates. The process of generating an SSL certificate varies depending on the provider, but the general flow is documented here.
Download and install OpenSSL. For convenience, a 3rd party (slproweb.com) has created a binary installer. A popular binary installer is linked below:
\
\
Install the version at the bottom labeled "**Win32 OpenSSL vX.X.X Light**"
During install, the default options can be selected. In the install process, you may be asked to also install a Microsoft Visual Studio extension. Go ahead and follow the instructions to install this extension before completing the OpenSSL setup.


Run the OpenSSL Command Prompt
In your Start Menu there will be an OpenSSL folder. Click on the Win32 OpenSSL Command Prompt.


***
## Using Cloudflare Connectors
Cloudflare connectors can be used to bypass the need for a SSL certificate at Automator level. To use Cloudflare, follow the steps below.
#### Step 1: Add Your Domain to Cloudflare
1. **Log In** to the [Cloudflare Dashboard](https://dash.cloudflare.com/)
2. **Onboard a Domain**:
* Click **"Onboard a Domain"**
* Enter your domain (e.g., `example.com`)
* Select a Cloudflare plan (Free or Paid)
3. **Review & Configure DNS Records**:
* Cloudflare will attempt to auto-detect existing DNS records.
* Review and update as needed.
4. **Update Nameservers**:
* Cloudflare provides 2 nameservers.
* Update these at your domain registrar.
* **Wait for DNS propagation** (can take up to 24 hours)
5. **Enable SSL/TLS**:
* In the Cloudflare dashboard, go to **SSL/TLS**
* Set SSL mode to **Full** or **Full (strict)** for secure connections
#### Step 2: Create a Cloudflare Tunnel
1. **Access Zero Trust Dashboard**:
* Go to [Cloudflare Zero Trust](https://one.dash.cloudflare.com/)
* Navigate to **Networks > Connectors**
2. **Create a Tunnel**:
* Click **"Create a tunnel"**
* Choose **"Cloudflared"** as the connector type
* Name your tunnel (e.g., `automator-service-tunnel`)
* Install the cloudflared client on a machine in your network (this can be the same machine Automator will be running on, or a machine with line of sight to it).
3. **Create Public Hostname**:
* During the tunnel setup, define the public hostname (e.g., `automator.yourdomain.com`) and leave the path blank
* Set:
* **Type**: HTTP
* **Service URL**: `http://:` where `HOSTNAME` is the IP/hostname of the machine running Automator, and `PORT` is the port set for your Automator service to run on.
#### Step 3: Automator Configuration
* When setting up Automator on your machine, set the `SSL_MODE` environment variable / property to `none`, and omit any other SSL property or volume intended for SSL certificate files.
* When configuring the Automator object in Commander (`automator edit` command), set the hostname you used for your tunnel in Step 2.3 (`https://automator.yourdomain.com`) as URL.
***
## Annual Renewal Process
On an annual basis, you will need to renew your SSL certificate. Most certificate providers will generate a new cert for you. After certificate renewal, replace the `.pfx` certificate file in your Automator instance and then restart the service. Refer to the specific automator install method documentation on the exact process for updating the file and restarting the service.
### For environments using AD FS ...
If you are using Keeper Automator with AD FS as the identity provider, users will not be able to login until you update the Keeper certificate using the instructions below:
* Login to the Keeper Admin Console
* Go to Admin > SSO Node > Provisioning and then view the SSO Cloud configuration.
* Click on "Export SP Cert".
* In the AD FS Management Console select the Keeper Cloud SSO Relying Party Trust properties.
* On the "Encryption" tab, replace the old certificate with this new cert.
* On the "Signature" tab, Add/Replace the new SP certificate with this new cert.
### If you are experiencing login issues after the certificate update
After certificate renewal, sometimes it is necessary to publish a new SP certificate in your identity provider following the below steps:
* Login to the Keeper Admin Console
* Go to Admin > SSO Node > Provisioning and then view the SSO Cloud configuration.
* Click on "**Export SP Cert**" and save the certificate file.
* Click on "Export Metadata" and save the metadata file, which also contains the certificate.
* Login to your Identity Provider portal and view the SSO configuration for Keeper.
* Upload Keeper's SP certificate file (or metadata, if required) following their instructions to update the Service Provider certificate and Save.
The reason for this, is because the Automator service essentially becomes the service provider. The SSL certificate generated by the customer is used in the signing process.
### Azure and AWS Deployments
If you are updating the SSL certificate in an environment that utilizes application gateways or a load balancer with a custom domain that terminates SSL, you need to also update the certificate on that device.
* For Azure deployments using an App Gateway, the `.pfx` certificate must also be updated in the https listener for the gateway. Go to your Azure > Resource groups > App Gateway > Listeners and upload the new certificate.
---
# Agent Instructions: Querying This Documentation
If you need additional information that is not directly available in this page, you can query the documentation dynamically by asking a question.
Perform an HTTP GET request on the current page URL with the `ask` query parameter:
```
GET https://docs.keeper.io/sso-connect-cloud/device-approvals/automator/custom-ssl-certificate.md?ask=
```
The question should be specific, self-contained, and written in natural language.
The response will contain a direct answer to the question and relevant excerpts and sources from the documentation.
Use this mechanism when the answer is not explicitly present in the current page, you need clarification or additional context, or you want to retrieve related documentation sections.