

Shared Folder containing a record with 3 files
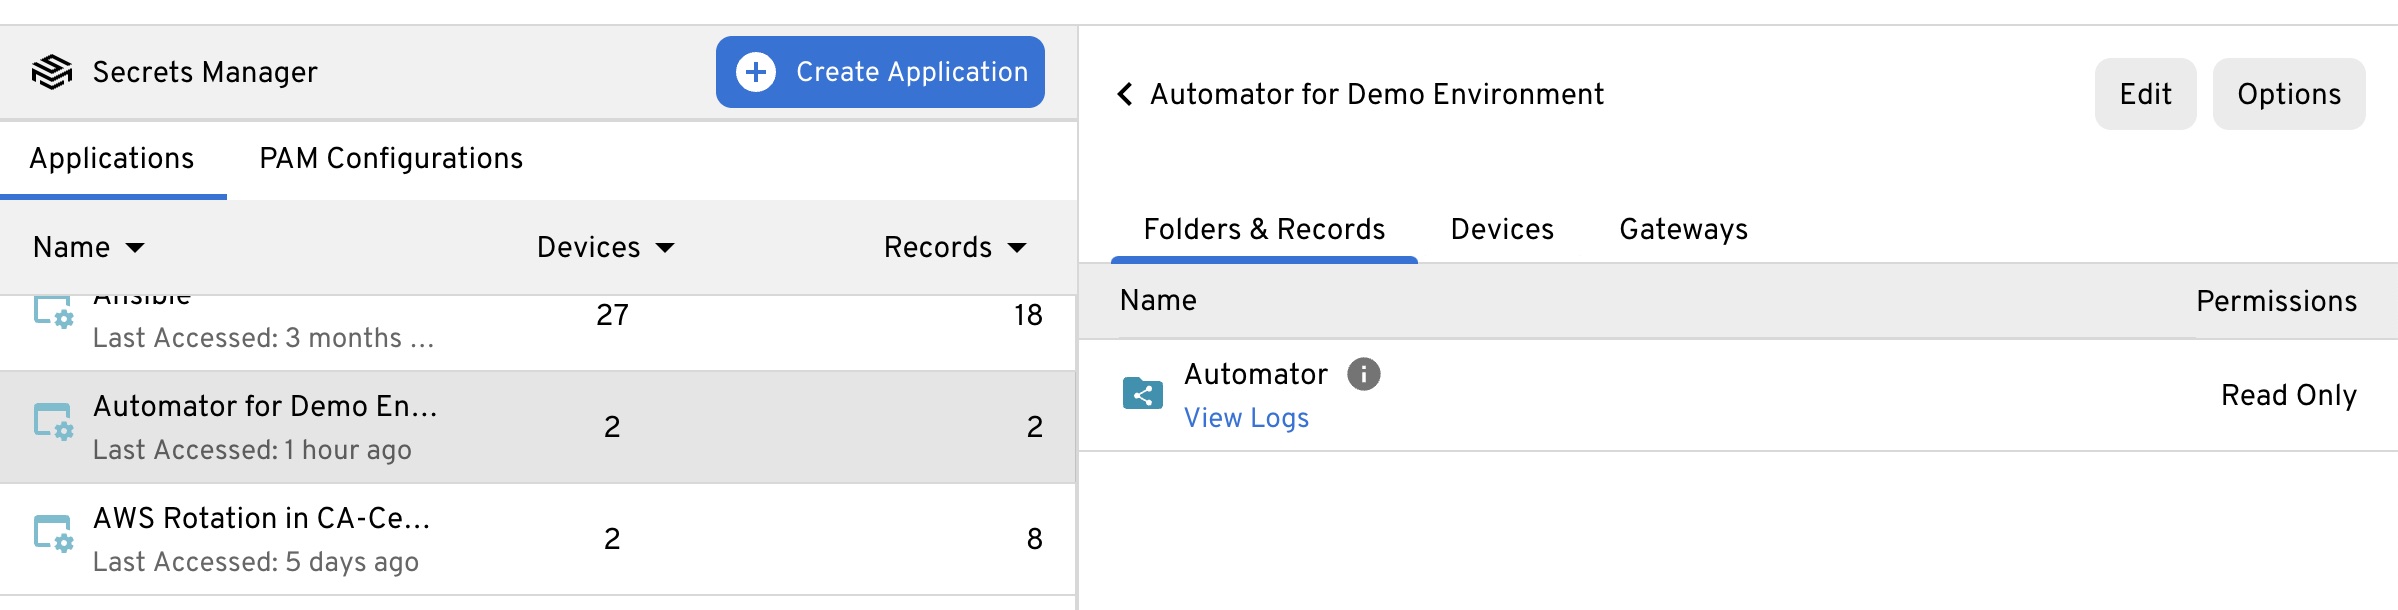
KSM Application

Assign Application to Shared Folder
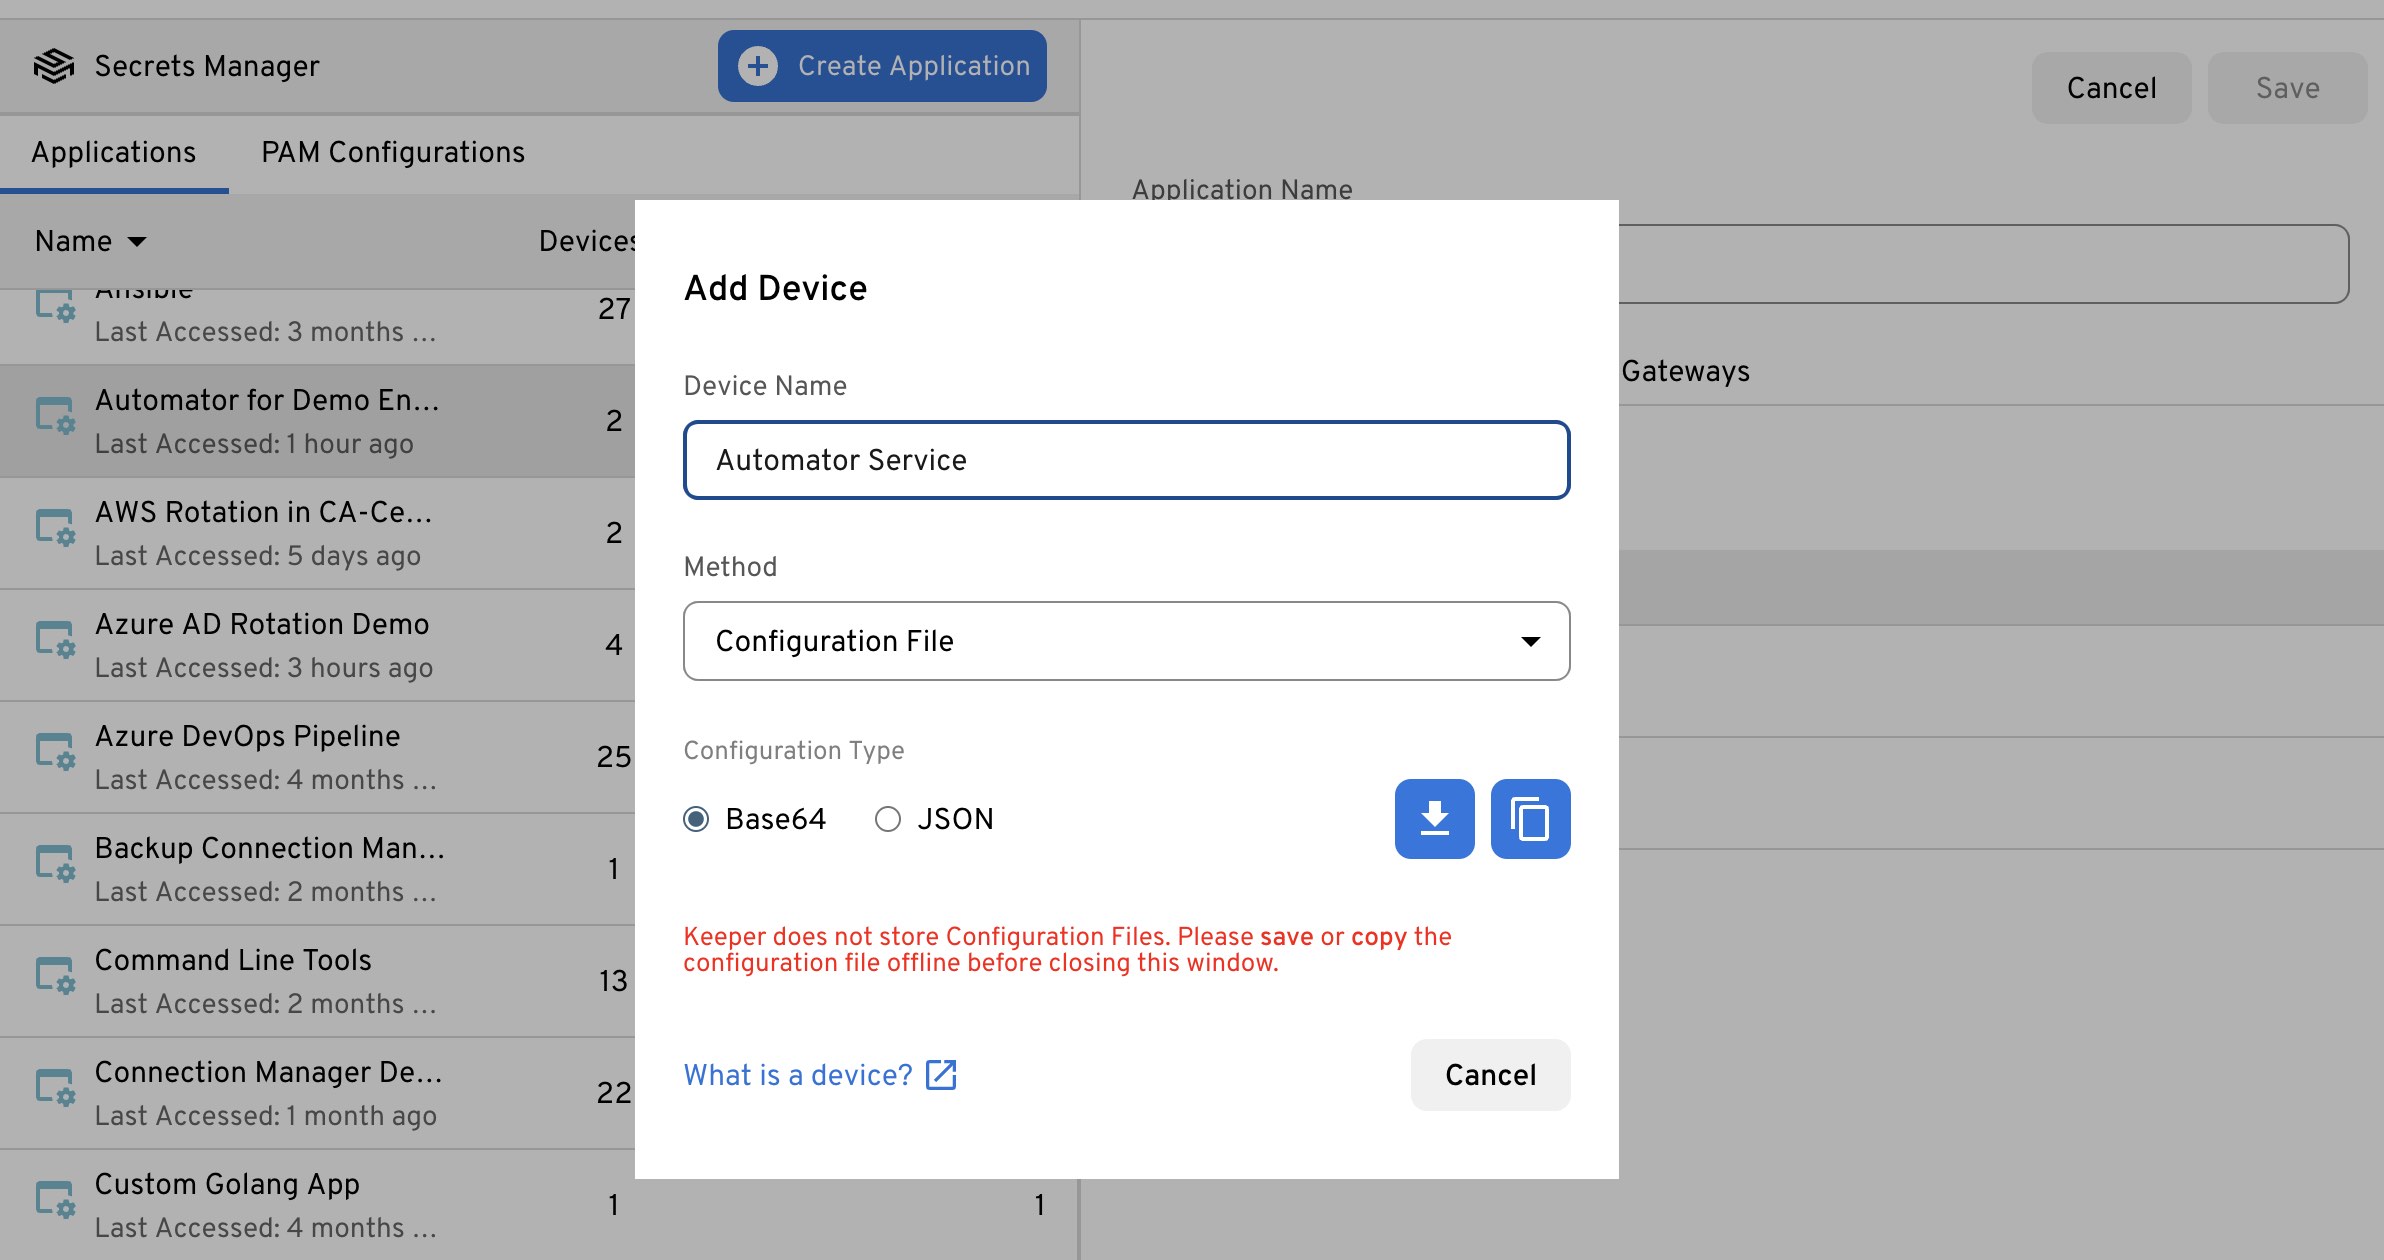
Create base64 configuration
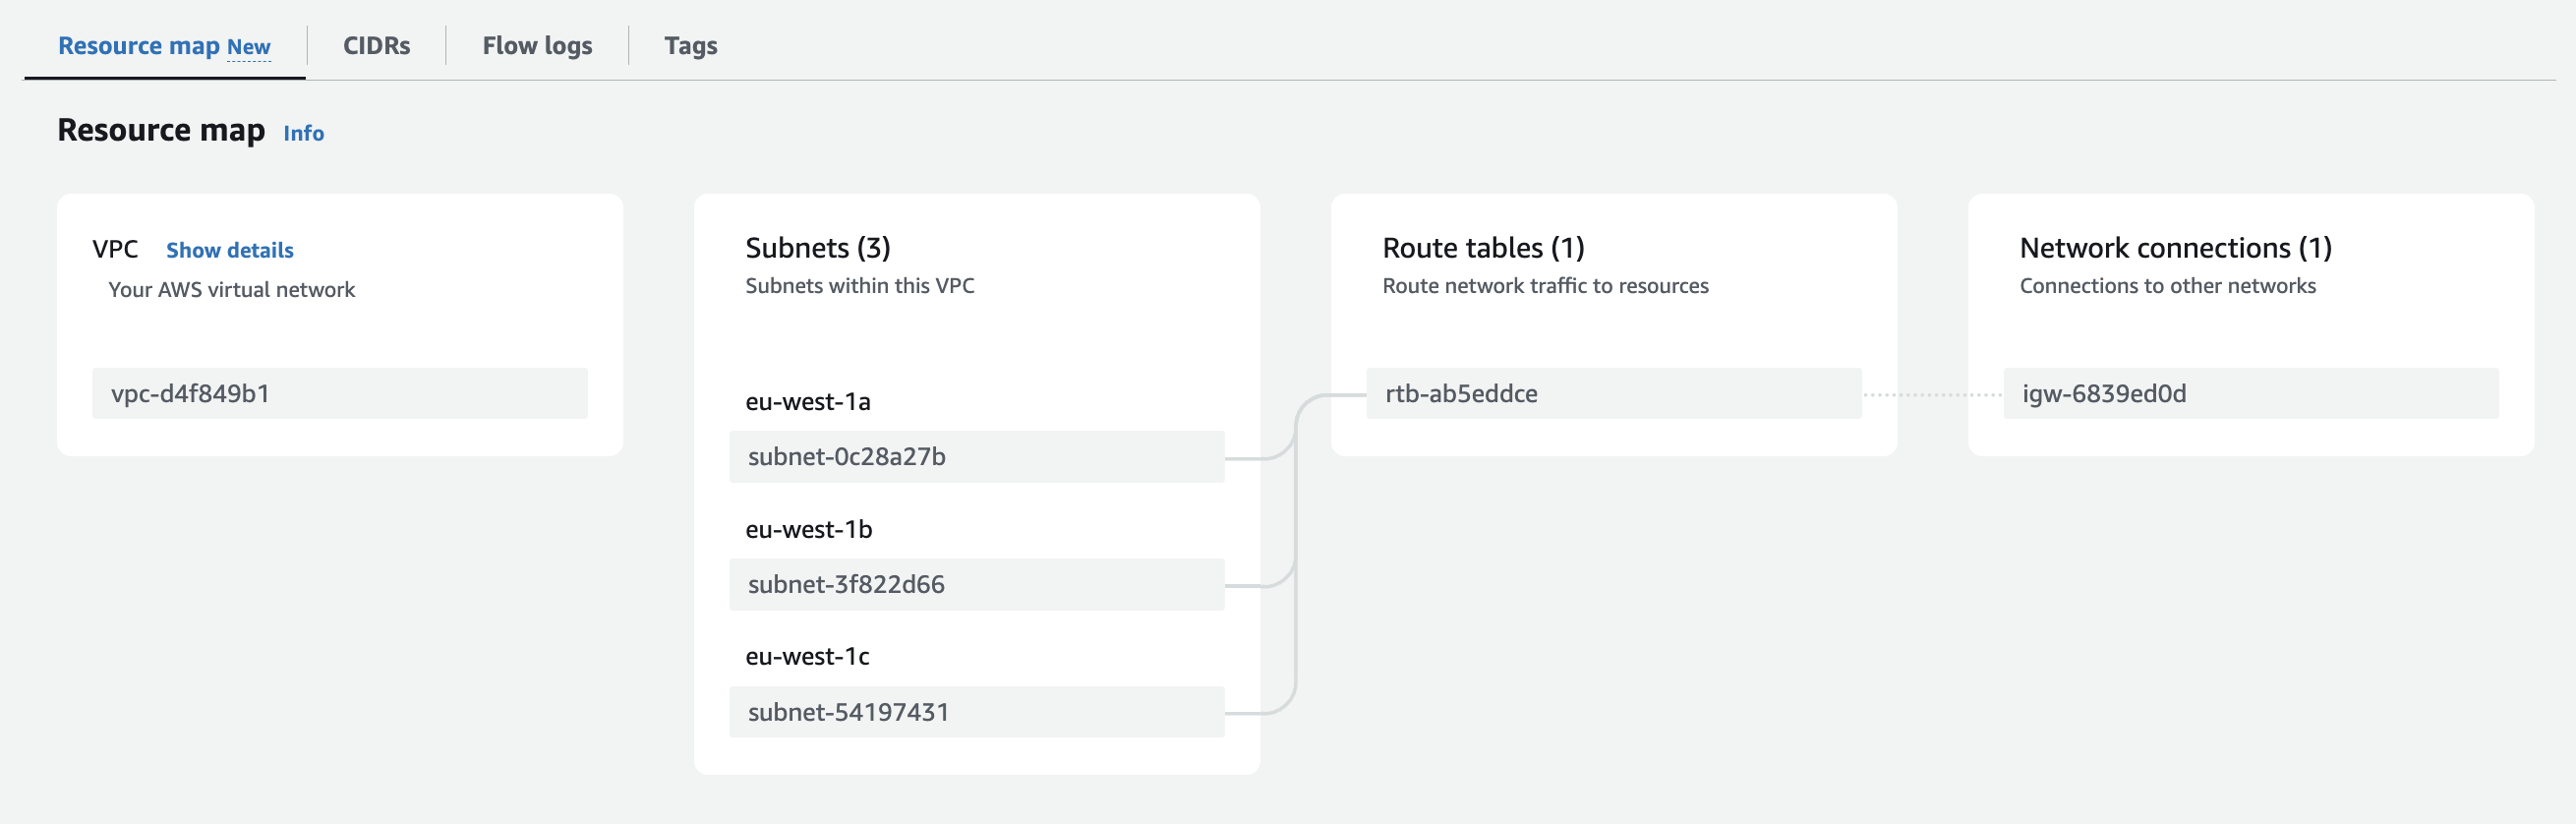
VPC Setup

Create CloudWatch Log Group


Make note of ARN

Create ECS Security Group

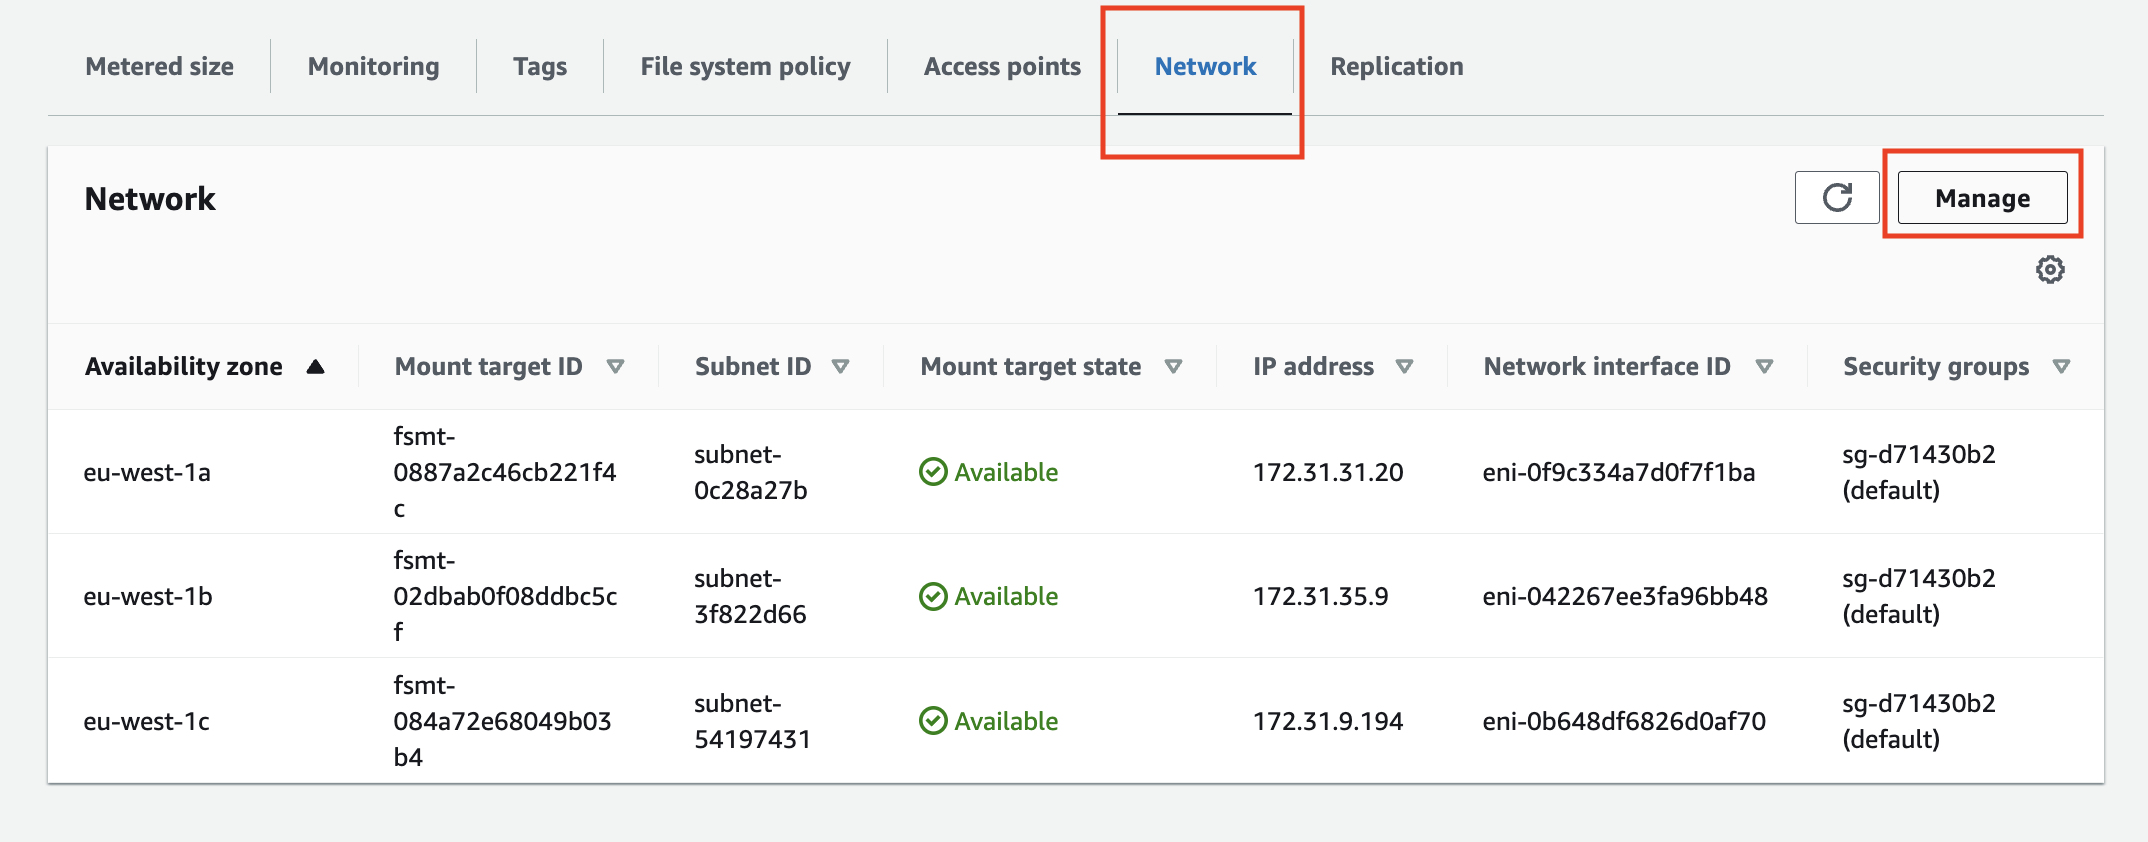
Manage the network security group on EFS

Change the security group on EFS
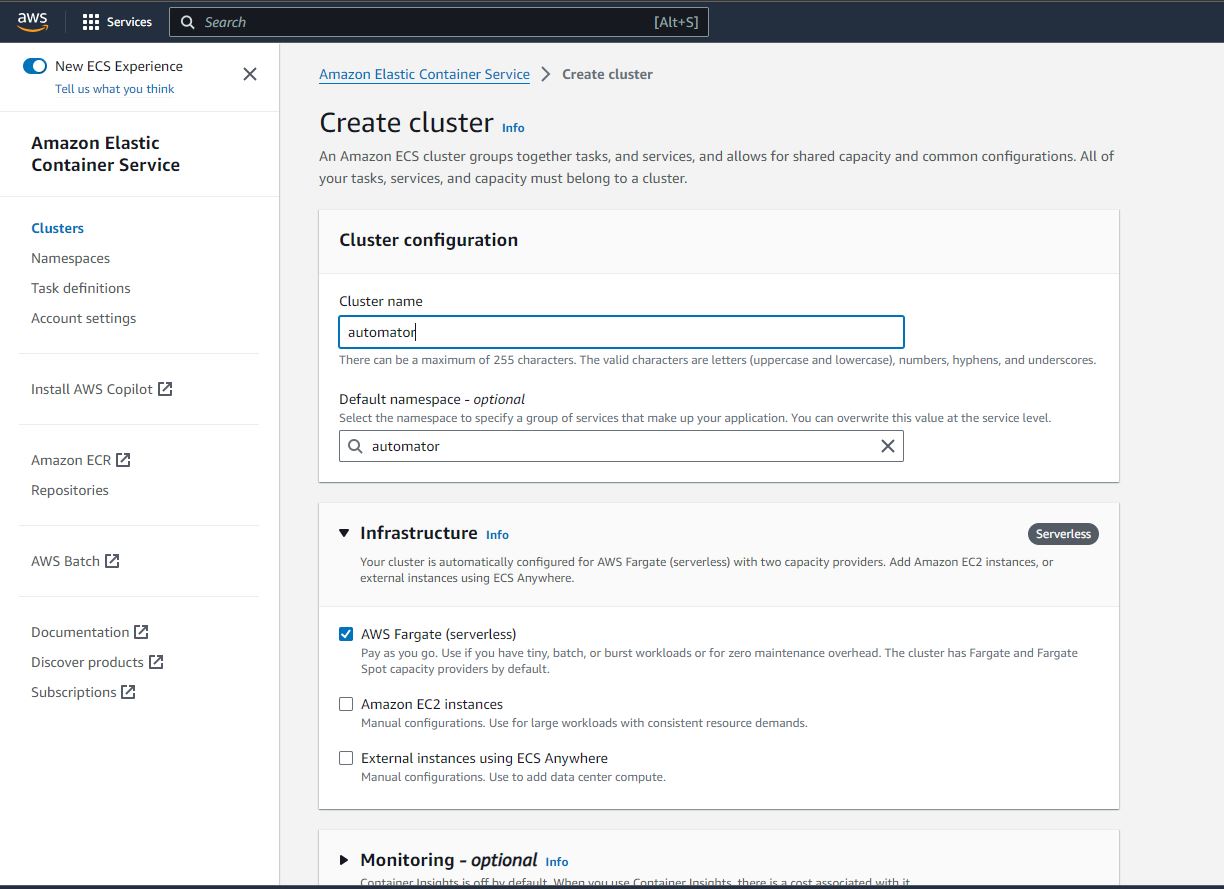
Create ECS Cluster with AWS Fargate

Create task definition with JSON
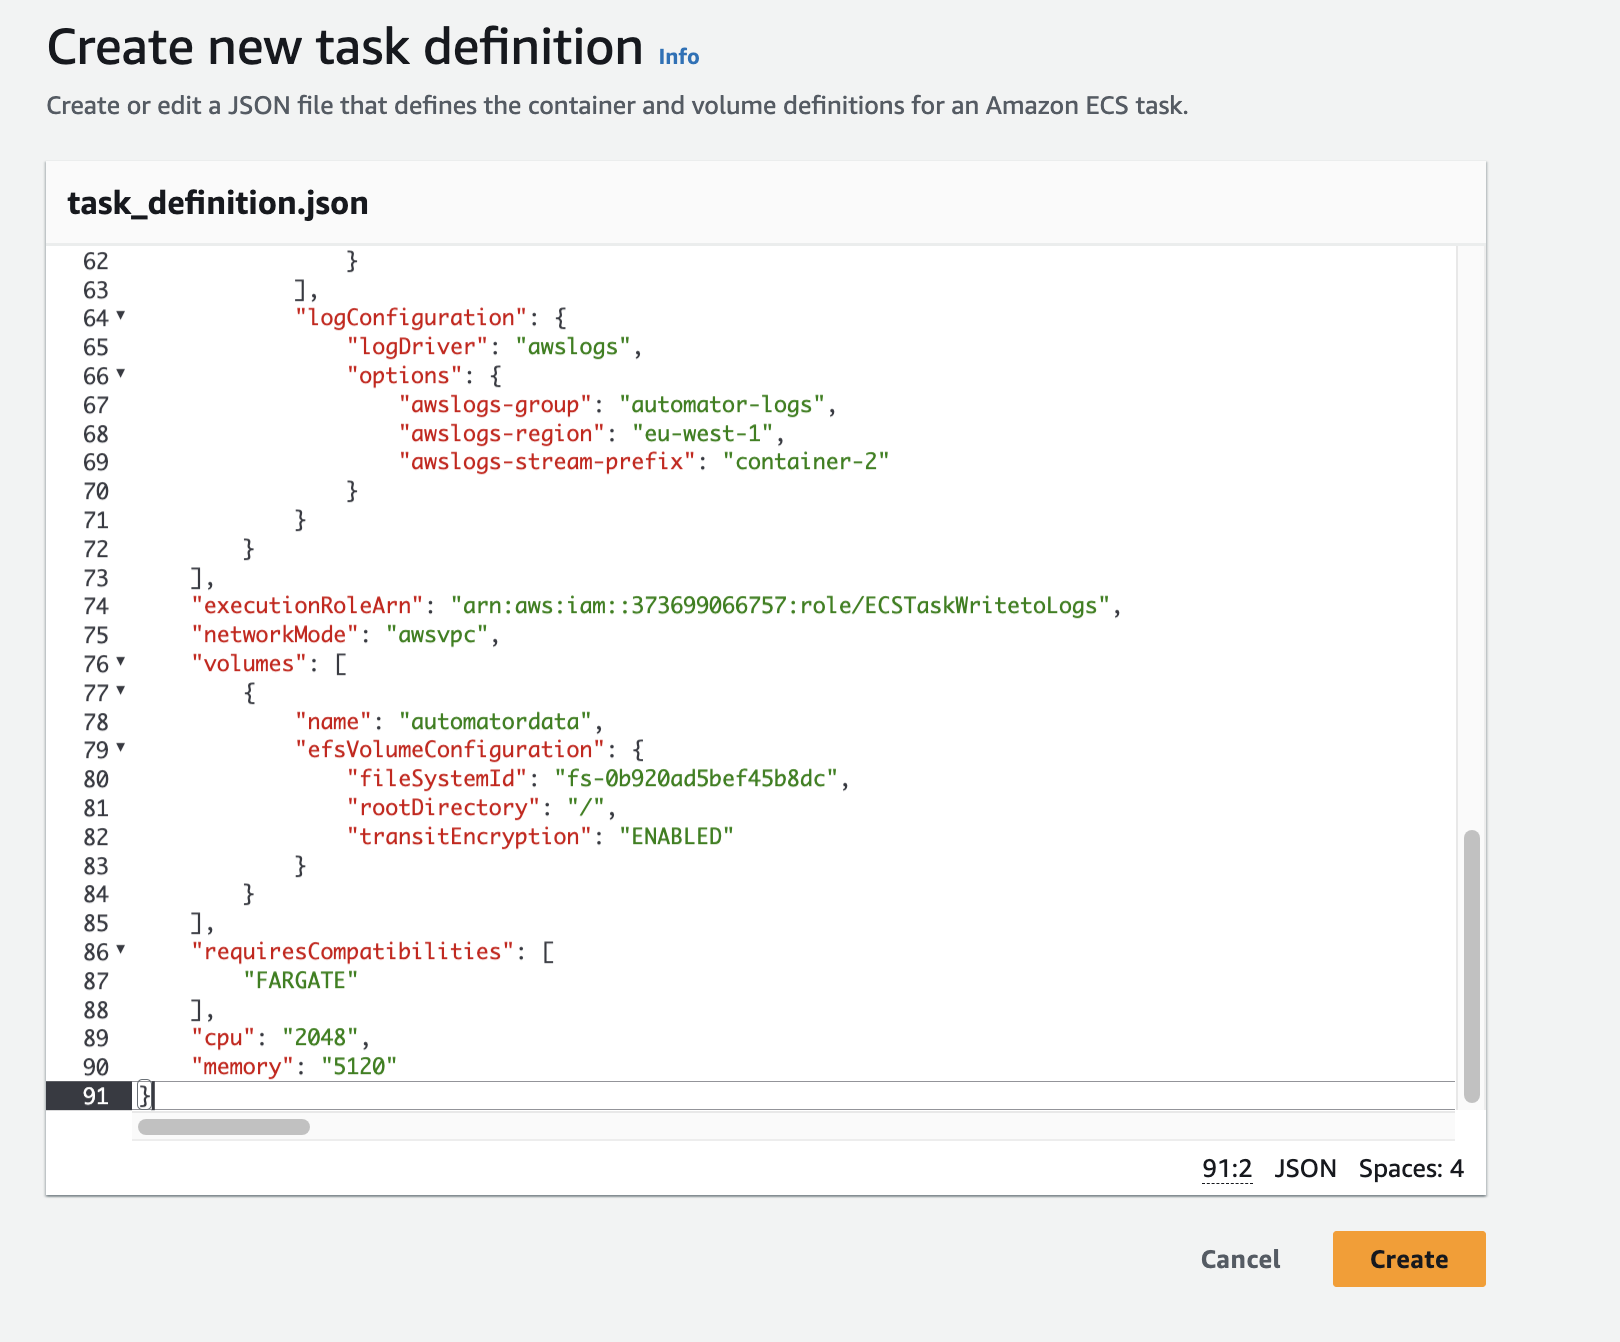
Task definition

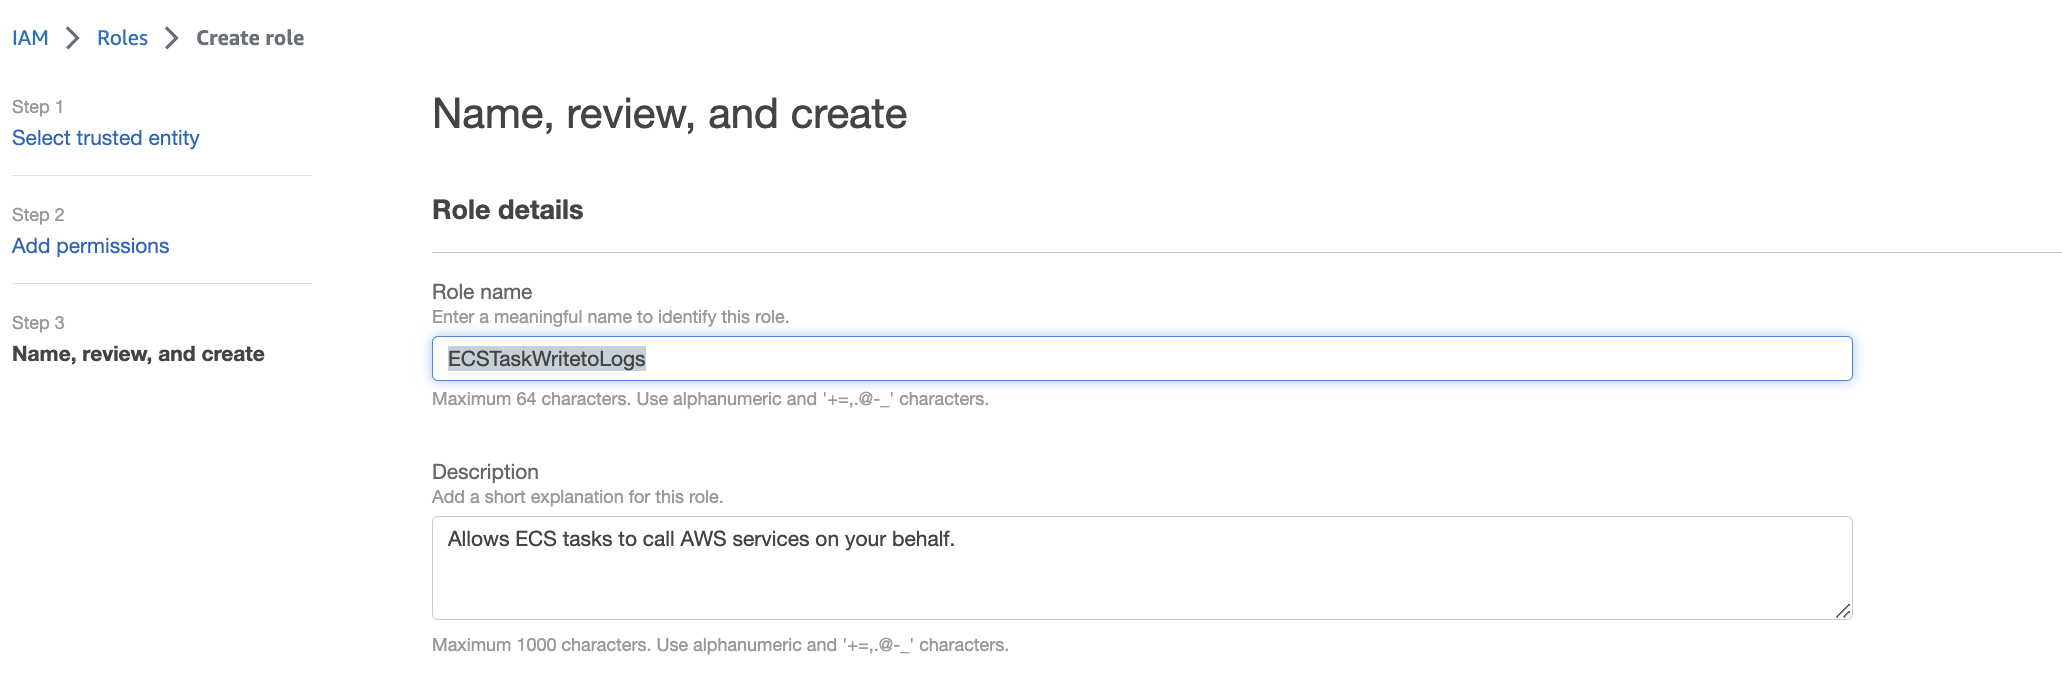
Import Certificate for Automator Service

Create service

Environment Section of ECS Service

Deployment configuration

Networking section of ECS Service

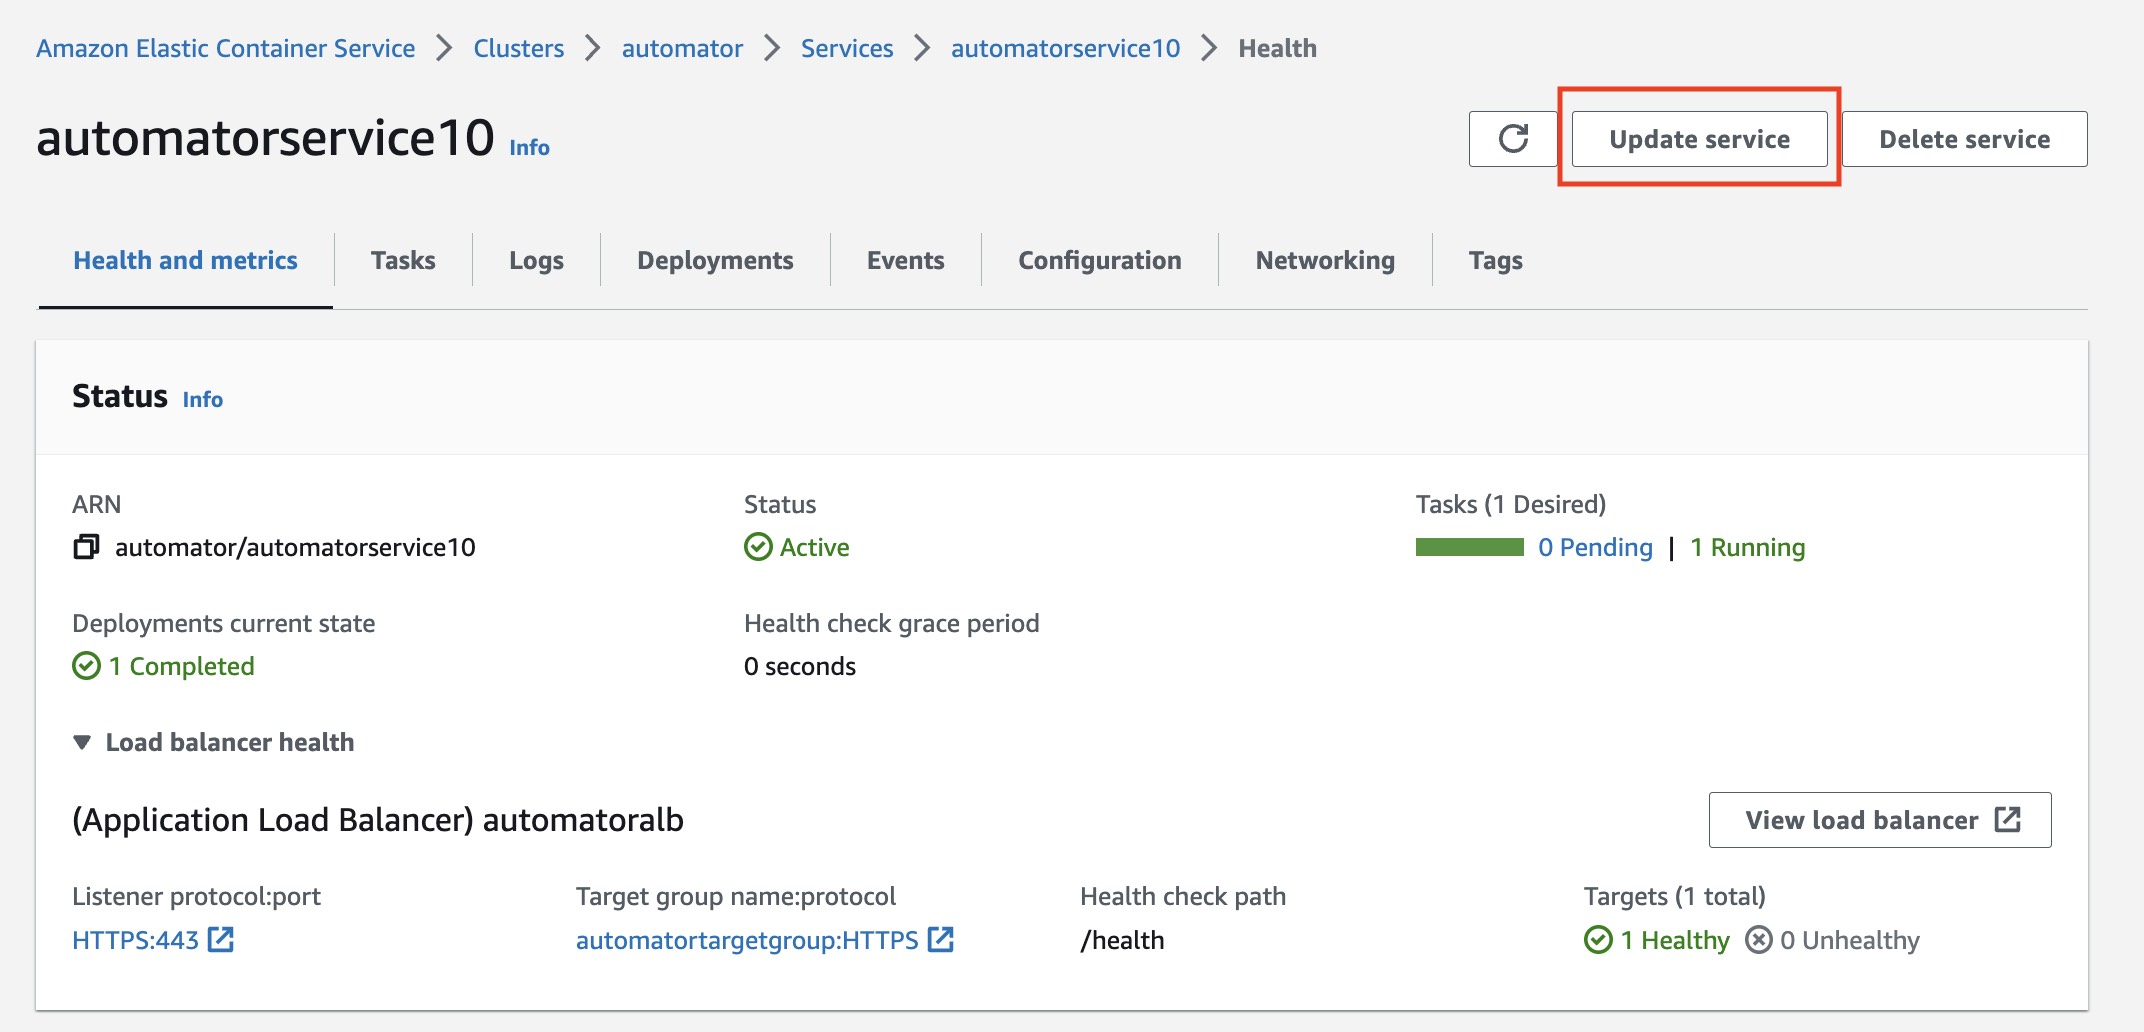
Update service
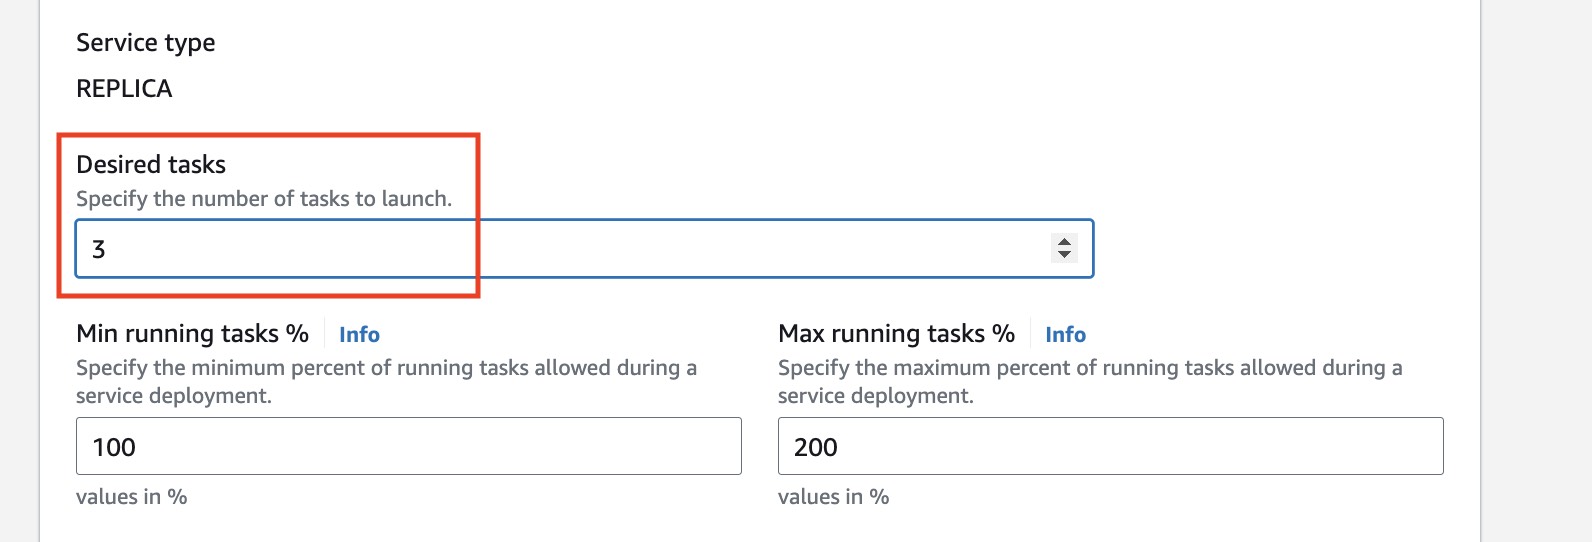
Set the desired tasks
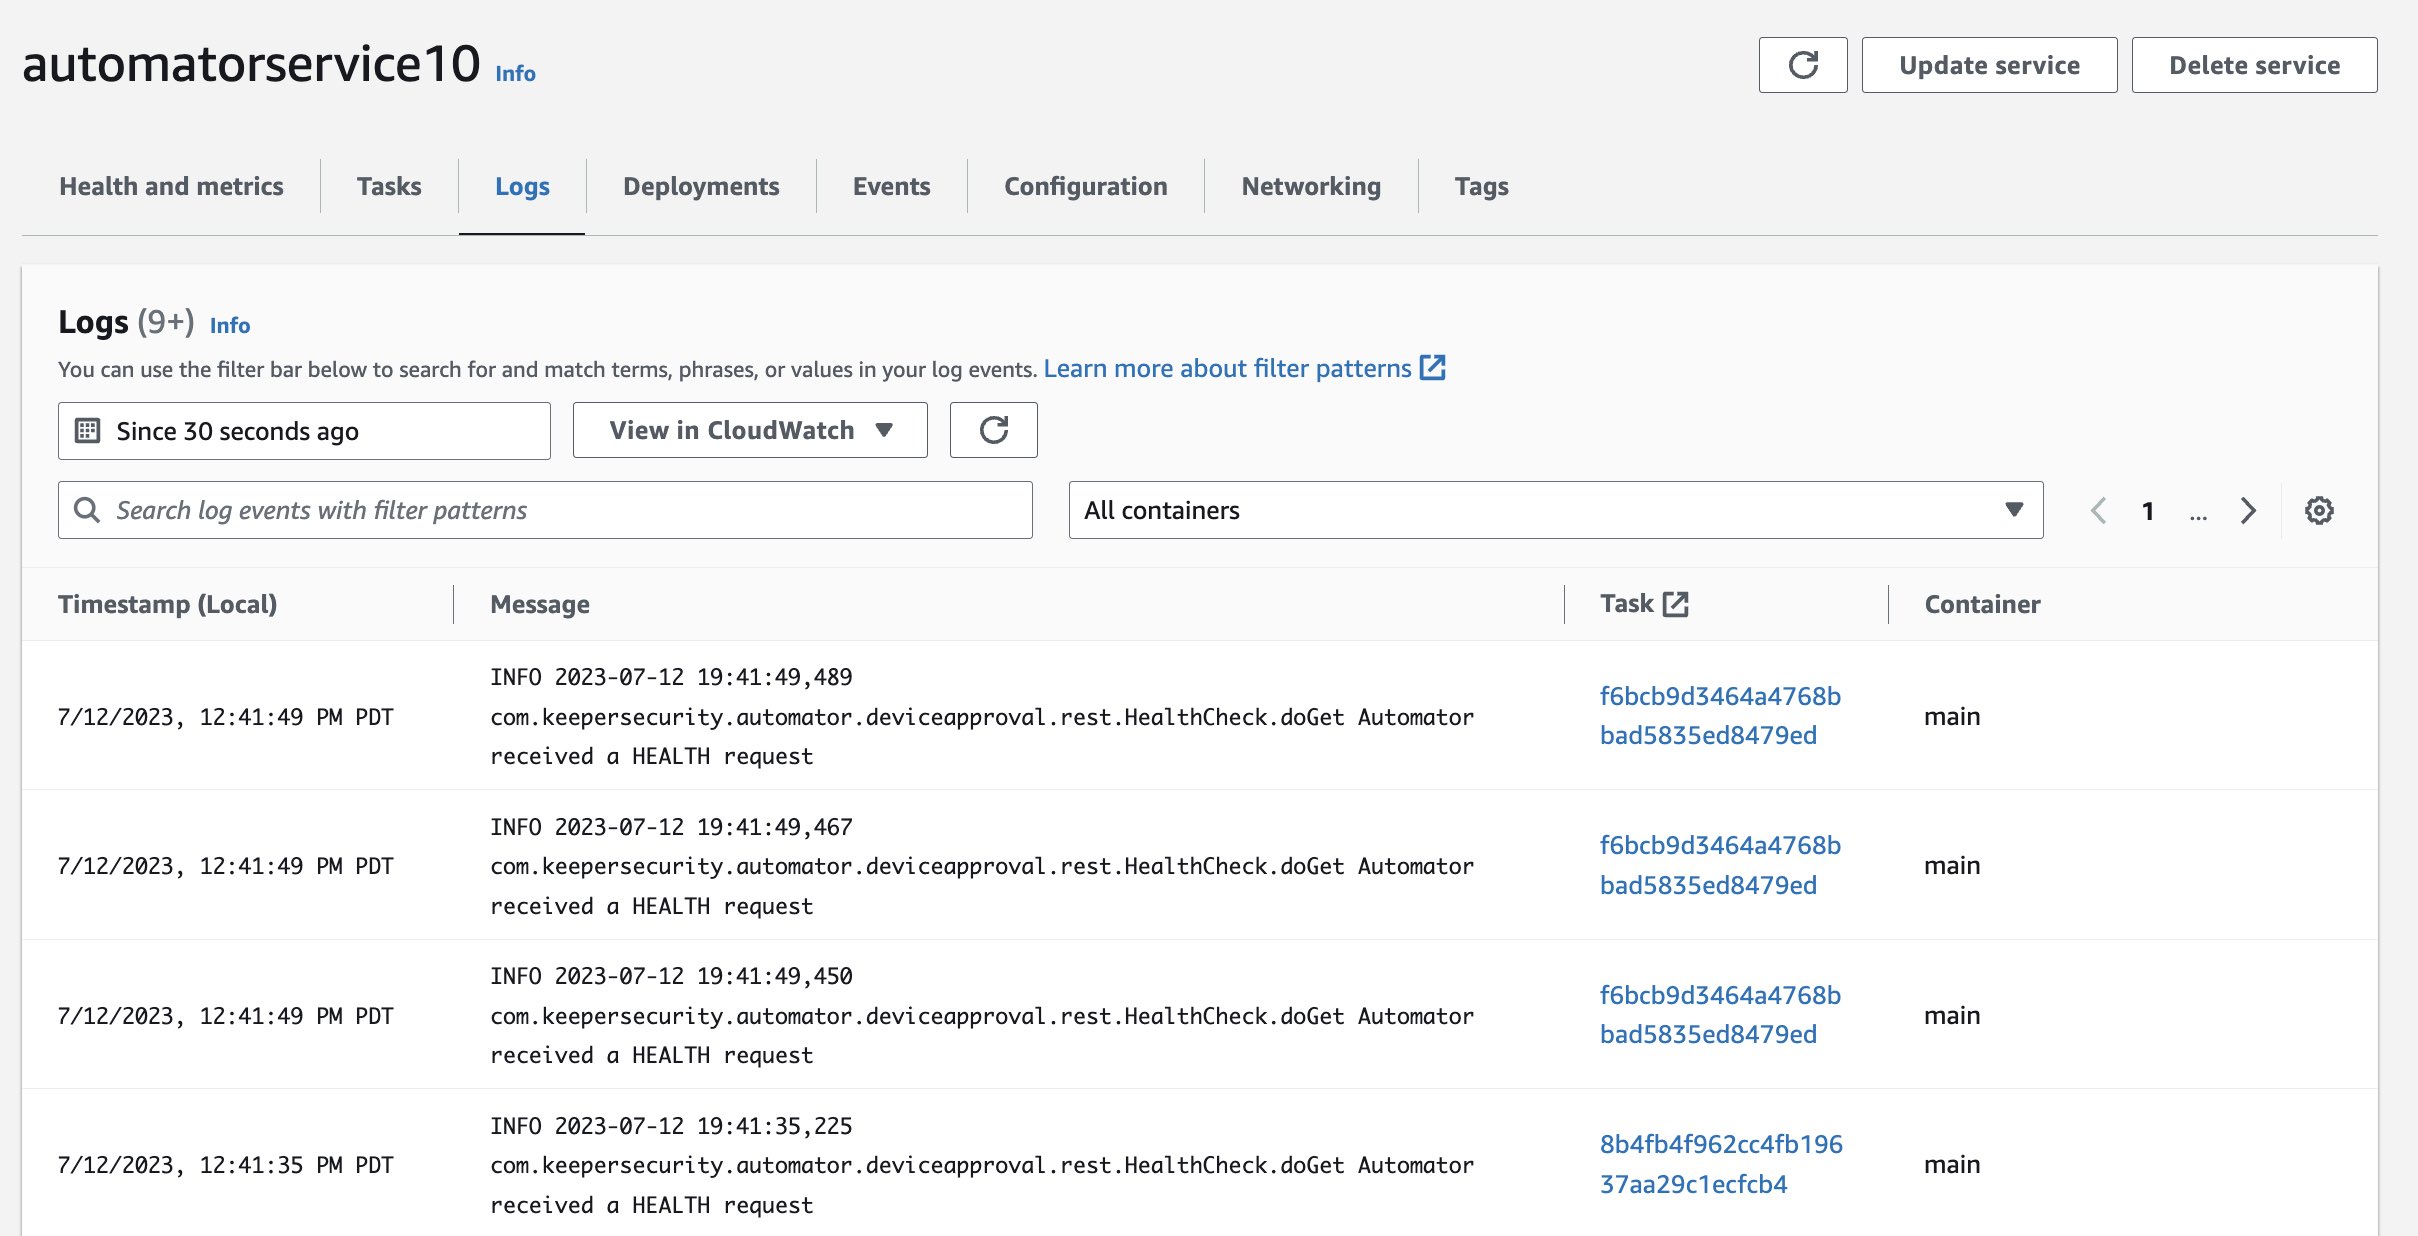
Logging and Monitoring