> For the complete documentation index, see [llms.txt](https://docs.keeper.io/llms.txt). Markdown versions of documentation pages are available by appending `.md` to page URLs; this page is available as [Markdown](https://docs.keeper.io/enterprise-guide/deploying-keeper-to-end-users/keeper-fill/mac/plist-policy-deployment-chrome/microsoft-intune-r-policy-deployment-chrome.md).
# Microsoft Intune Policy Deployment - Chrome
## Deploying Google Chrome PLIST (.plist) Policy using Microsoft Intune
This is a general overview of how to deploy Google Chrome .plist configuration profile, to computers within your organization, using Microsoft Intune.
### Create the Google Chrome profile
1. Sign in to the [Microsoft Endpoint Manager admin center](https://go.microsoft.com/fwlink/?linkid=2109431).
2. Select **Devices** > **Configuration profiles** > **Create profile**.
3. Enter the following properties:
* **Platform**: Select **macOS**
* **Profile**: Select **Preference file**.
4. Select **Create.**

5\. In **Basics**, enter the following properties:
* **Name**: Enter a descriptive name for the policy. Name your policies so you can easily identify them later. For example, a good policy name is **macOS: Add preference file that configures Google Chrome on devices**.
* **Description**: Enter a description for the policy. This setting is optional, but recommended.
6\. Select **Next**.
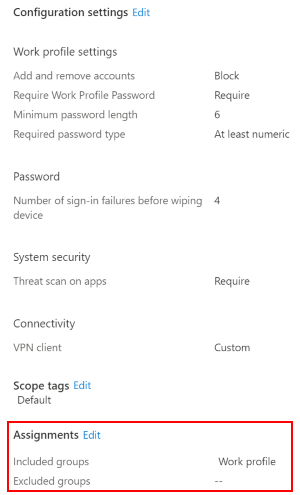
7\. In **Configuration settings**, configure your settings:
* **Preference domain name**: Enter the bundle ID as `com.google.Chrome`
* **Property list file**: Select the property list file associated with your app. Be sure to choose the com.google.Chrome.plist file previously created.
The key information in the property list file is shown. If you need to change the key information, open the list file in another editor, and then re-upload the file in Intune.
{% hint style="info" %}
**Note:** Be sure your file is formatted correctly. The file should only have key value pairs, and shouldn't be wrapped in ``, ``, or `` tags. If the PLIST file contains formatting errors, follow the [PLIST (.plist) Policy Deployment](/enterprise-guide/deploying-keeper-to-end-users/keeper-fill/mac/plist-policy-deployment-chrome.md) instructions to remediate the issue.
{% endhint %}
8\. Select **Next**.
9\. In **Scope tags** (optional), assign a tag to filter the profile to specific IT groups, such as `US-IL IT Team` or `Chicago_ITDepartment`. For more information about scope tags, see [Use RBAC and scope tags for distributed IT](https://docs.microsoft.com/en-us/mem/intune/fundamentals/scope-tags).
10\. Select **Next**.
11\. In **Assignments**, select the users or groups that will receive your profile. For more information on assigning profiles, see [Assign user and device profiles](https://docs.microsoft.com/en-us/mem/intune/configuration/device-profile-assign).
12\. Select **Next**.
13\. In **Review + create**, review your settings. When you select **Create**, your changes are saved, and the profile is assigned. The policy is also shown in the profiles list.
### Assign the Google Chrome profile
1. Select **Devices** > **Configuration profiles**. All the profiles are listed.
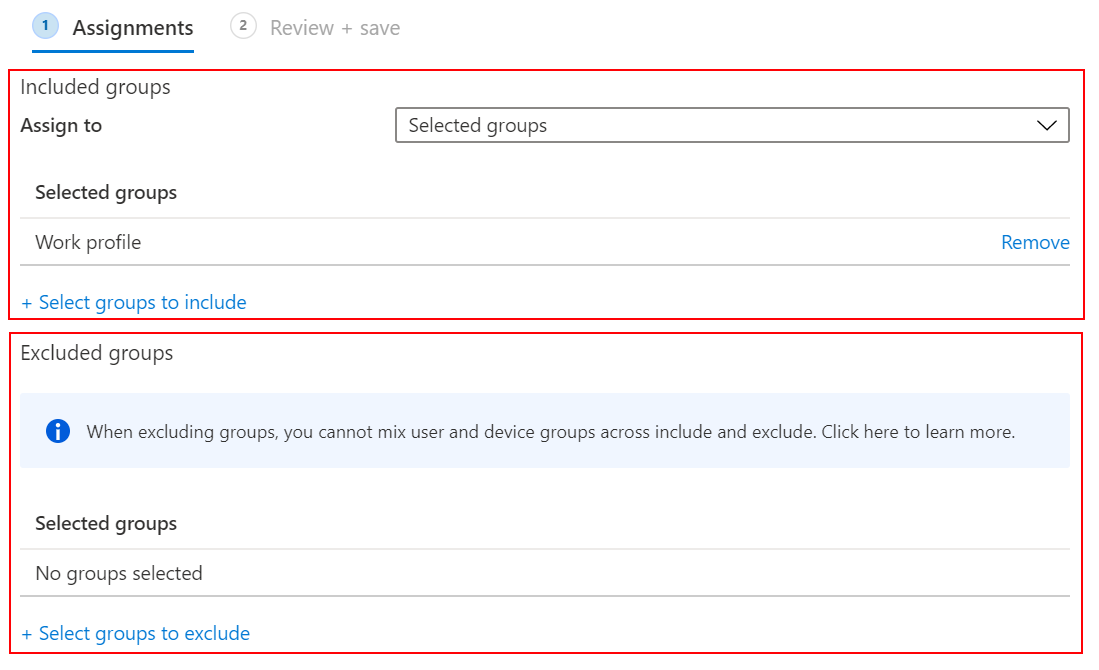
2. Select the profile you want to assign > **Properties** > **Assignments** > **Edit**:
3. Select **Included groups** or **Excluded groups**, and then choose **Select groups to include**. When you select your groups, you're choosing an Azure AD group. To select multiple groups, hold down the **Ctrl** key, and select your groups.
4. Select **Review + Save**. This step doesn't assign your profile.
5. Select **Save**. When you save, your profile is assigned. Your groups will receive your profile settings when the devices check in with the Intune service.
### Use scope tags or applicability rules
When you create or update a profile, you can also add **scope tags** and **applicability rules** to the profile.
**Scope tags** are a great way to filter profiles to specific groups, such as `US-IL IT Team` or `Chicago_ITDepartment`. For more information about scope tags, see [Use RBAC and scope tags for distributed IT](https://docs.microsoft.com/en-us/mem/intune/fundamentals/scope-tags).
---
# Agent Instructions
This documentation is published with GitBook. GitBook is the documentation platform designed so that both humans and AI agents can read, navigate, and reason over technical content effectively. Learn more at gitbook.com.
## Querying This Documentation
If you need additional information that is not directly available in this page, you can query the documentation dynamically by asking a question.
Perform an HTTP GET request on the current page URL with the `ask` query parameter:
```
GET https://docs.keeper.io/enterprise-guide/deploying-keeper-to-end-users/keeper-fill/mac/plist-policy-deployment-chrome/microsoft-intune-r-policy-deployment-chrome.md?ask=
```
The question should be specific, self-contained, and written in natural language.
The response will contain a direct answer to the question and relevant excerpts and sources from the documentation.
Use this mechanism when the answer is not explicitly present in the current page, you need clarification or additional context, or you want to retrieve related documentation sections.