# Web Vault & Desktop App
## Set Up Steps
Here we'll cover the important setup steps and key features that will help get you up and running with Keeper in no time.
{% stepper %}
{% step %}
[**Download Keeper**](#cross-platform-downloads)
We recommend downloading Keeper's [browser extension](https://www.keepersecurity.com/download.html?t=f), [desktop](https://www.keepersecurity.com/download.html?t=d) and [mobile](https://www.keepersecurity.com/download.html?t=m) apps so you have access to your records and KeeperFill across your desktop, browsers and devices.
{% endstep %}
{% step %}
[**Import Your Passwords**](#import-your-passwords-1)
Save time and seamlessly migrate your existing logins from browsers, files and other password managers. If you don't have any existing passwords saved or if you would rather start fresh, you can skip this step.
{% endstep %}
{% step %}
[**Disable Your Browser's Password Manager**](#disable-your-browsers-password-saving-features)
We strongly recommend that you disable your browser's built-in password saving features so that it doesn't interfere with Keeper. Keeper provides a far more secure and seamless solution to save and autofill your passwords.
{% endstep %}
{% step %}
[**Enable Security & Recovery Features**](#set-up-account-recovery)
Protect your vault with two-factor authentication (2FA) and set up Account Recovery in case you ever forget your Master Password.
{% endstep %}
{% step %}
[**Create Records and Folders**](#create-your-first-record)
Now it's time to create your first record and organize your vault into folders and subfolders.
{% endstep %}
{% step %}
[**Autofill Your Passwords With KeeperFill**](#begin-autofilling-your-passwords)
The KeeperFill Browser Extension allows you to autofill your passwords into websites and apps. KeeperFill also makes it easy to change the existing passwords stored in your vault with just a few clicks.
{% endstep %}
{% step %}
[**Explore More Features**](#explore-other-features-1)
Now that you are up and running, its time to explore all the other features Keeper has to offer.
{% endstep %}
{% endstepper %}
## **Create Your Account & Log In**
To create your Keeper account, first enter your email address then you will be asked to create and confirm a **Master Password** which will be the only password you have to remember. We recommend that you choose a strong Master Password that is only used for Keeper — don't forget your Master Password!
Next, you will be asked to verify your email address by entering the security **verification code** that was sent to your email. Once verified, you will enter your Master Password and log in.

{% embed url="" %}
Create Your Account
{% endembed %}
## Cross-Platform Downloads
Visit our [Download page](https://www.keepersecurity.com/download.html?t=d) to enjoy Keeper across your browsers, desktop and mobile devices.
keepesecurity.com/download
#### Keeper Desktop & Mobile Applications (iOS, Android)
Download [Keeper's Desktop App](https://www.keepersecurity.com/download.html?t=d) which supports iCloud Keychain and automatic import from other password managers as well as TouchID on supported hardware.
Download the Keeper mobile app — simply visit the [App Store](https://apps.apple.com/us/app/keeper-password-manager-digital/id287170072) or [Google Play Store](https://play.google.com/store/apps/details?id=com.callpod.android_apps.keeper) on your mobile device and install **Keeper Password Manager.**
#### KeeperFill Browser Extension
Download [Keeper's Browser Extension](https://www.keepersecurity.com/download.html?t=f) to autofill your logins and password into websites and apps.
Browser-specific setup instructions can be found here:
* [KeeperFill for Chrome & Brave](https://github.com/Keeper-Security/gitbook-user-guides/blob/master/browser-extensions/keeperfill-for-chrome-and-brave/README.md)
* [KeeperFill for Firefox](https://github.com/Keeper-Security/gitbook-user-guides/blob/master/browser-extensions/keeperfill-for-firefox/README.md)
* [KeeperFill for Safari](https://github.com/Keeper-Security/gitbook-user-guides/blob/master/browser-extensions/keeperfill-for-safari/README.md)
* [KeeperFill for Edge](https://github.com/Keeper-Security/gitbook-user-guides/blob/master/browser-extensions/keeperfill-for-edge/README.md)
* [KeeperFill for Opera](https://github.com/Keeper-Security/gitbook-user-guides/blob/master/browser-extensions/keeperfill-for-opera/README.md)
{% hint style="info" %}
**Click** [**here**](/user-guides/browser-extensions.md) **learn more about the KeeperFill Browser Extension.**
{% endhint %}
## Import Your Passwords
Keeper makes it easy import your existing logins and passwords directly from your web browsers (Safari, Chrome, Firefox), another password manager, or from a text file (.csv, .xls, .tsv). Watch the video below or continue reading to learn how.
To get started, click on the **Account Dropdown Menu** (your email) in the upper-right corner of your vault window, then click **Settings > Import**. Select the import source below for further instructions.
* [Web Browsers](https://github.com/Keeper-Security/gitbook-user-guides/blob/master/web-vault/README.md#from-web-browsers)
* [Password Managers](https://github.com/Keeper-Security/gitbook-user-guides/blob/master/web-vault/README.md#from-password-managers)
* [Text Files](https://github.com/Keeper-Security/gitbook-user-guides/blob/master/web-vault/README.md#from-text-files-.csv-.xls-.tsv)
{% hint style="info" %}
You can also skip the import process and proceed to creating new password records from scratch (see the "Create Your First Record" section in this guide).
{% endhint %}
{% embed url="" %}
Import Your Passwords With Keeper
{% endembed %}
## Disable Your Browser's Password Saving Features
To make the most out of Keeper, we strongly recommend that you disable your browser's built-in password saving features. Keeper provides a much more secure and seamless solution to save and autofill your passwords across all browsers.
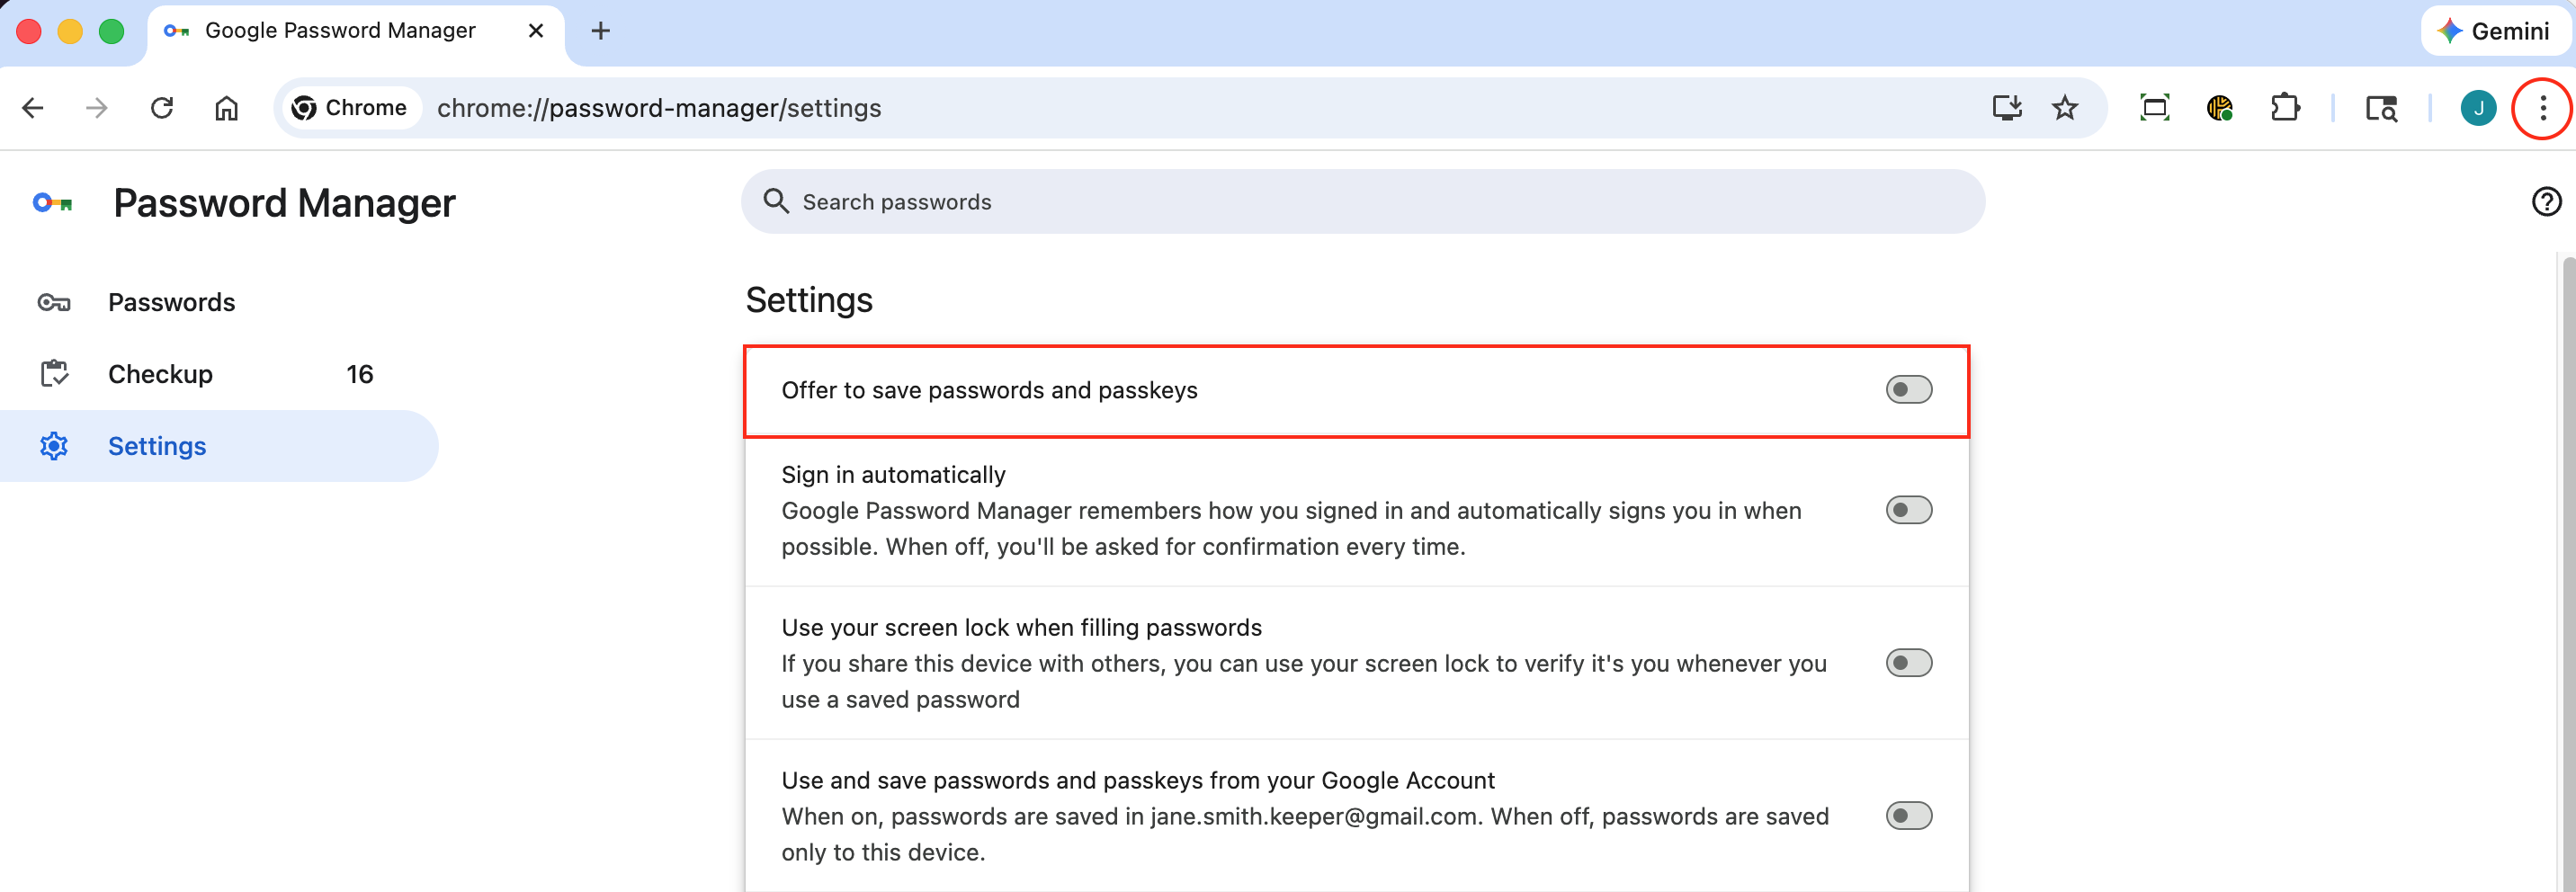
#### Chrome
Click the Chrome **menu icon,** then click **Settings > Autofill and passwords > Google Password Manager > Settings** and ensure "Offer to save passwords and passkeys" is toggled off.
Disable Password Saving on Chrome
#### Firefox
Click the Firefox **menu icon**, then select **Settings > Privacy & Security** and ensure "Ask to save logins and passwords for websites" is unchecked.

#### Safari
In the Safari dropdown menu, select **Settings**.
Safari > Settings
Under the "Autofill" tab, uncheck all boxes for "Autofill web forms".

#### Edge
Click the Firefox **menu icon**, then **Settings > Passwords** and ensure "Offer to save passwords" is toggled off.

## Set Up Account Recovery
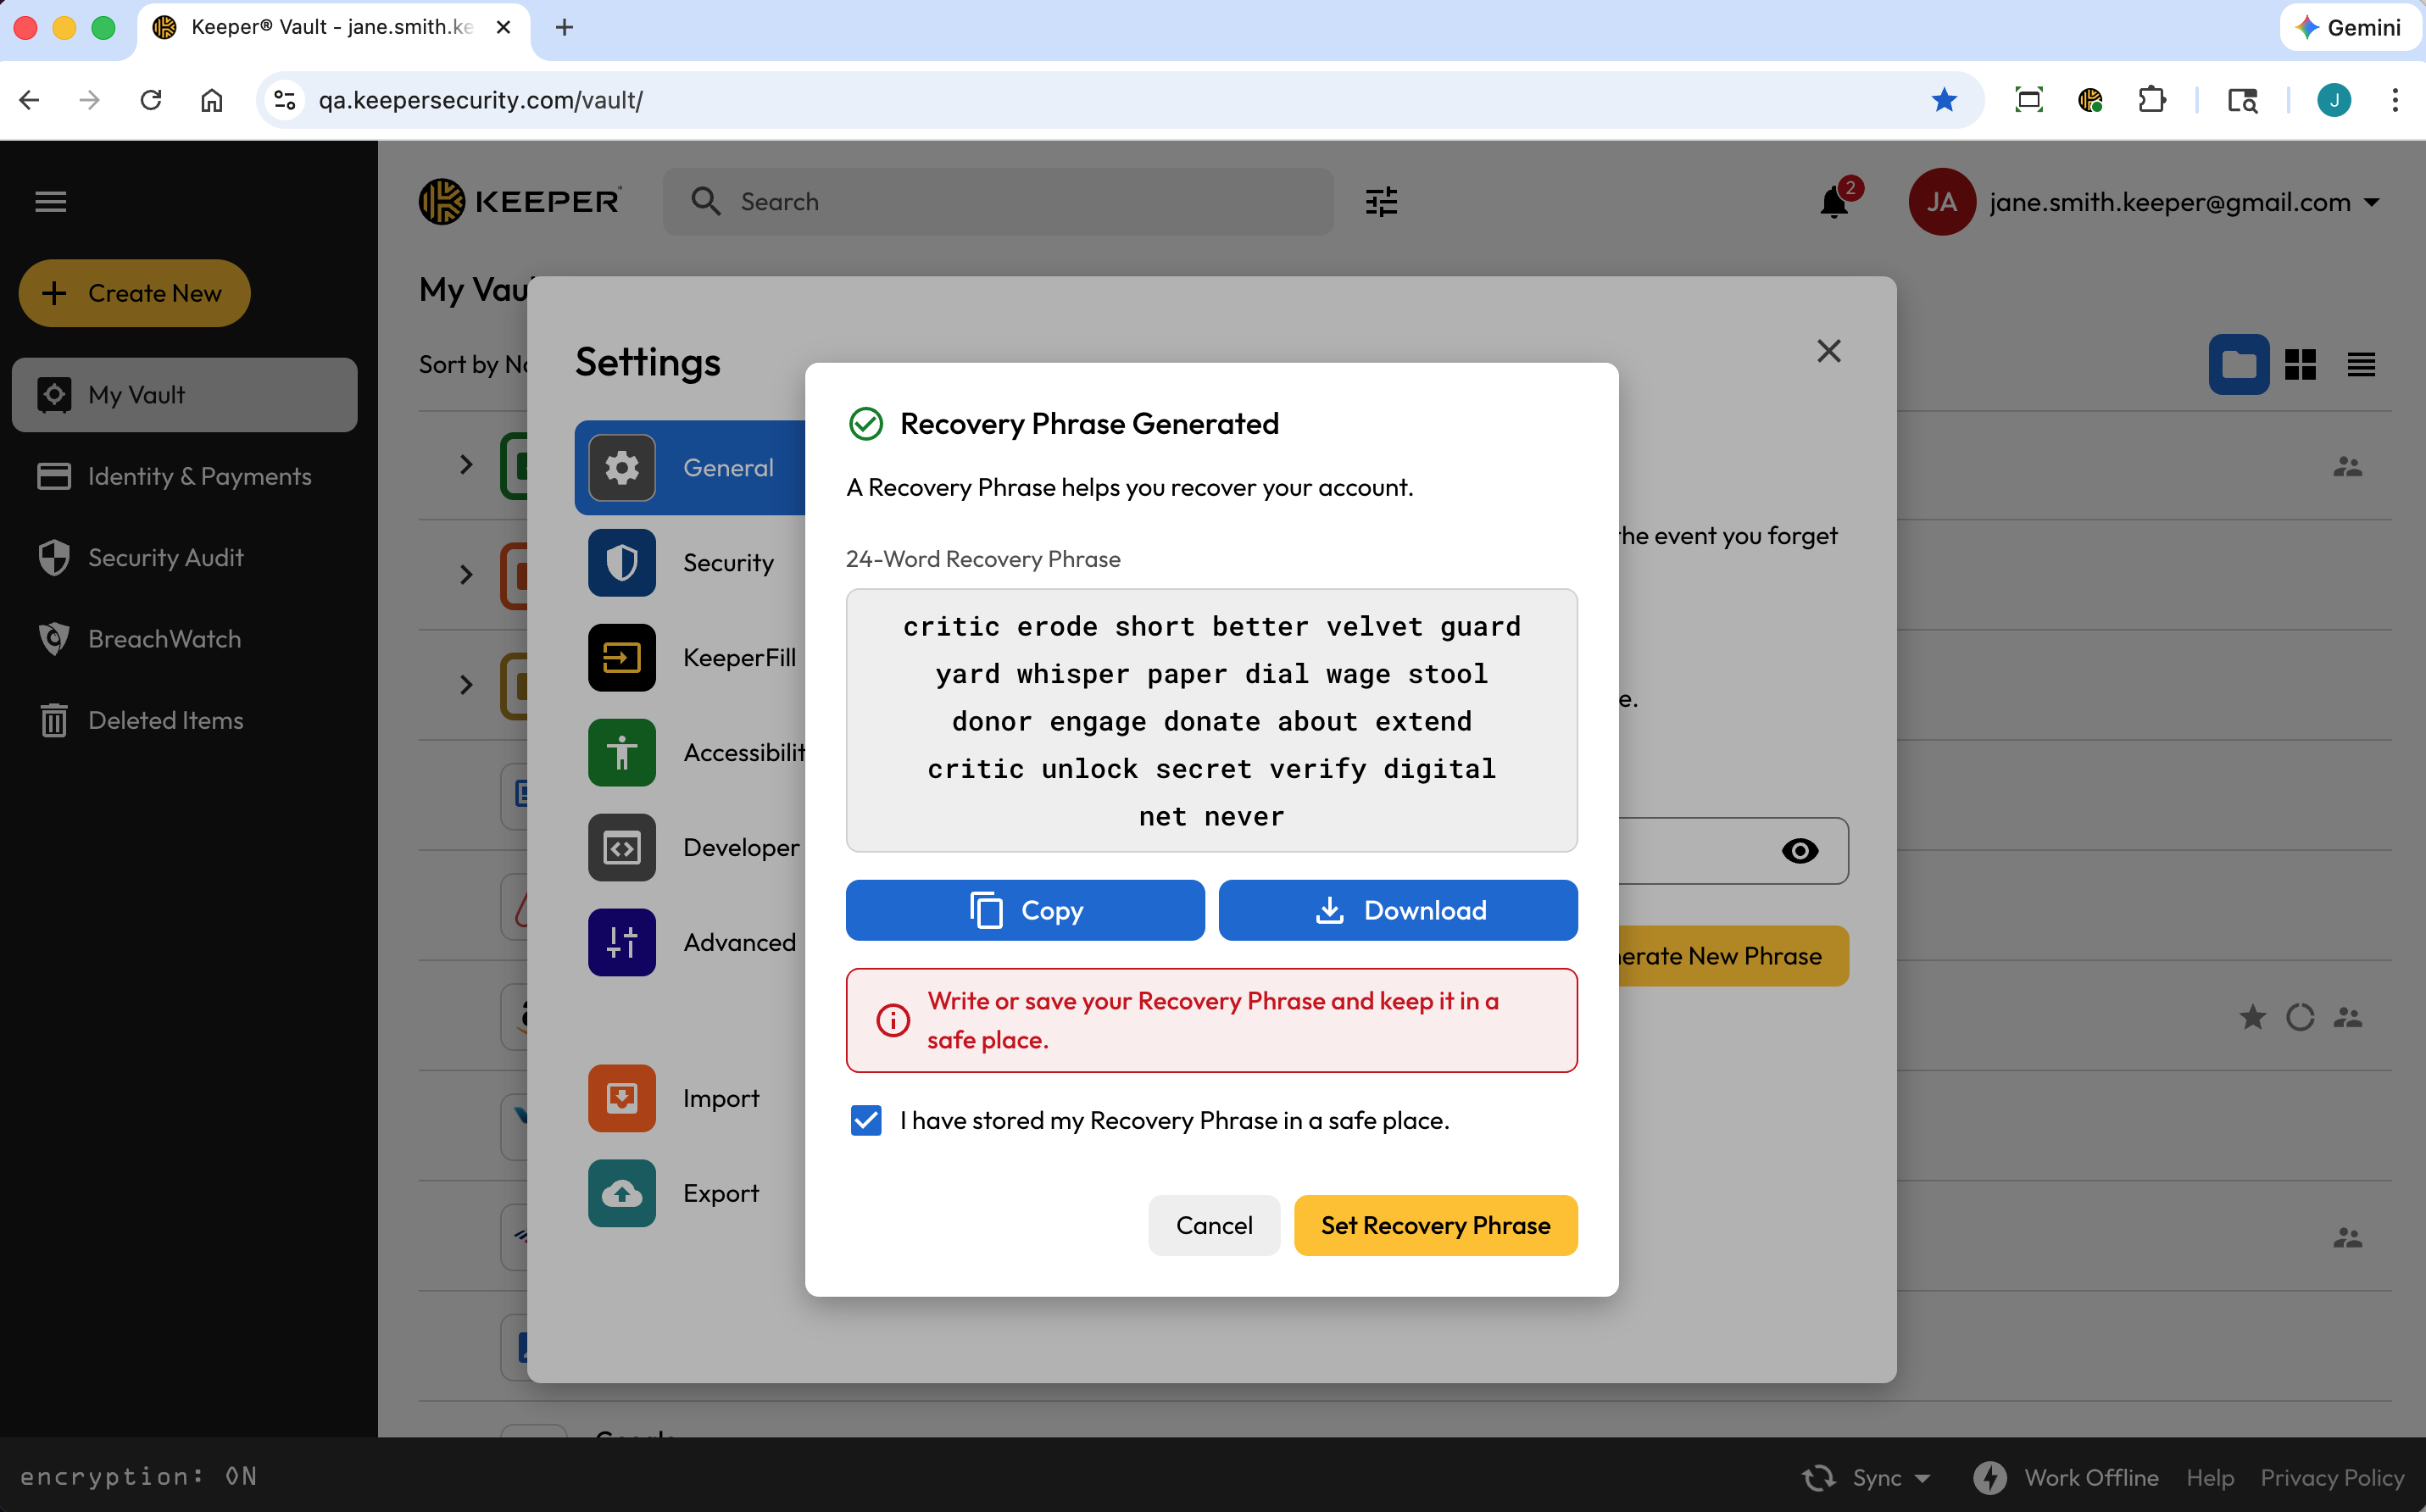
Be sure to set up your Recovery Phrase so that you can access your Keeper account if you ever forget your Master Password. Watch the video below or continue reading to learn how.
From the **Account Dropdown Menu** select **Settings > Recovery Phrase** enter your Master Password and click **Generate New Phrase**.
Settings > Recovery Phrase
Check the box to acknowledge you have copied or downloaded your recovery phrase and click **Set Recovery Phrase** to complete the set up.
Set Your Recovery Phrase
{% embed url="" %}
Vault Recovery Phrase Setup
{% endembed %}
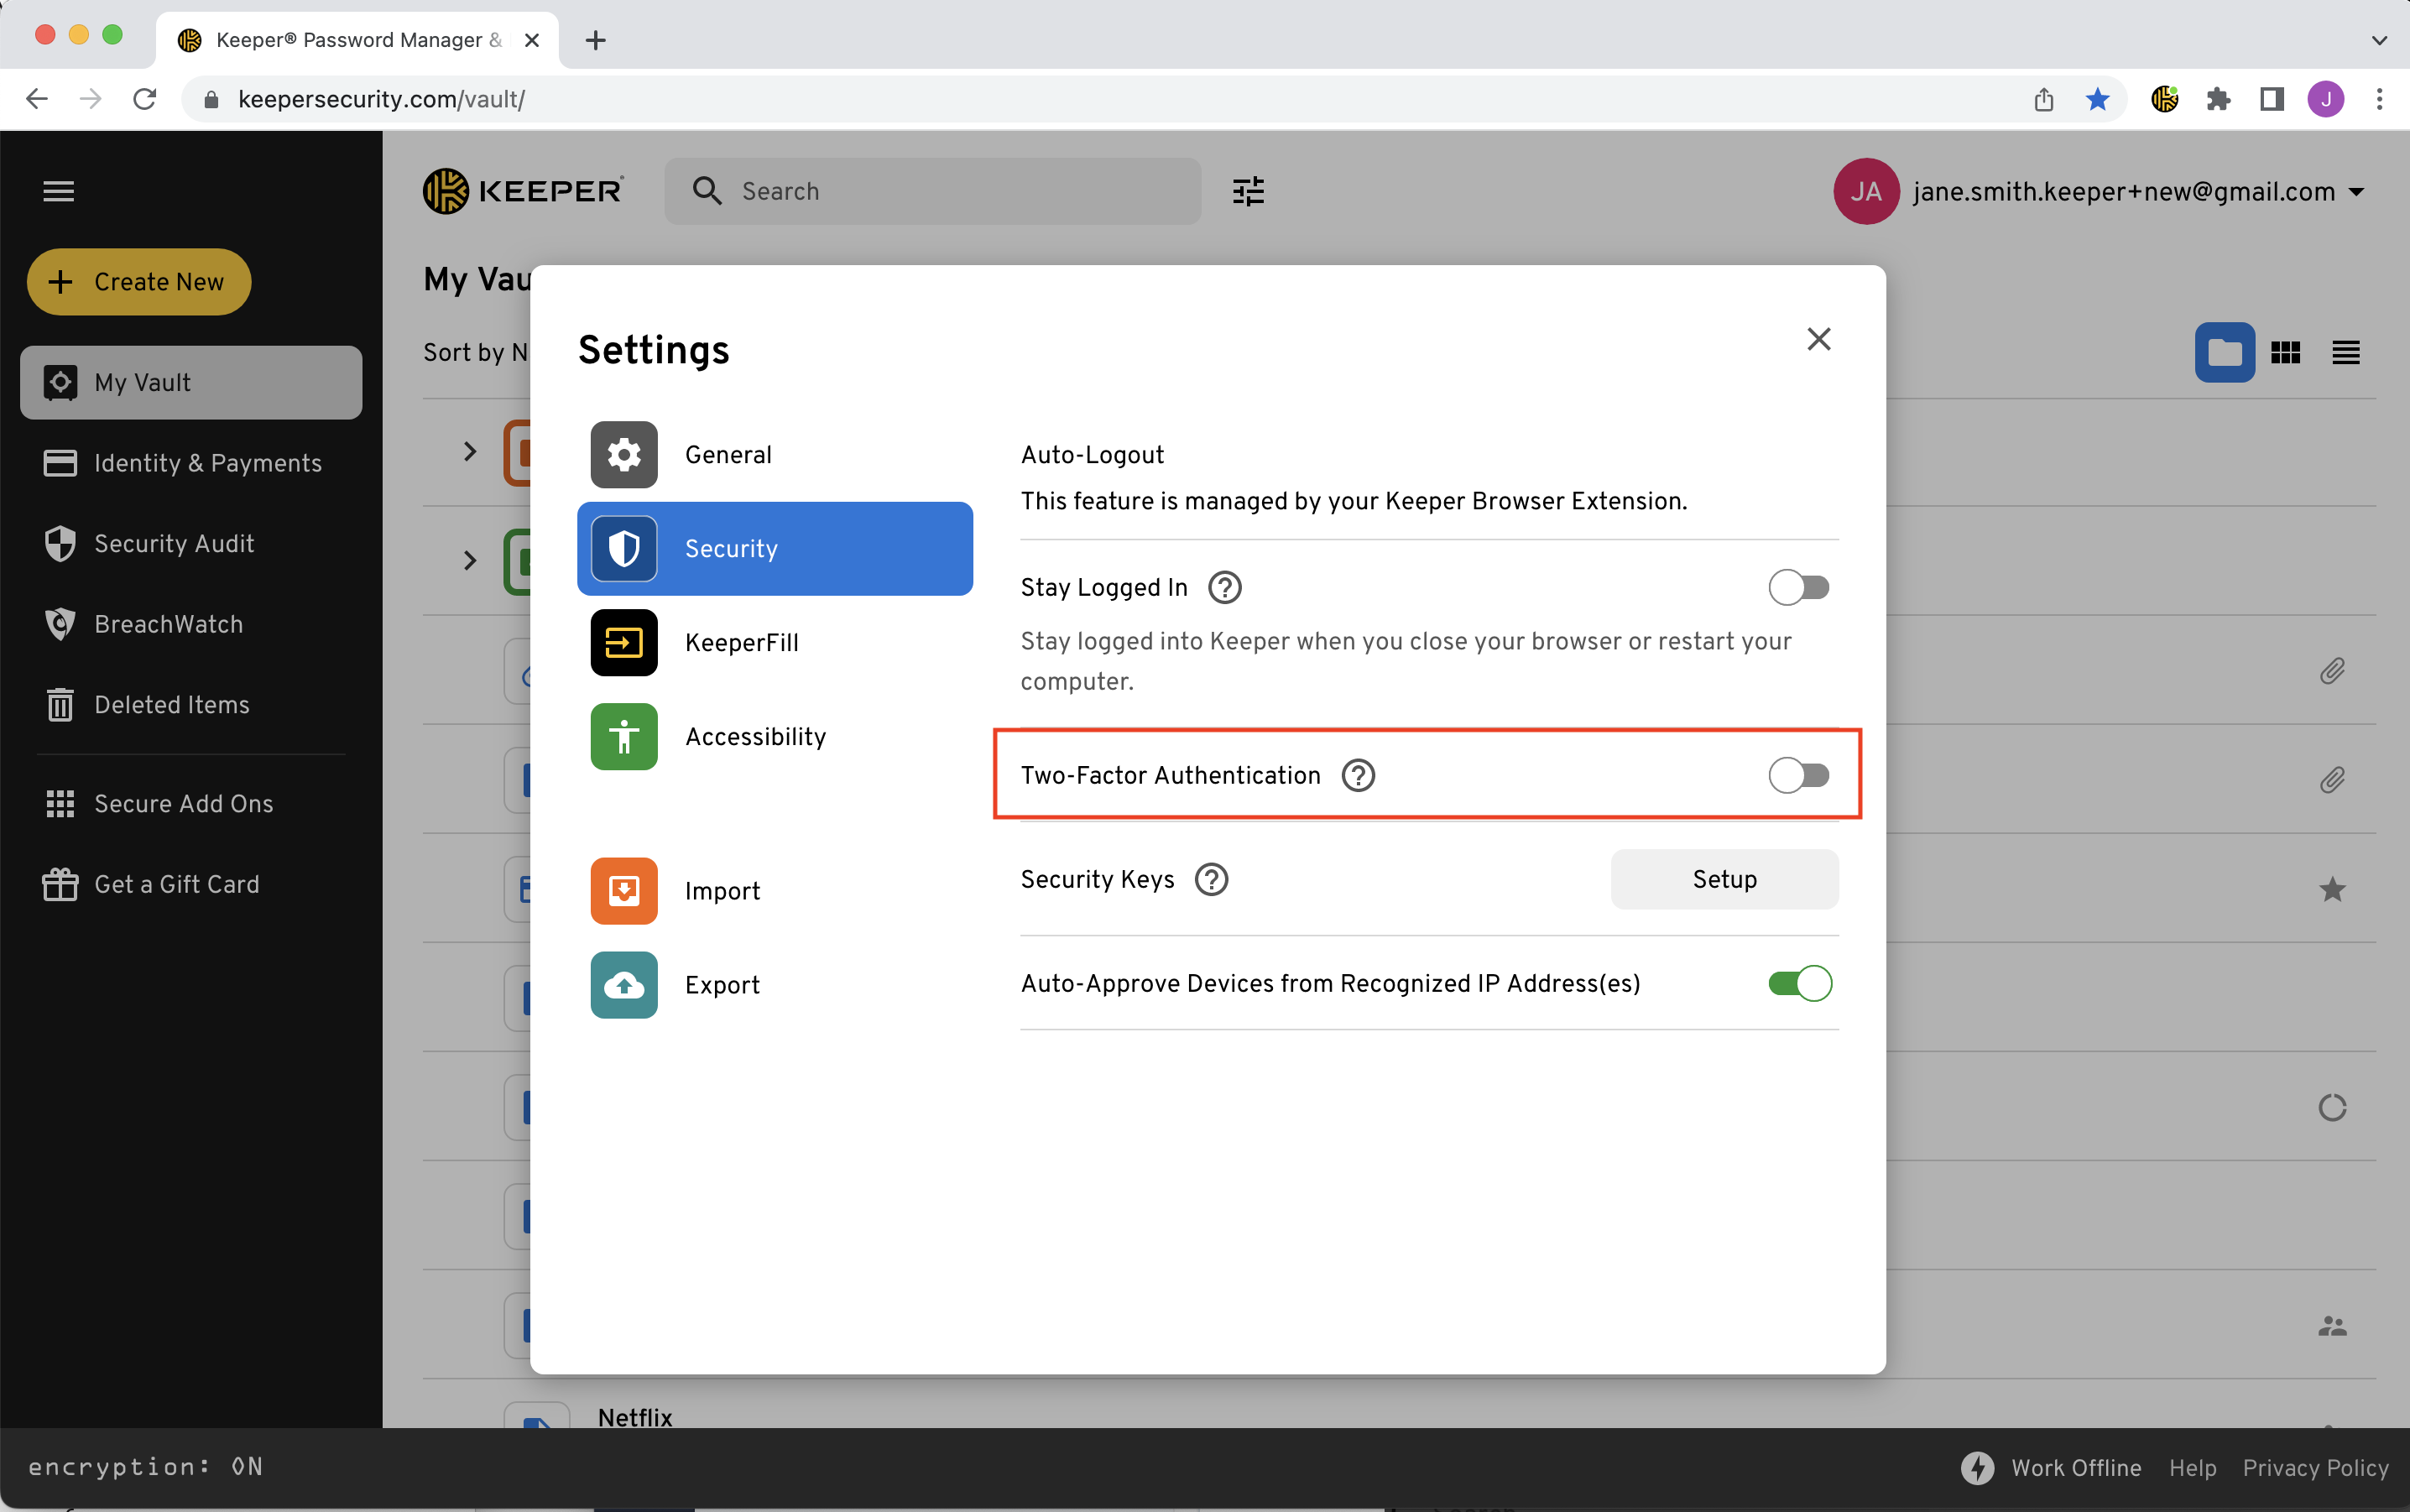
## Protect Your Vault With 2FA
Add an extra layer of security when logging into your Keeper Vault by setting up a Two-Factor Authentication (2FA) method.
From the **Account Dropdown Menu**, select **Settings > Security** and toggle "Two-Factor Authentication" on.

Settings > Security > Two-Factor Authentication
Select a Two-Factor method and click **Next**, then follow the on-screen prompts to complete the setup (more on that [here](https://github.com/Keeper-Security/gitbook-user-guides/blob/master/web-vault/README.md#two-factor-authentication)).

{% hint style="info" %}
Keeper lets you skip entering your 2FA verification code every time you log in. Just be sure to check "Don't ask again on this device" during set up and you'll only need to enter the code once per device.
{% endhint %}

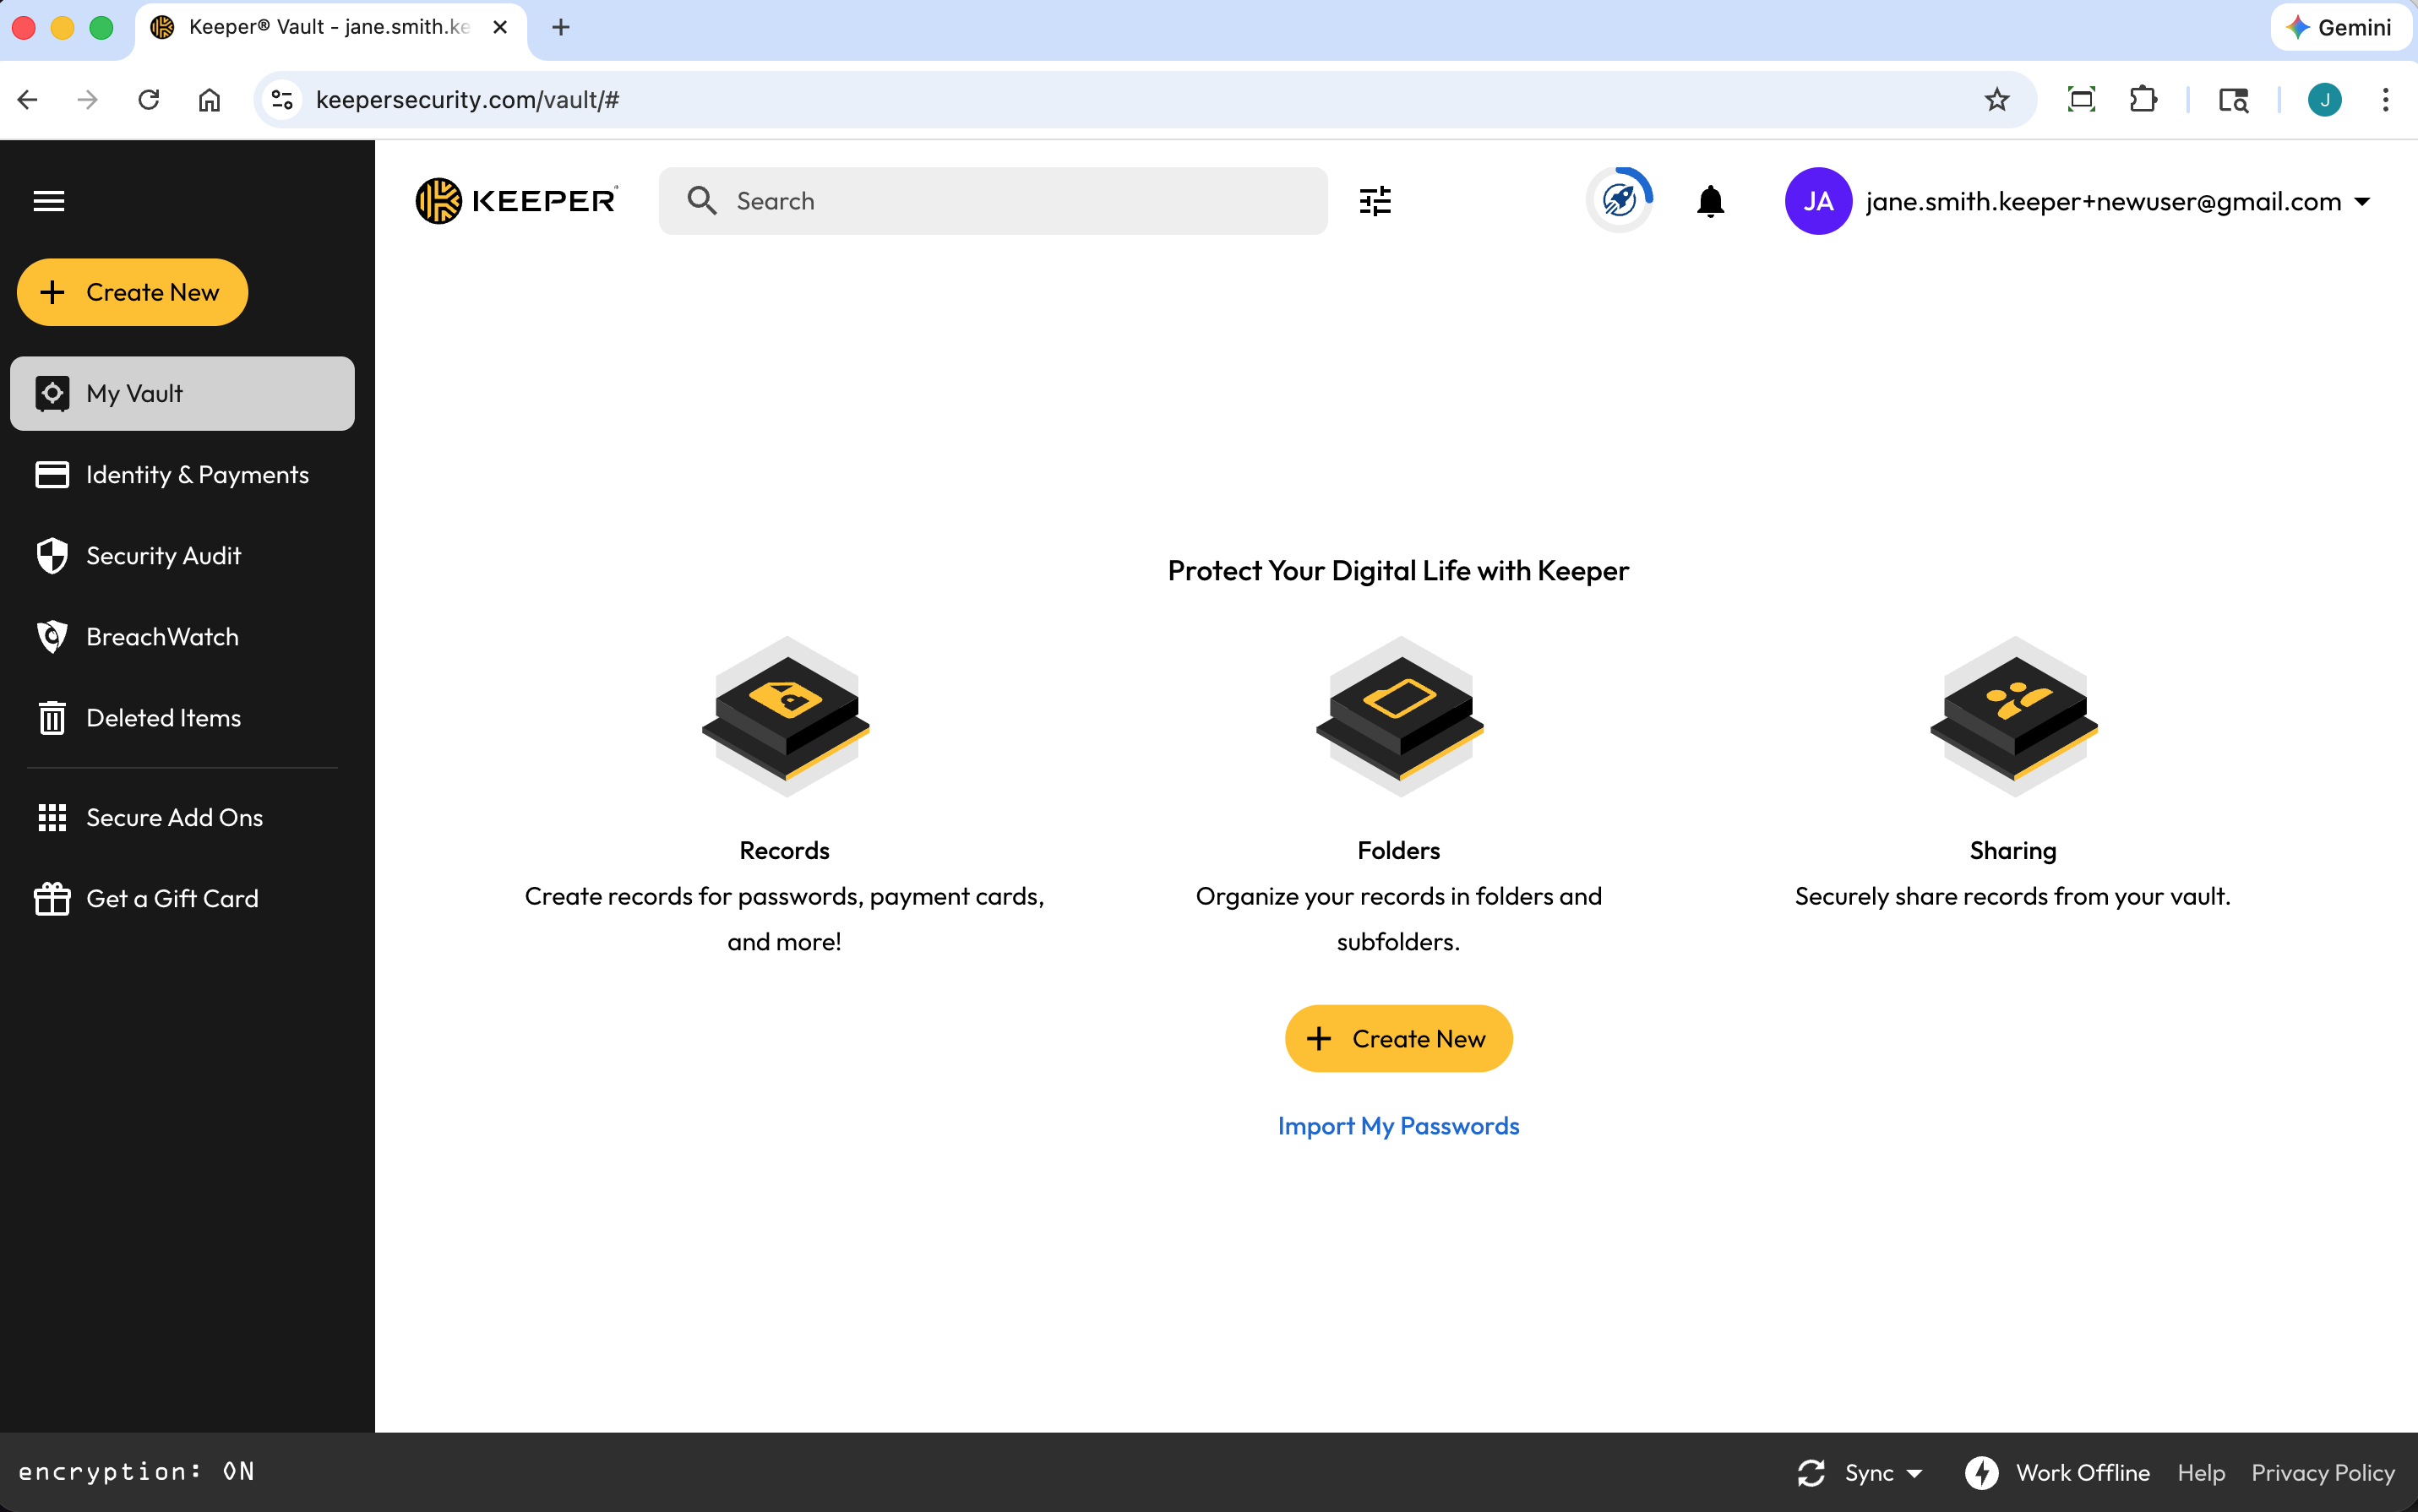
## Create a Record
With Keeper, your passwords, logins and other personal information are saved in a private, digital vault. It is here where you can view and edit all of your website login credentials and details, as well as store important files and photos. Watch the video below or continue reading to learn how.
Click **Create New > Record** and select the [record type](https://docs.keeper.io/enterprise-guide/record-types) from the dropdown menu. Next, enter the record details listed below (this is for the default "Login" record type, record fields will vary by the record type you selected).
* Enter a Record **Title**
* Enter the **Login** (Username or Email)
* Enter the **Password/Passkey** or click the **dice icon** to generate one (more on that [here](https://github.com/Keeper-Security/gitbook-user-guides/blob/master/web-vault/README.md#password-generator))
* Enter the **Website Address**
* Add [Attachments](https://github.com/Keeper-Security/gitbook-user-guides/blob/master/web-vault/README.md#secure-file-storage), a [Two-Factor Code](https://github.com/Keeper-Security/gitbook-user-guides/blob/master/web-vault/README.md#two-factor-codes-for-totp), [Custom Fields](https://github.com/Keeper-Security/gitbook-user-guides/blob/master/web-vault/README.md#custom-fields) and Notes
Click **Save** to finish.
{% embed url="" %}
Create a Record
{% endembed %}
## Create Folders & Subfolders
{% hint style="info" %}
This guide covers Keeper's "Classic" Folder System, if you would like more information about our new Nested Share System, click [here](/user-guides/sharing/nested-share-subfolders.md).
{% endhint %}
Once you have created a few records you can begin organizing your records into folders and subfolders. Watch the video below or continue reading to learn how.
To create a folder, click **Create New > Folder**. Enter a name for the folder and click **Create**.
Create a Folder
To create a subfolder, right-click on an existing/parent folder and select **New Folder**.
Create a Subfolder
{% embed url="" %}
Create a Folder
{% endembed %}
## Autofill Your Passwords
The KeeperFill Browser Extension autofills your logins and password into websites and apps. Once you've [downloaded KeeperFill](https://www.keepersecurity.com/download.html?t=f) for your browser, be sure to "pin" the extension (by right-clicking on the KeeperFill icon) so it's always visible in your browser window.
The first time you log into a site after downloading KeeperFill, you will be asked if you would like Keeper to autofill your login, click **Yes**. Moving forward, Keeper will automatically fill your username and password.
.avif?alt=media\&token=72eb1951-5dda-4144-a825-da4db6bf0775)
{% embed url="" %}
Autofill With KeeperFill
{% endembed %}
#### Change Your Passwords With KeeperFill
KeeperFill also makes it easy to change your passwords. When you visits a site's "Change Password" page, you will receive a prompt from Keeper asking if you would like help changing your password. Watch the video below or continue reading to learn how.
By clicking **Yes**, Keeper will walk you through a few quick steps to change your password and simultaneously update the record in your vault. These steps will include a series of prompts detailing the following actions:
* Autofill your old/current password
* Automatically generate and autofill a new secure password
* Confirm the changes and save them to your vault

{% embed url="" %}
## Explore More Features
* [Sharing](https://github.com/Keeper-Security/gitbook-user-guides/blob/master/enterprise-guide/sharing/README.md)
* [Shared Folders](https://github.com/Keeper-Security/gitbook-user-guides/blob/master/user-guides/web-vault/README.md#share-a-folder)
* [Share With Non-Keeper Users (One-Time Share)](https://github.com/Keeper-Security/gitbook-user-guides/blob/master/user-guides/one-time-share/README.md)
* [Deleted Items](https://github.com/Keeper-Security/gitbook-user-guides/blob/master/user-guides/web-vault/README.md#deleted-items)
* [Secure File Storage](https://github.com/Keeper-Security/gitbook-user-guides/blob/master/user-guides/web-vault/README.md#secure-file-storage)
* [Vault Settings](https://github.com/Keeper-Security/gitbook-user-guides/blob/master/user-guides/web-vault/README.md#settings)
{% hint style="info" %}
Visit our [Keeper 101 Videos page](https://www.keepersecurity.com/getting-started.html) for access to more tutorials for Web Vault & Desktop, iOS, Android and Browser Extension.
{% endhint %}
---
# Agent Instructions: Querying This Documentation
If you need additional information that is not directly available in this page, you can query the documentation dynamically by asking a question.
Perform an HTTP GET request on the current page URL with the `ask` query parameter:
```
GET https://docs.keeper.io/user-guides/quick-start-guides/quick-start-guide.md?ask=
```
The question should be specific, self-contained, and written in natural language.
The response will contain a direct answer to the question and relevant excerpts and sources from the documentation.
Use this mechanism when the answer is not explicitly present in the current page, you need clarification or additional context, or you want to retrieve related documentation sections.

.png?alt=media&token=9431b5de-2ed2-4a0b-aa06-6c36cf7d967c)