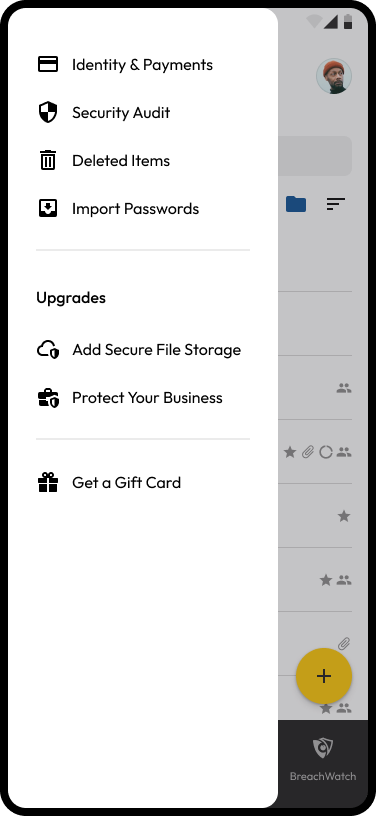
Left Menu

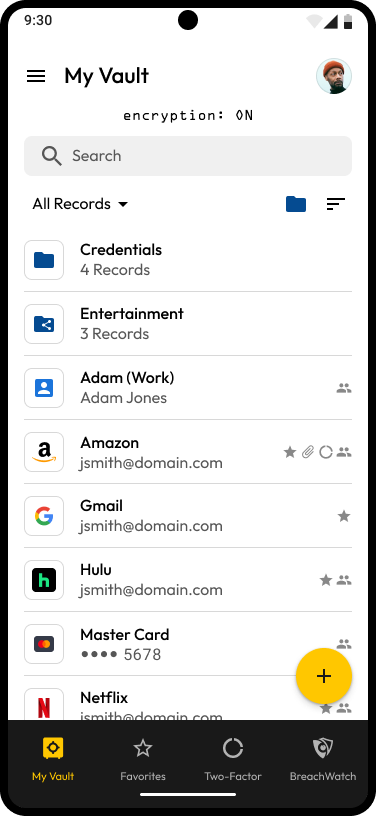
My Vault
Left Menu
My Vault
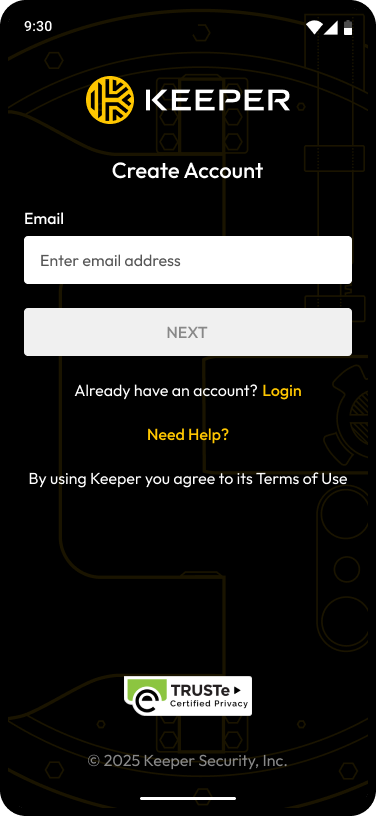
Create Account
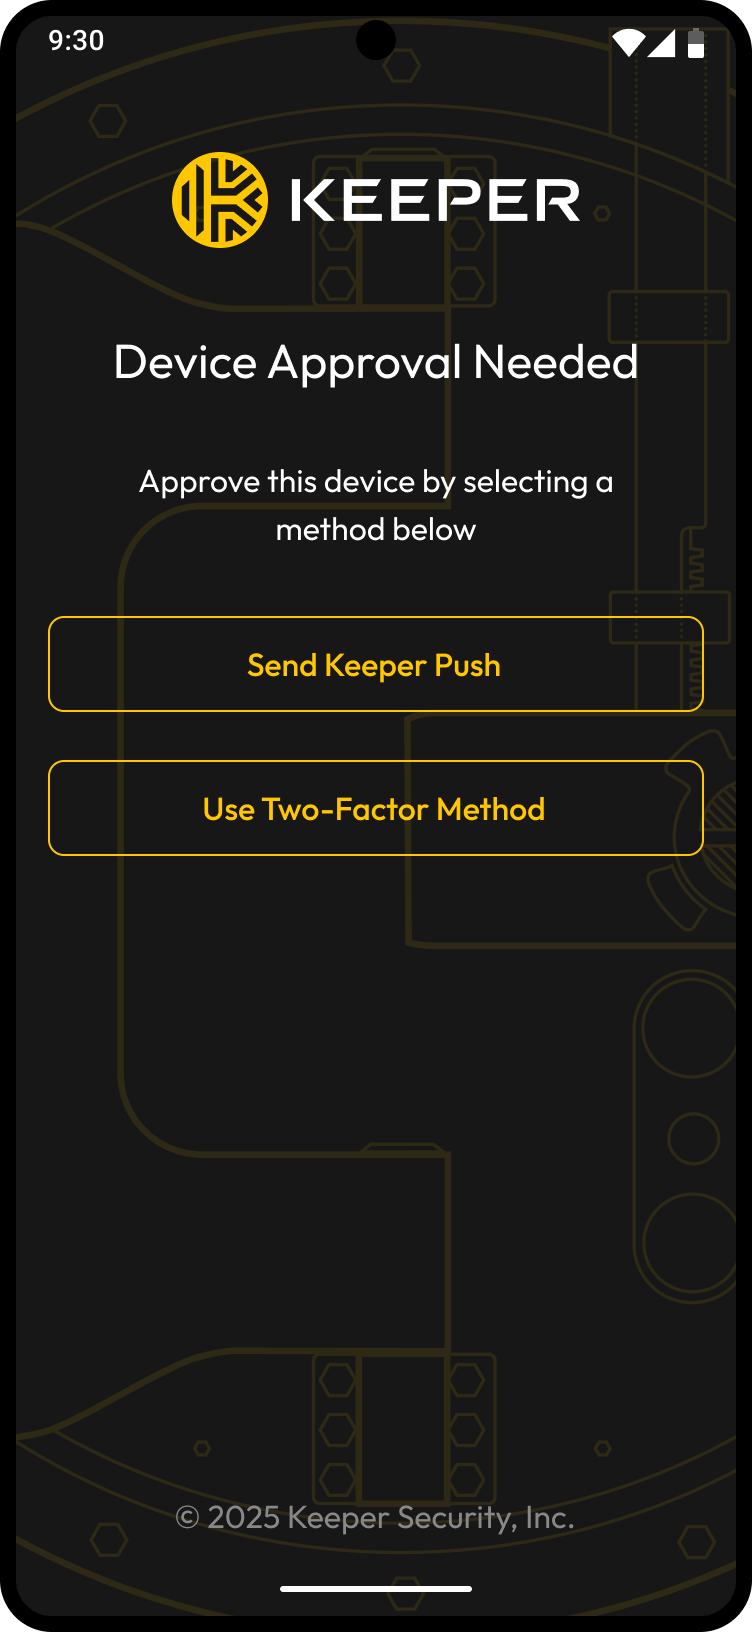 On the alternate device, log in to Keeper and tap **Yes** to approve the new device. You must be actively logged in on an approved device to receive the notification.

Once your device has been approved, you will be prompted for 2FA (if enabled) and asked to enter your master password to proceed to your vault.
## Enterprise SSO Login
If you are an Enterprise customer using SSO Login, you can enter your email address and tap **Next** to login through SSO. Alternatively, you can tap **Use Enterprise SSO Login** and enter the enterprise domain provided by your Keeper administrator and tap **Connect**.
On the alternate device, log in to Keeper and tap **Yes** to approve the new device. You must be actively logged in on an approved device to receive the notification.

Once your device has been approved, you will be prompted for 2FA (if enabled) and asked to enter your master password to proceed to your vault.
## Enterprise SSO Login
If you are an Enterprise customer using SSO Login, you can enter your email address and tap **Next** to login through SSO. Alternatively, you can tap **Use Enterprise SSO Login** and enter the enterprise domain provided by your Keeper administrator and tap **Connect**.
.png?alt=media&token=99ce91a0-81d3-4220-bcbf-a76eca6f2abb)
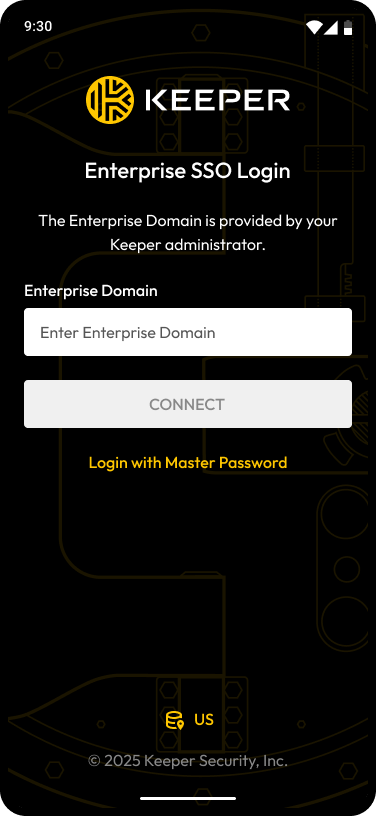
Enter Your Enterprise Domain
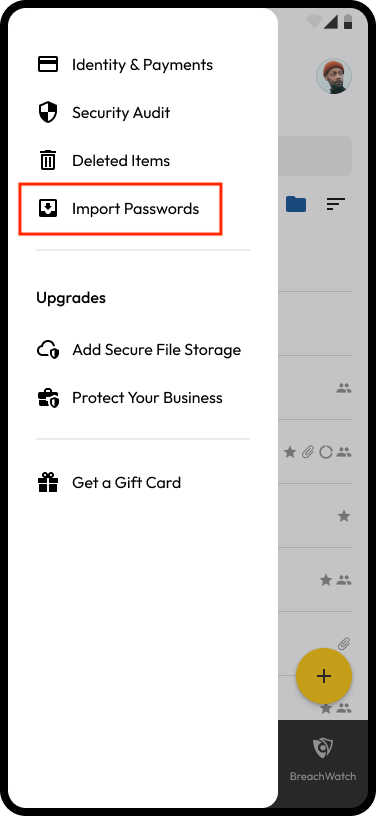
Import Passwords
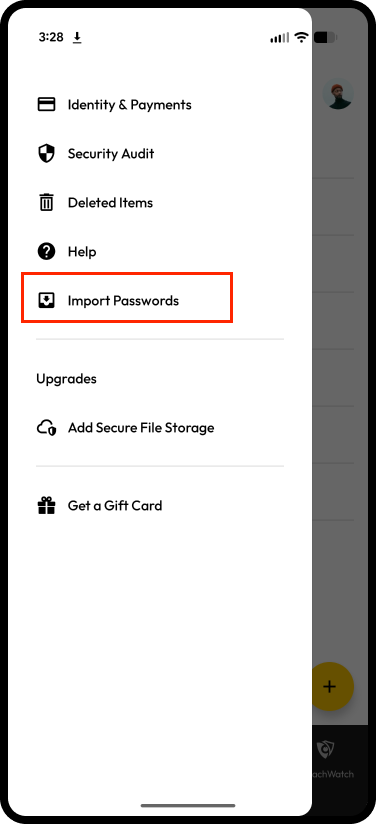
Left Menu > Import Passwords

Import from Google
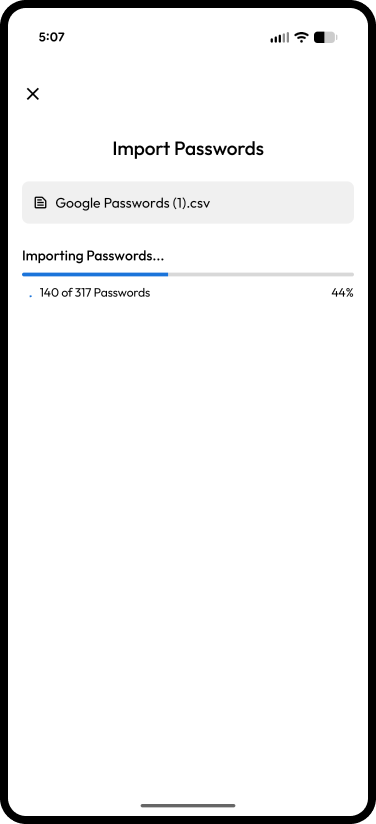
Import in Progress
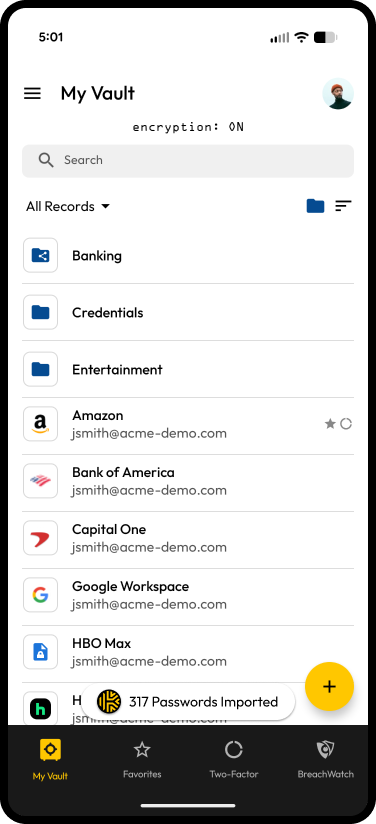
Passwords Imported
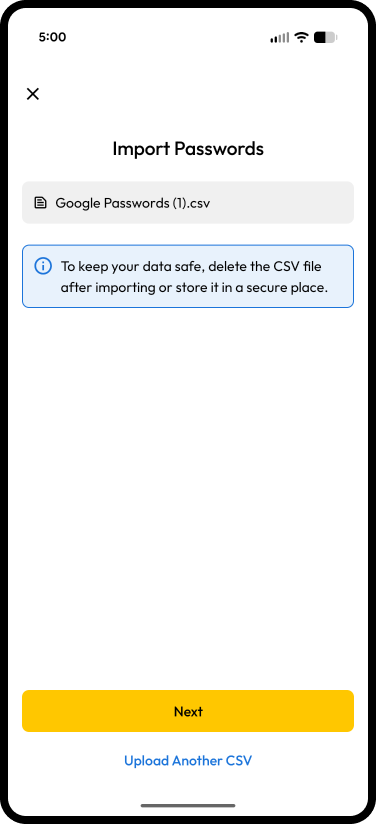
Import from Google
.png?alt=media&token=8fab17c8-5813-4187-b490-119dbde5d67c)
Passwords Imported
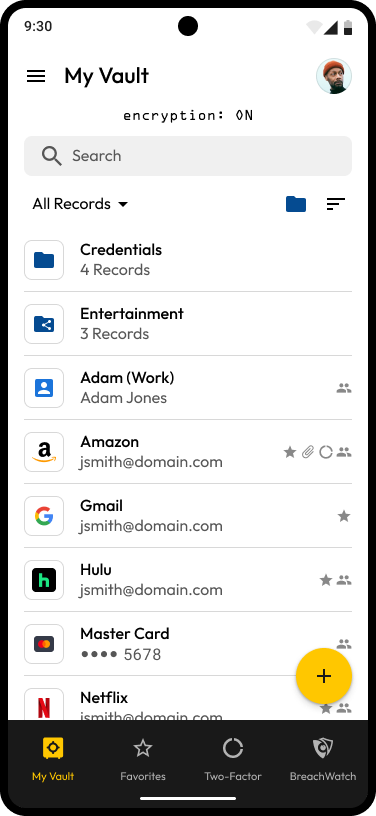
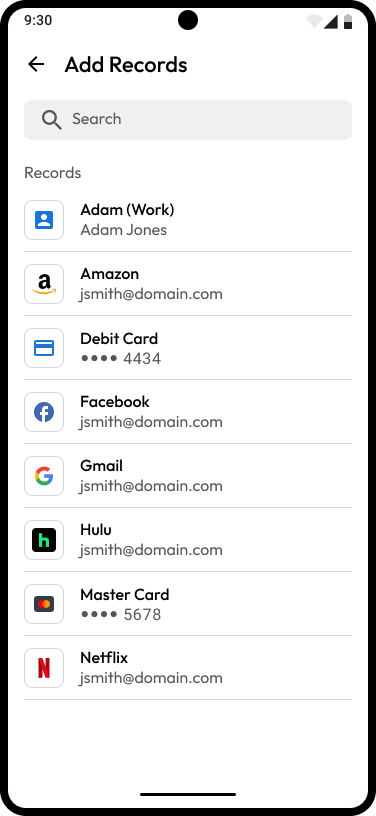
Create from My Vault Screen
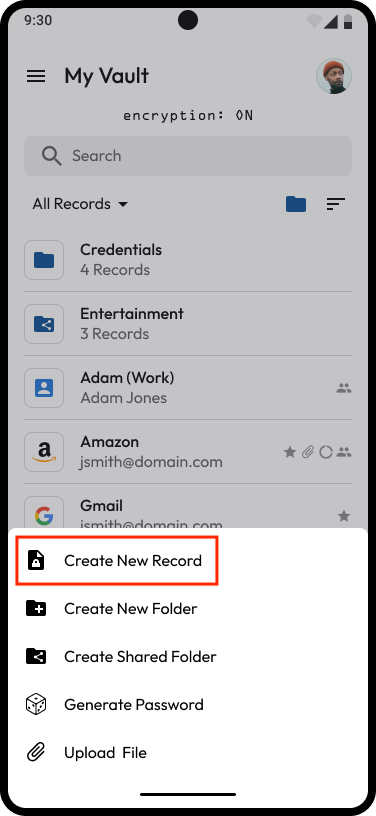
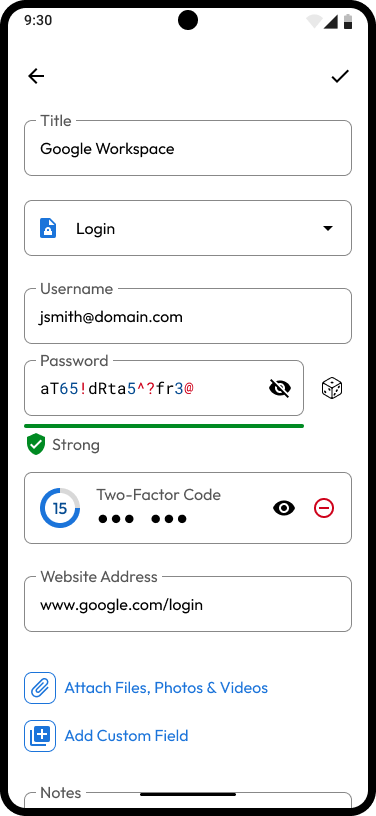
Create New Record
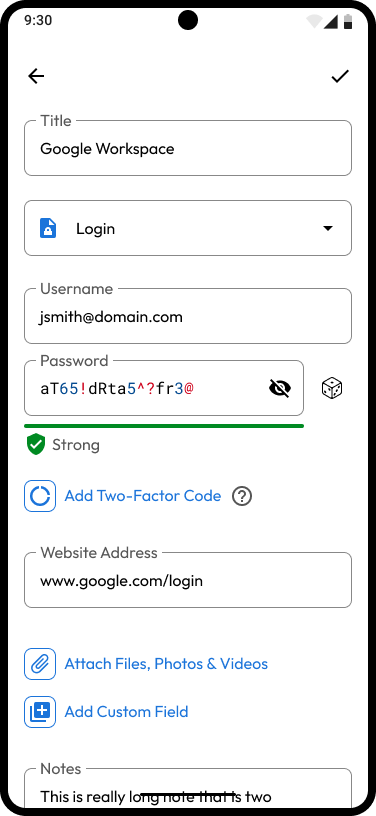
.png?alt=media&token=57320f6b-82e8-4d3b-80cb-a4a36fe0b015)
Record Saved
Create from My Vault Screen
Create New Folder
Add Records to a Folder
Add Existing Record(s) to a Folder
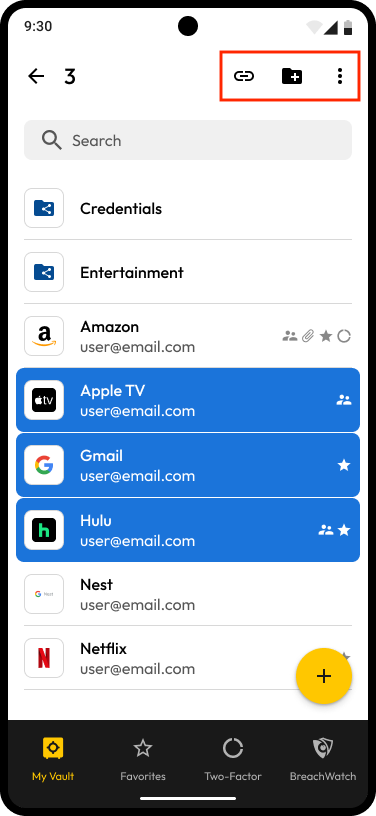
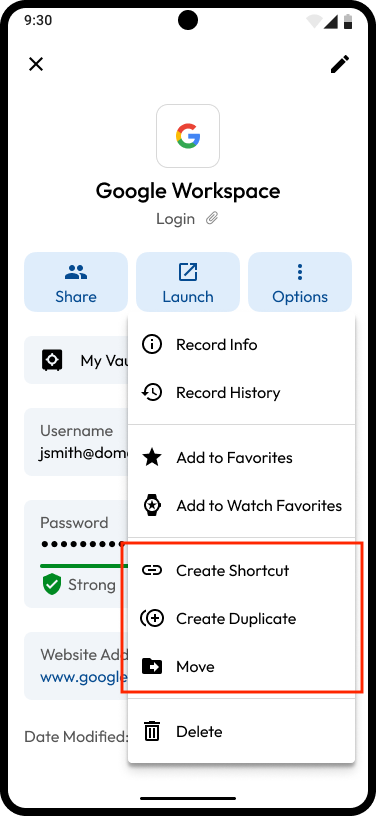
Shortcut, Move and More
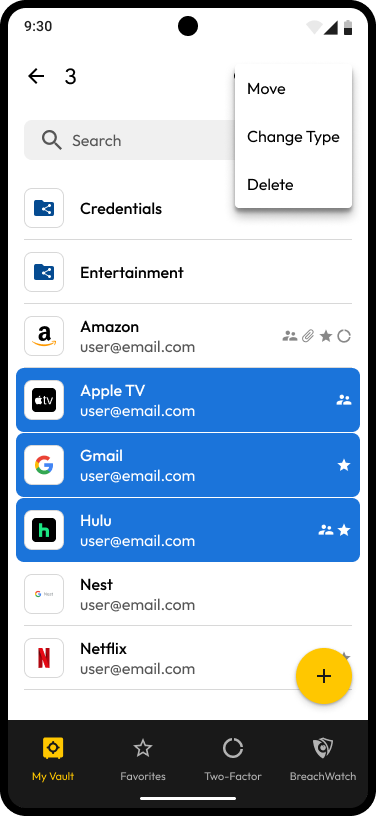
Move, Change Type and Delete
 ### Favorites
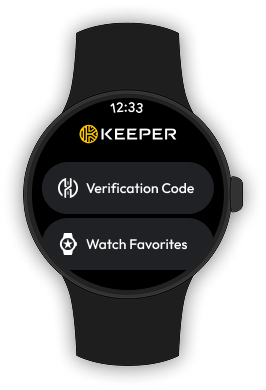
Adding a record to your Favorites list is an easy way to locate your most frequently used records and websites. You can add a record to your vault Favorites or [Watch Favorites (for Wear OS)](#keeper-for-wear-os) from the **Options** menu within the record detail screen.
### Favorites
Adding a record to your Favorites list is an easy way to locate your most frequently used records and websites. You can add a record to your vault Favorites or [Watch Favorites (for Wear OS)](#keeper-for-wear-os) from the **Options** menu within the record detail screen.
.png?alt=media&token=0644a8ec-c78c-49a9-adff-32b97dae6667) ## Sharing
Securely create, share and manage records and folders with other Keeper users such as friends, family, friends and colleagues.
{% embed url="
## Sharing
Securely create, share and manage records and folders with other Keeper users such as friends, family, friends and colleagues.
{% embed url=".png?alt=media&token=7dc6f940-db71-422b-86eb-b471439faf5a)
Share a Record

Recipient's Email and Permissions
Share > One-Time Share Link
Create Share Link
Expiration & Bidirectional Sharing
Options
Share or Copy Link

Create from My Vault Screen
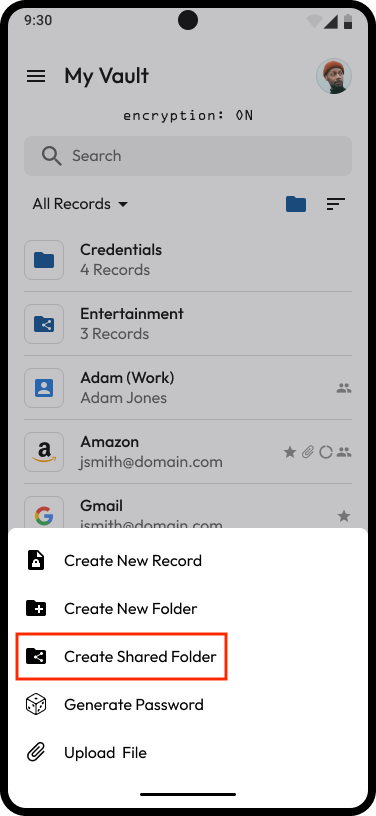
Create a Shared Folder
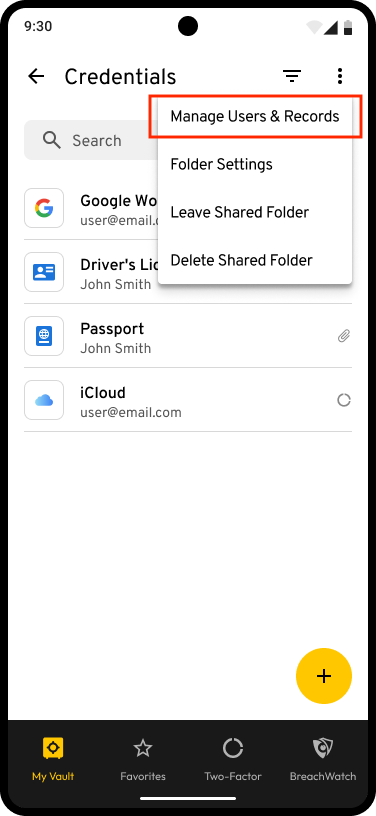
Manage Users & Records
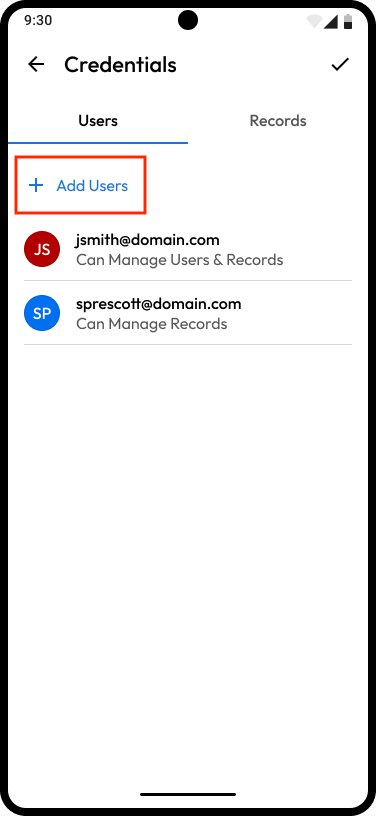
Share Folder with Other Users

Enter User Email(s)
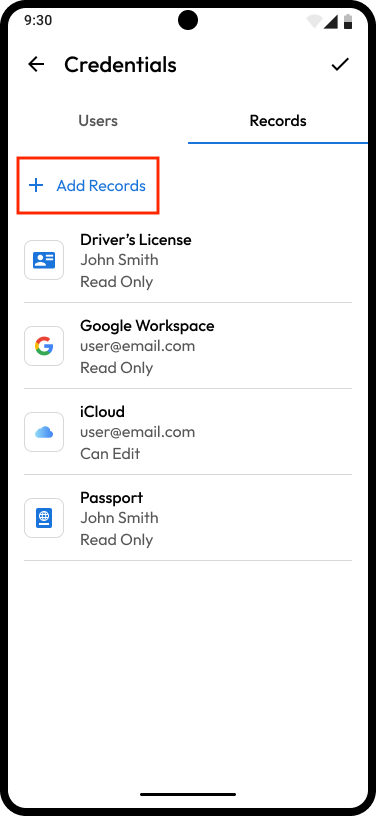
Add Records to a Shared Folder
Record Selection
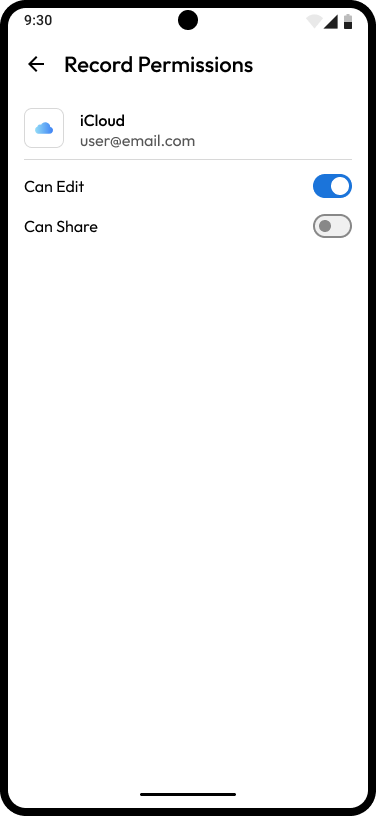
Assign Record Permissions
.png?alt=media&token=2fd1e7cd-4950-4d3d-be26-db79a2bee10a)
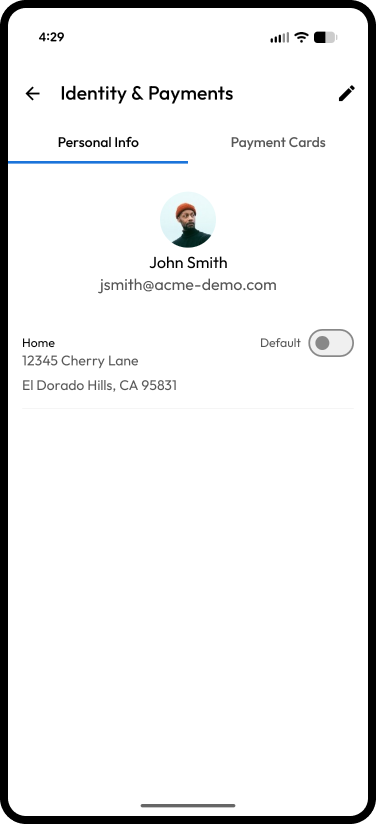
Personal Info & Payment Cards
Create from My Vault
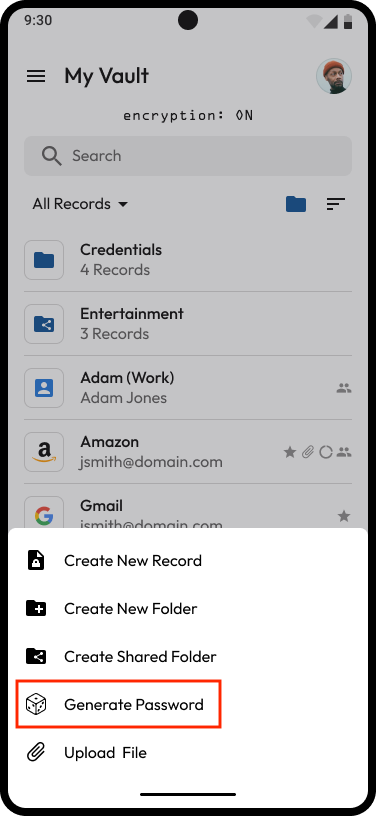
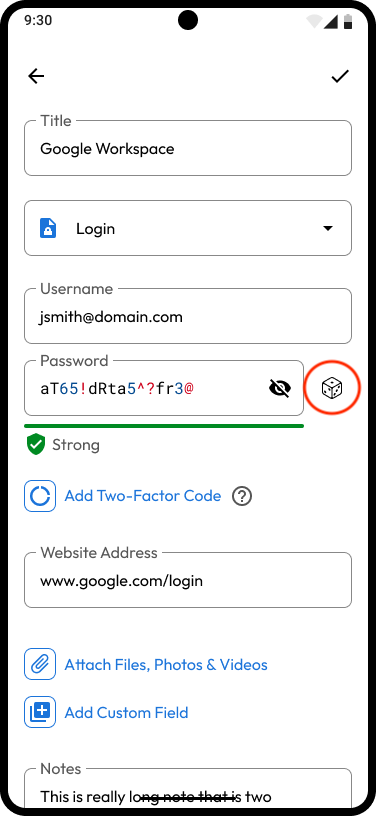
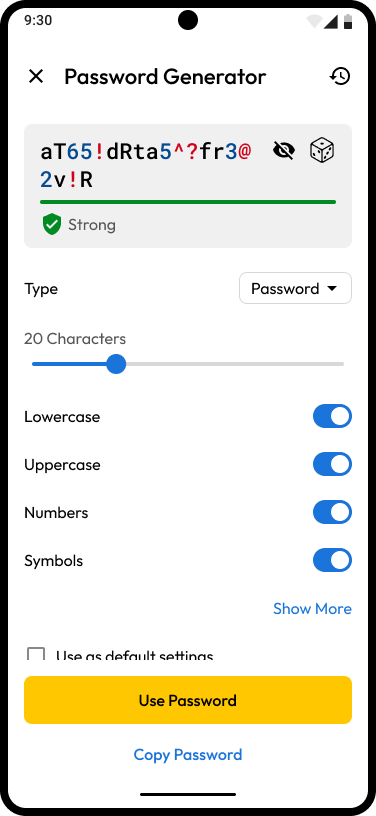
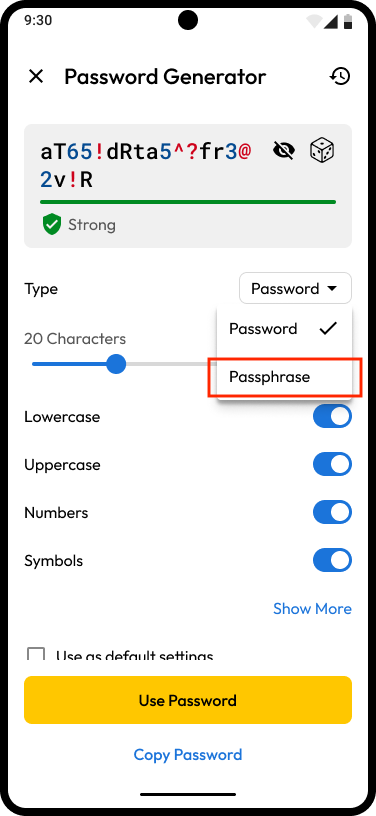
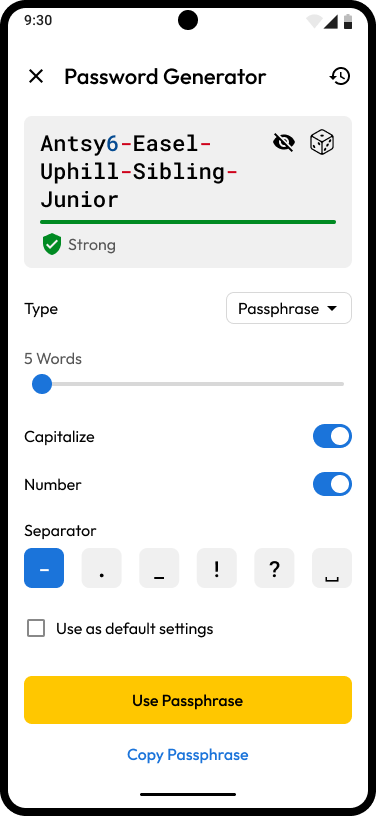
Generate Password/Passphrase
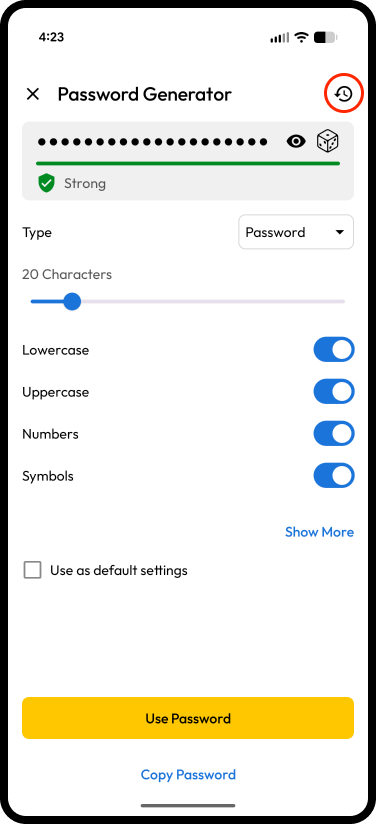
Select Generator History
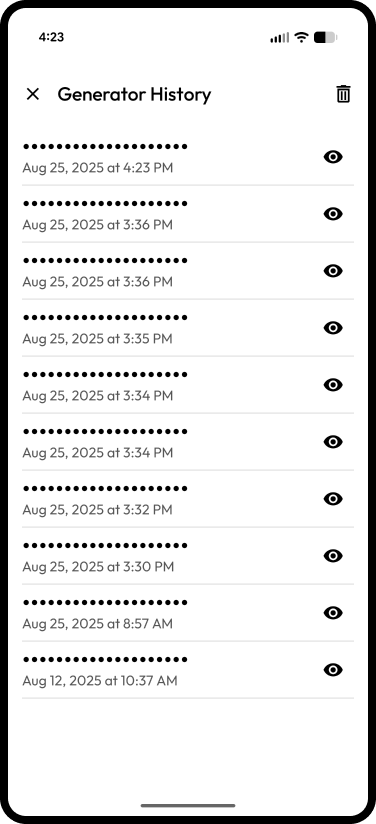
Generator History
Long Press on Password Field

Password Zoom

QR Code for Automatic Network Access
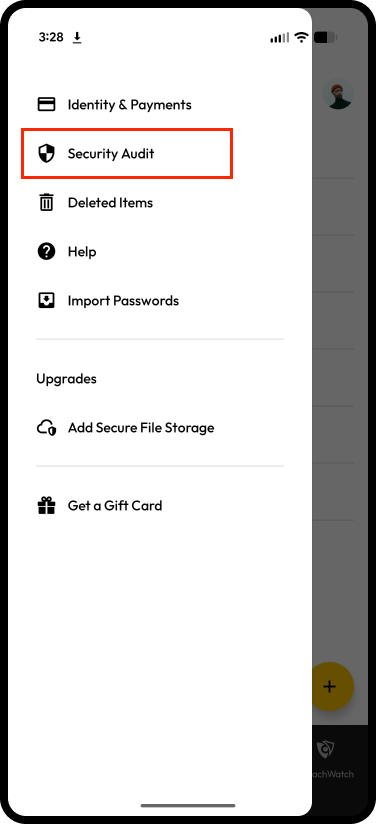
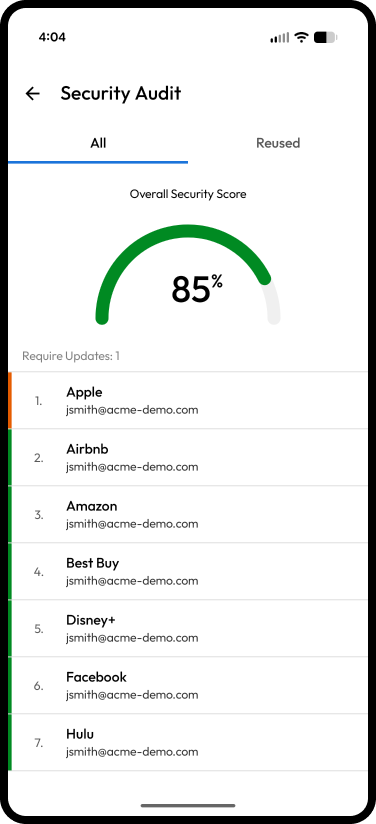
Security Audit
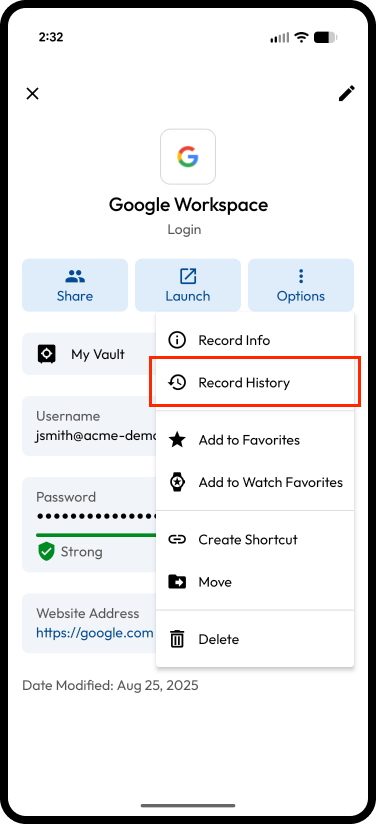
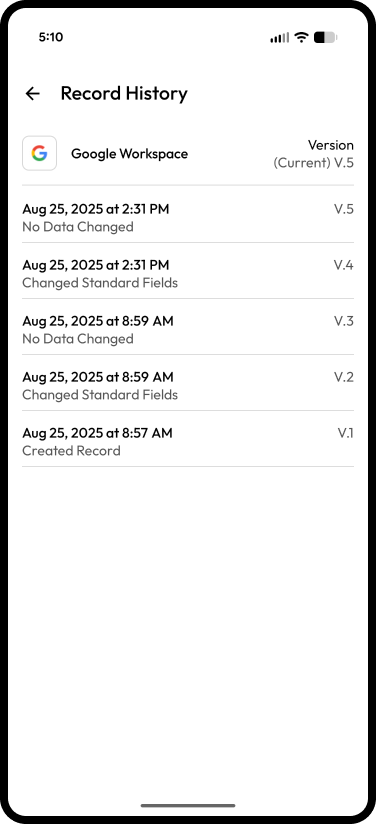
Record History
Open Notifications Center
Filter Unread Notifications
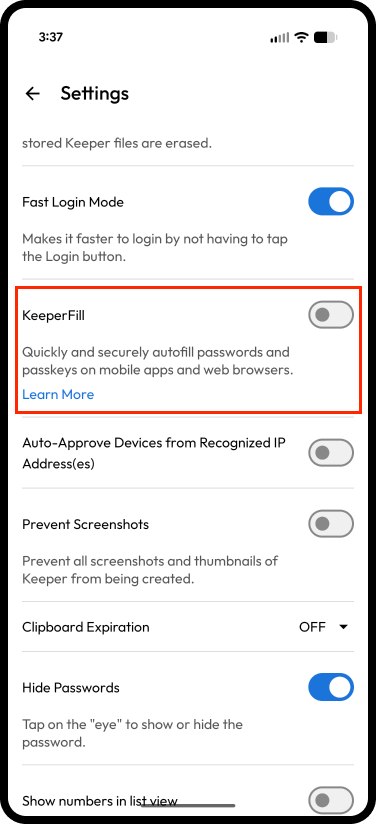
Enable KeeperFill
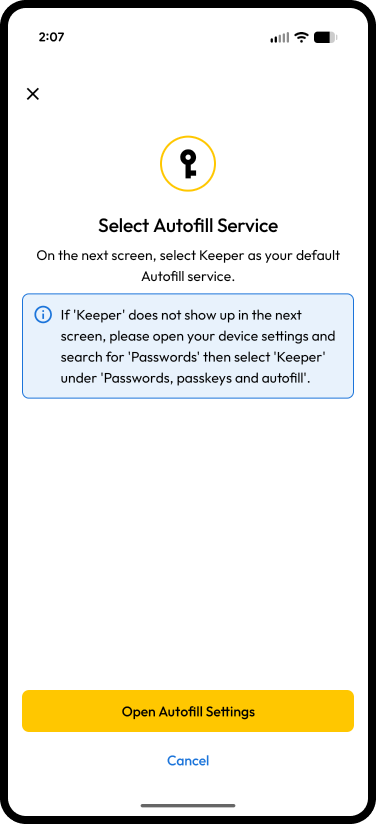
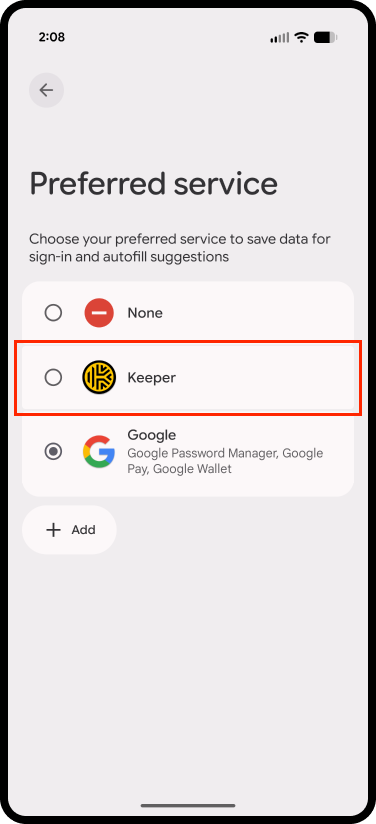
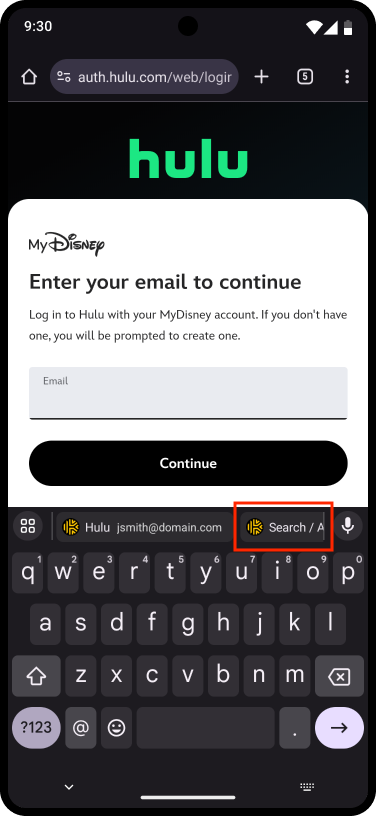
Select Keeper as Preferred Service
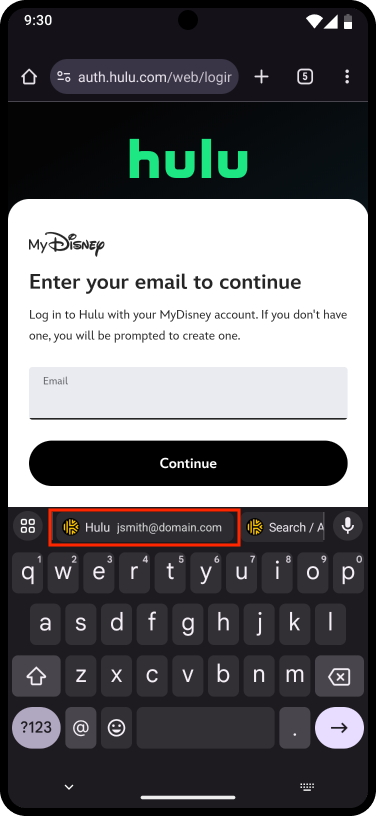
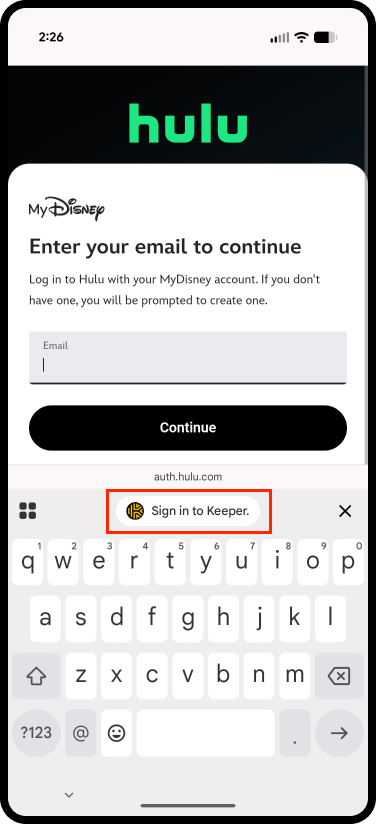 If Keeper identifies a record match, your login will then be displayed. Simply tap on your **login** next to the Keeper icon to autofill your credentials and log in.
{% hint style="info" %}
Some apps and sites have more than one login screen and may require you to tap your login on each screen.
{% endhint %}
If Keeper identifies a record match, your login will then be displayed. Simply tap on your **login** next to the Keeper icon to autofill your credentials and log in.
{% hint style="info" %}
Some apps and sites have more than one login screen and may require you to tap your login on each screen.
{% endhint %}
.png?alt=media&token=0c573c30-8768-4ae6-a2d8-a40415eac425)
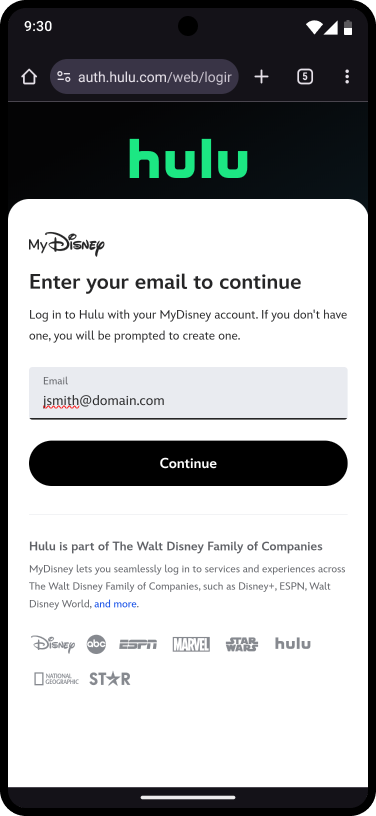
Login Filled
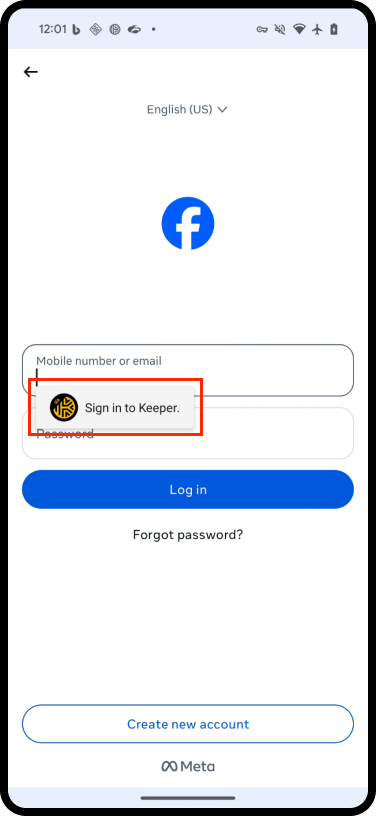
Sign In to Keeper
.png?alt=media&token=2c458b43-3db1-443f-af9c-3dbbcaa4b335)
KeeperFill Variation
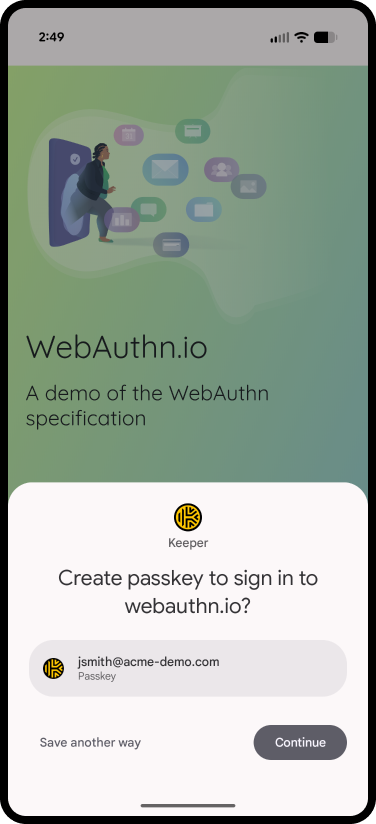
Create a Passkey
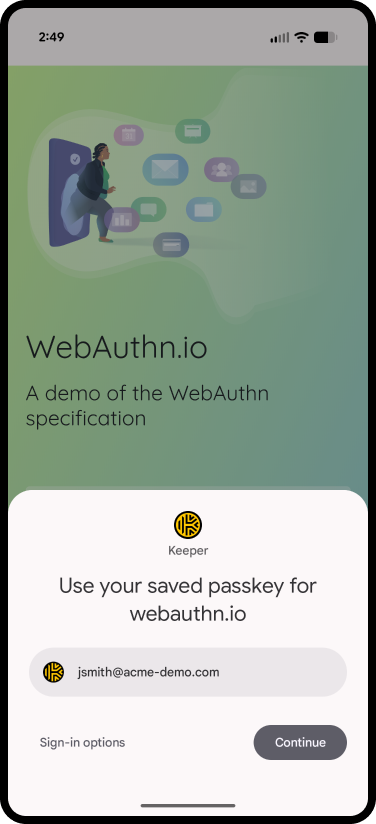
Sign In With Passkey
Passkey Setup
Search/Add Record

Create a New Record
Enter the Record Details and Autofill
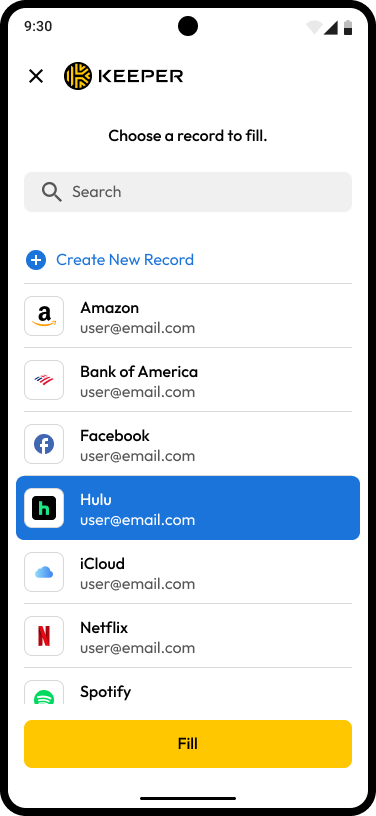
Select Record > Fill
Autofill Your Login
Keeper Home Screen
.png?alt=media&token=5a0cea1e-823f-4438-946f-1f65681dedce)
Enable 2FA
.png?alt=media&token=3b3c88c0-b883-4855-a991-7922fef76f42)
2FA with Smartwatch
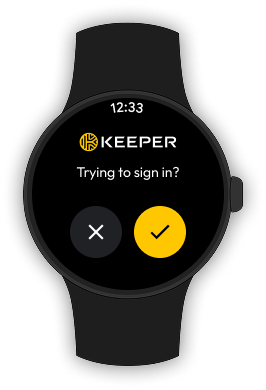
Login Verification Request
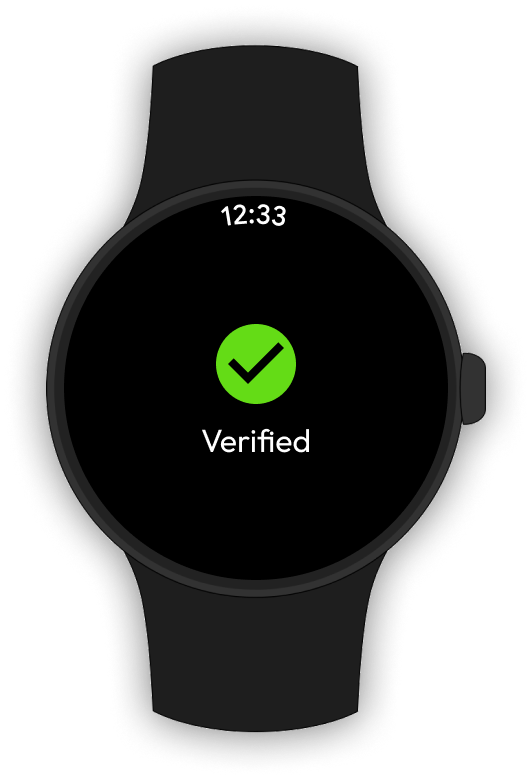
Request Verified
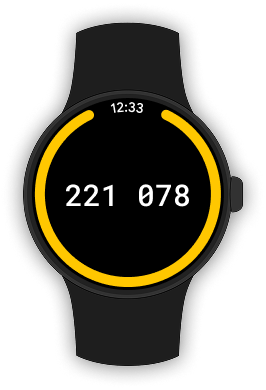
Verification Code
.png?alt=media&token=4a936aa5-c723-400e-9eb3-9125603a7414)
Attach Files, Photos & Videos to a Record
 {% hint style="info" %}
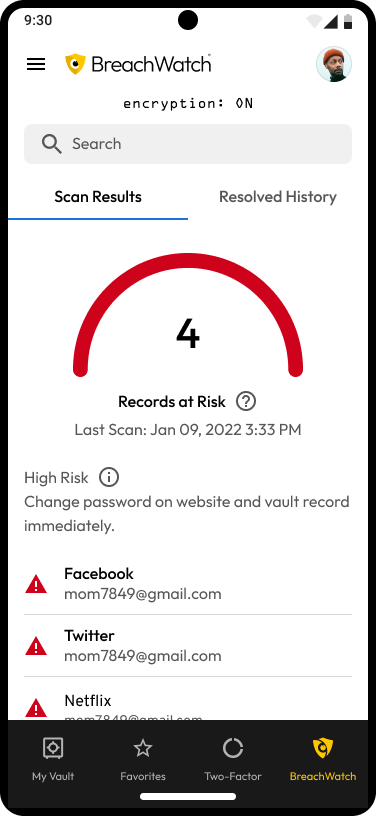
To learn more about BreachWatch, click [here](/user-guides/breachwatch.md).
{% endhint %}
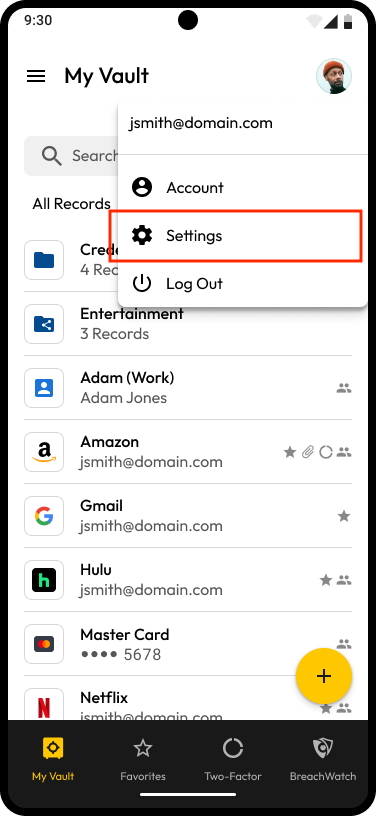
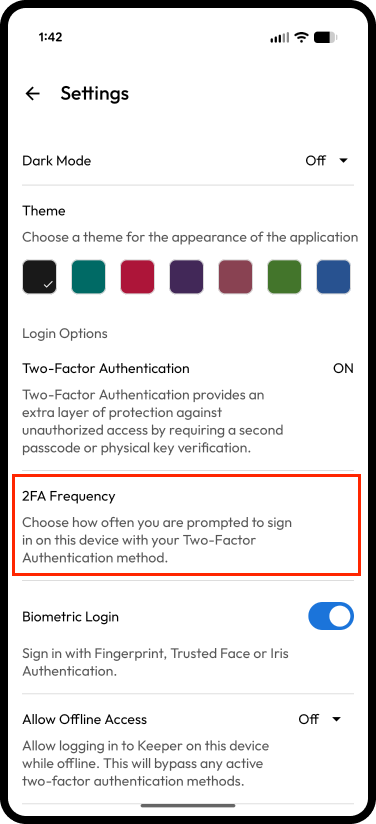
## Settings
The Settings menu allows you to customize the display, personalization and security features of the application, including:
* Dark Mode
* Theme
* Login Options (Two-Factor Authentication, Biometric Login, Allow Offline Access, Stay Logged In, Auto-Logout)
* Security (Enable Self-Destruct)
* Fast Login Mode
* KeeperFill
* Auto-Approve Devices from Recognized IP Address(es)
* Prevent Screenshots
* Clipboard Expiration
* Hide Passwords
* Show Numbers in List View
* Sort Record Types
* Change Email Address
* Account Recovery
* Reset Master Password
{% hint style="info" %}
Please note that some security settings may be enforced by your Keeper Administrator if you are part of a Keeper Business account.
{% endhint %}
{% hint style="info" %}
To learn more about BreachWatch, click [here](/user-guides/breachwatch.md).
{% endhint %}
## Settings
The Settings menu allows you to customize the display, personalization and security features of the application, including:
* Dark Mode
* Theme
* Login Options (Two-Factor Authentication, Biometric Login, Allow Offline Access, Stay Logged In, Auto-Logout)
* Security (Enable Self-Destruct)
* Fast Login Mode
* KeeperFill
* Auto-Approve Devices from Recognized IP Address(es)
* Prevent Screenshots
* Clipboard Expiration
* Hide Passwords
* Show Numbers in List View
* Sort Record Types
* Change Email Address
* Account Recovery
* Reset Master Password
{% hint style="info" %}
Please note that some security settings may be enforced by your Keeper Administrator if you are part of a Keeper Business account.
{% endhint %}
.png?alt=media&token=1d2782b9-7bcf-41f5-a7e5-257ec590828e)
Settings Menu

Settings Menu Continued
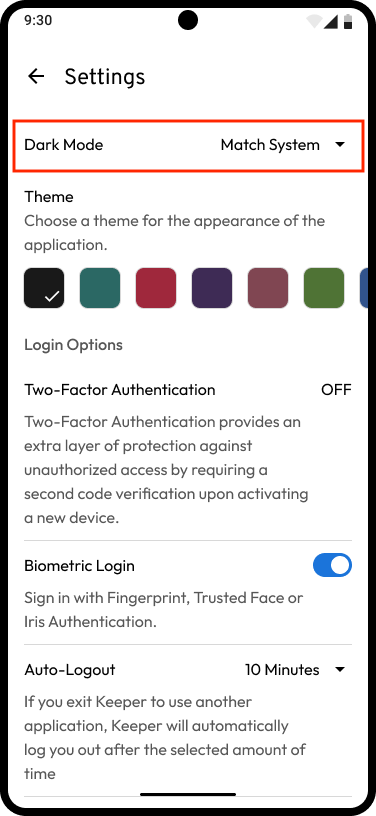
Dark Mode Setting
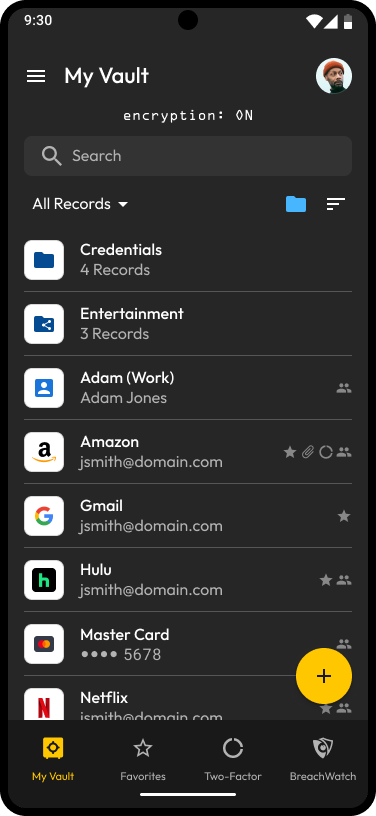
Dark Mode on Android
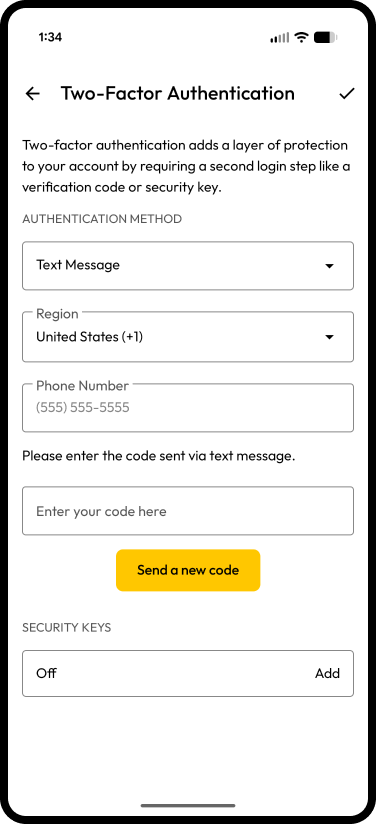
.png?alt=media&token=e4539d8d-257c-47be-93c4-2c0a99f39f2b) #### Text Message Setup:
1. Select a Region (US+1 by default), enter your 10 digit phone number including your area code and tap the **checkmark icon** to save.
2. Select how long you want the two-factor method to be valid for (not again for the device, every 30 days, 24 hours, 12 hours or at every login).
{% hint style="info" %}
Business customers may be required to enter the code every login as determined by their Keeper Administrator.
{% endhint %}
3. Enter the **code** that was sent to the phone number you provided then tap the **checkmark icon** to save. Codes will only last for a minute; if you need another code sent, tap **Send a new code.**
#### Text Message Setup:
1. Select a Region (US+1 by default), enter your 10 digit phone number including your area code and tap the **checkmark icon** to save.
2. Select how long you want the two-factor method to be valid for (not again for the device, every 30 days, 24 hours, 12 hours or at every login).
{% hint style="info" %}
Business customers may be required to enter the code every login as determined by their Keeper Administrator.
{% endhint %}
3. Enter the **code** that was sent to the phone number you provided then tap the **checkmark icon** to save. Codes will only last for a minute; if you need another code sent, tap **Send a new code.**
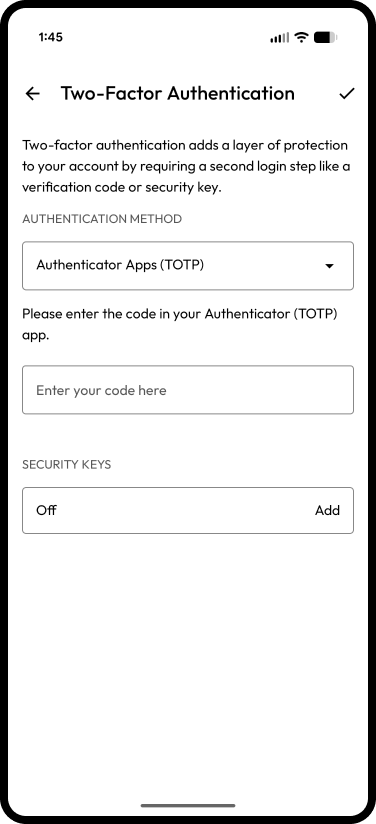
Enter Code
 5. Backup codes will be shown next. If you are unable to receive two-factor codes via the phone number you entered, you can enter one of the backup codes listed instead. Tap one of the listed options to confirm you saved the codes somewhere safe.
{% hint style="info" %}
In order for Azure MFA (using the Microsoft Authenticator app) to be utilized as a TOTP, the Azure Administrator needs to allow the verification method "Verification code from mobile app or hardware token" when setting up MFA in Azure.
{% endhint %}
#### Keeper for Wear OS Setup:
To setup two-factor authentication for you Keeper Vault using Keeper for Wear OS as your second factor, first ensure your smartwatch is paired with your mobile phone.
On your phone, navigate to Keeper's **Settings** menu and tap **Two-Factor Authentication**. **F**rom the "Authentication Method" dropdown menu, select **Smartwatch** then follow the prompts to verify your identity.
5. Backup codes will be shown next. If you are unable to receive two-factor codes via the phone number you entered, you can enter one of the backup codes listed instead. Tap one of the listed options to confirm you saved the codes somewhere safe.
{% hint style="info" %}
In order for Azure MFA (using the Microsoft Authenticator app) to be utilized as a TOTP, the Azure Administrator needs to allow the verification method "Verification code from mobile app or hardware token" when setting up MFA in Azure.
{% endhint %}
#### Keeper for Wear OS Setup:
To setup two-factor authentication for you Keeper Vault using Keeper for Wear OS as your second factor, first ensure your smartwatch is paired with your mobile phone.
On your phone, navigate to Keeper's **Settings** menu and tap **Two-Factor Authentication**. **F**rom the "Authentication Method" dropdown menu, select **Smartwatch** then follow the prompts to verify your identity.
.png?alt=media&token=1a1b7761-0900-44a0-8342-74f75244e296)
Enable Two-Factor Authentication

Setup for Smartwatch

Login Verification Request

Request Verified
Modify 2FA Frequency
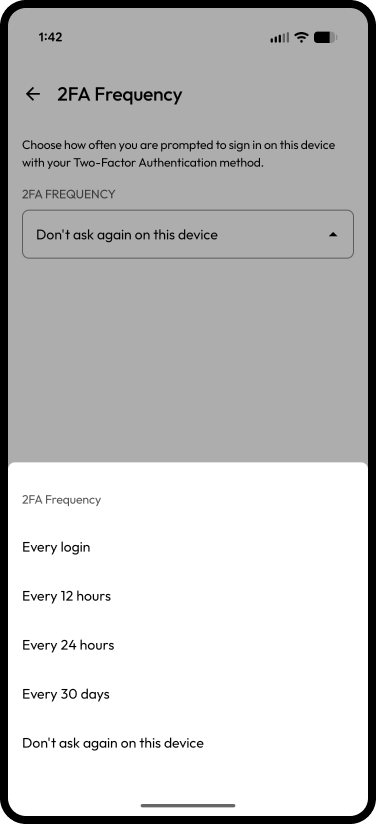
Select Frequency
.png?alt=media&token=7f7aca30-37c8-48b2-8f41-fbaedb0dfb7d)
Two-Factor Code Populated
.png?alt=media&token=683a6984-27c1-45a4-b814-5d647adf043b)
Settings > Biometric Login
.png?alt=media&token=f2fa99b0-fbdb-4749-ba33-663cec6da493)
Biometric Login to Keeper
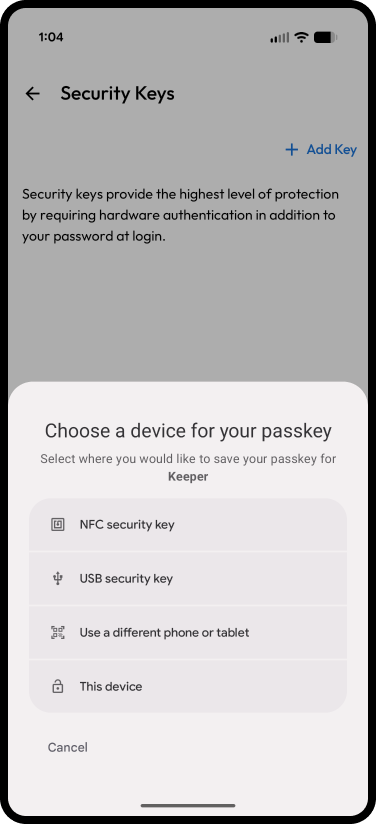
Register Security Key for 2FA
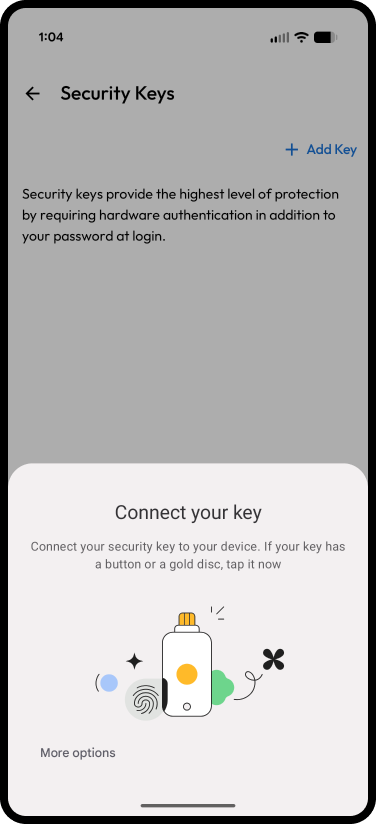
Connect Your Key
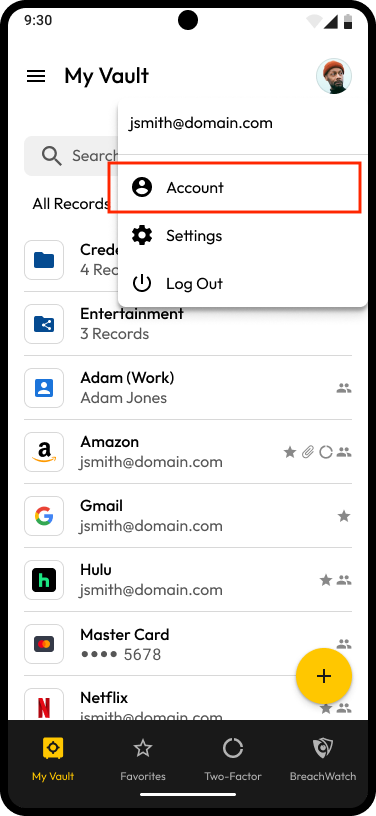

Account Switch/Add
.png?alt=media&token=5f5d3ea3-d379-424d-a23b-e8a8380c9ece)
Remove Account from Device